
Sewing Patterns
Leather Bag Sewing Pattern: Beginner Fit and Hardware Guide
Jul
A leather bag sewing pattern is a smart step after basic fabric bags because it teaches structure, hardware, edge control, and permanent marking discipline. In the local Semrush export, “leather bag sewing pattern” shows 590 monthly searches with keyword difficulty 0, which makes it a strong low-competition tutorial keyword.
This guide explains how to choose a leather bag pattern, match leather or faux leather to the design, plan lining and stabilizer, pick zippers and strap hardware, set up the machine, and avoid the mistakes that leave visible holes.
Key Takeaways
- Choose a leather bag pattern by finished size, strap style, lining method, zipper length, hardware width, and seam bulk.
- Use clips, tape, pattern weights, and careful marking because pin holes and needle holes can stay visible.
- A leather needle, longer stitch length, polyester thread, and non-stick or walking foot usually create cleaner stitching.
- Test every seam stack with final leather, lining, stabilizer, and topstitching thread before sewing the real bag.
What Makes a Leather Bag Sewing Pattern Beginner Friendly?
A beginner-friendly leather bag pattern has simple shapes, few thick intersections, clear lining instructions, and hardware that matches the bag scale. Treasurie shows leather purse projects as small pattern-based accessories, which makes them useful practice before larger shoulder bags.
Start with a flat pouch, clutch, tote, or simple crossbody. Avoid rounded gussets, heavy piping, tight corners, and complex zipper pockets until you know how your machine handles two to four layers of leather.
If you want an easier warm-up, compare the structure decisions in our hoodie sewing pattern guide. Different material, same rule: match the pattern to the fabric before cutting.
Which Leather or Faux Leather Should You Use?
Use leather or faux leather that your machine can feed smoothly through the thickest seam stack. Treasurie recommends choosing a thickness your machine can handle and avoiding very sticky patent finishes on regular domestic machines.
For a first bag, choose soft garment leather, thin upholstery leather, cork, vinyl, or quality faux leather. Very thick tooling leather belongs in leatherworking, not ordinary garment sewing equipment.
Look at the pattern photo and the bag shape. A slouchy hobo bag needs softer leather. A structured tote needs stabilizer, foam, or a firmer material. A mismatch can make a good pattern look collapsed or bulky.
Cut a test strip before committing. Fold it over lining and stabilizer, then stitch across the thickest planned seam. If the machine struggles there, simplify the pattern or reduce layers.
How Do You Cut Leather Bag Pattern Pieces Accurately?
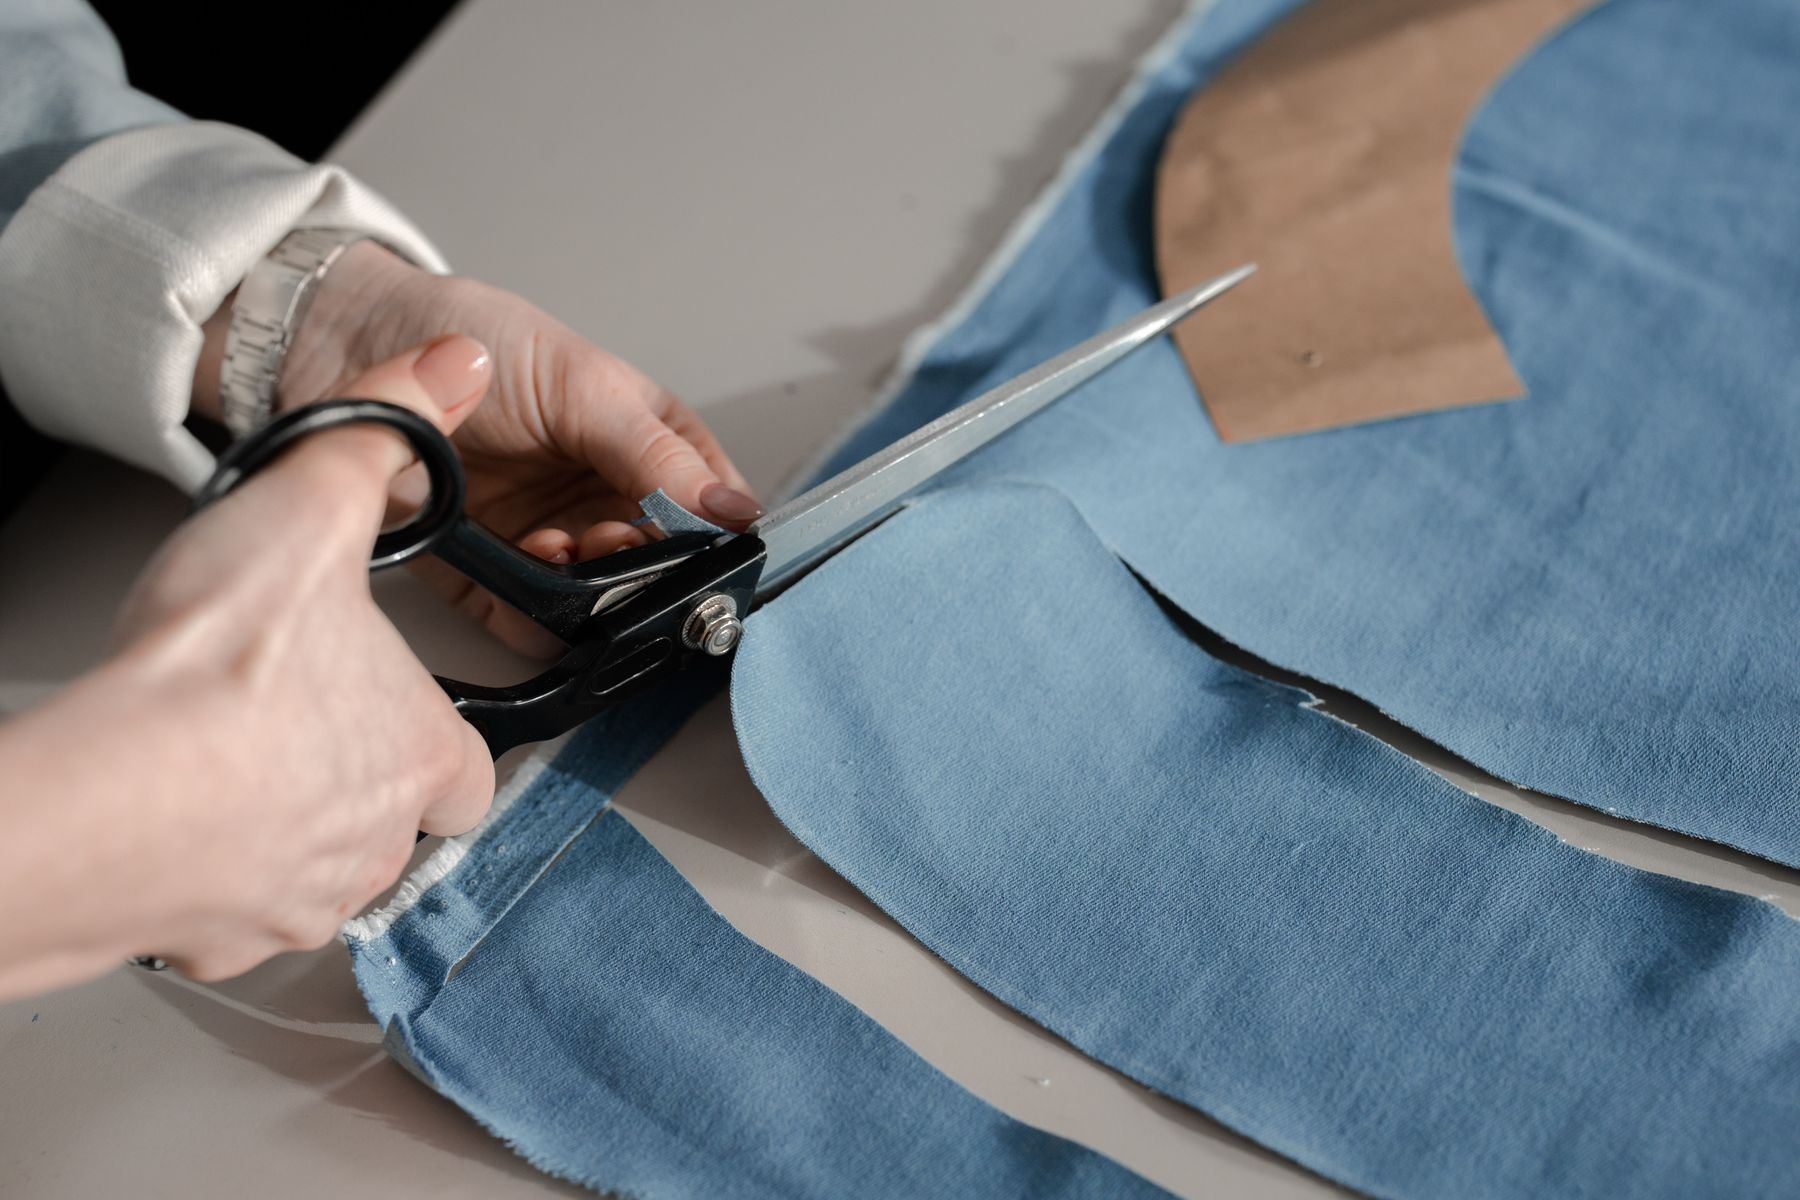
Cut leather with pattern weights, a rotary cutter or sharp blade, and a surface large enough to keep pieces flat. WeAllSew warns that pins can leave permanent holes in leather, so clips and tape are safer choices.
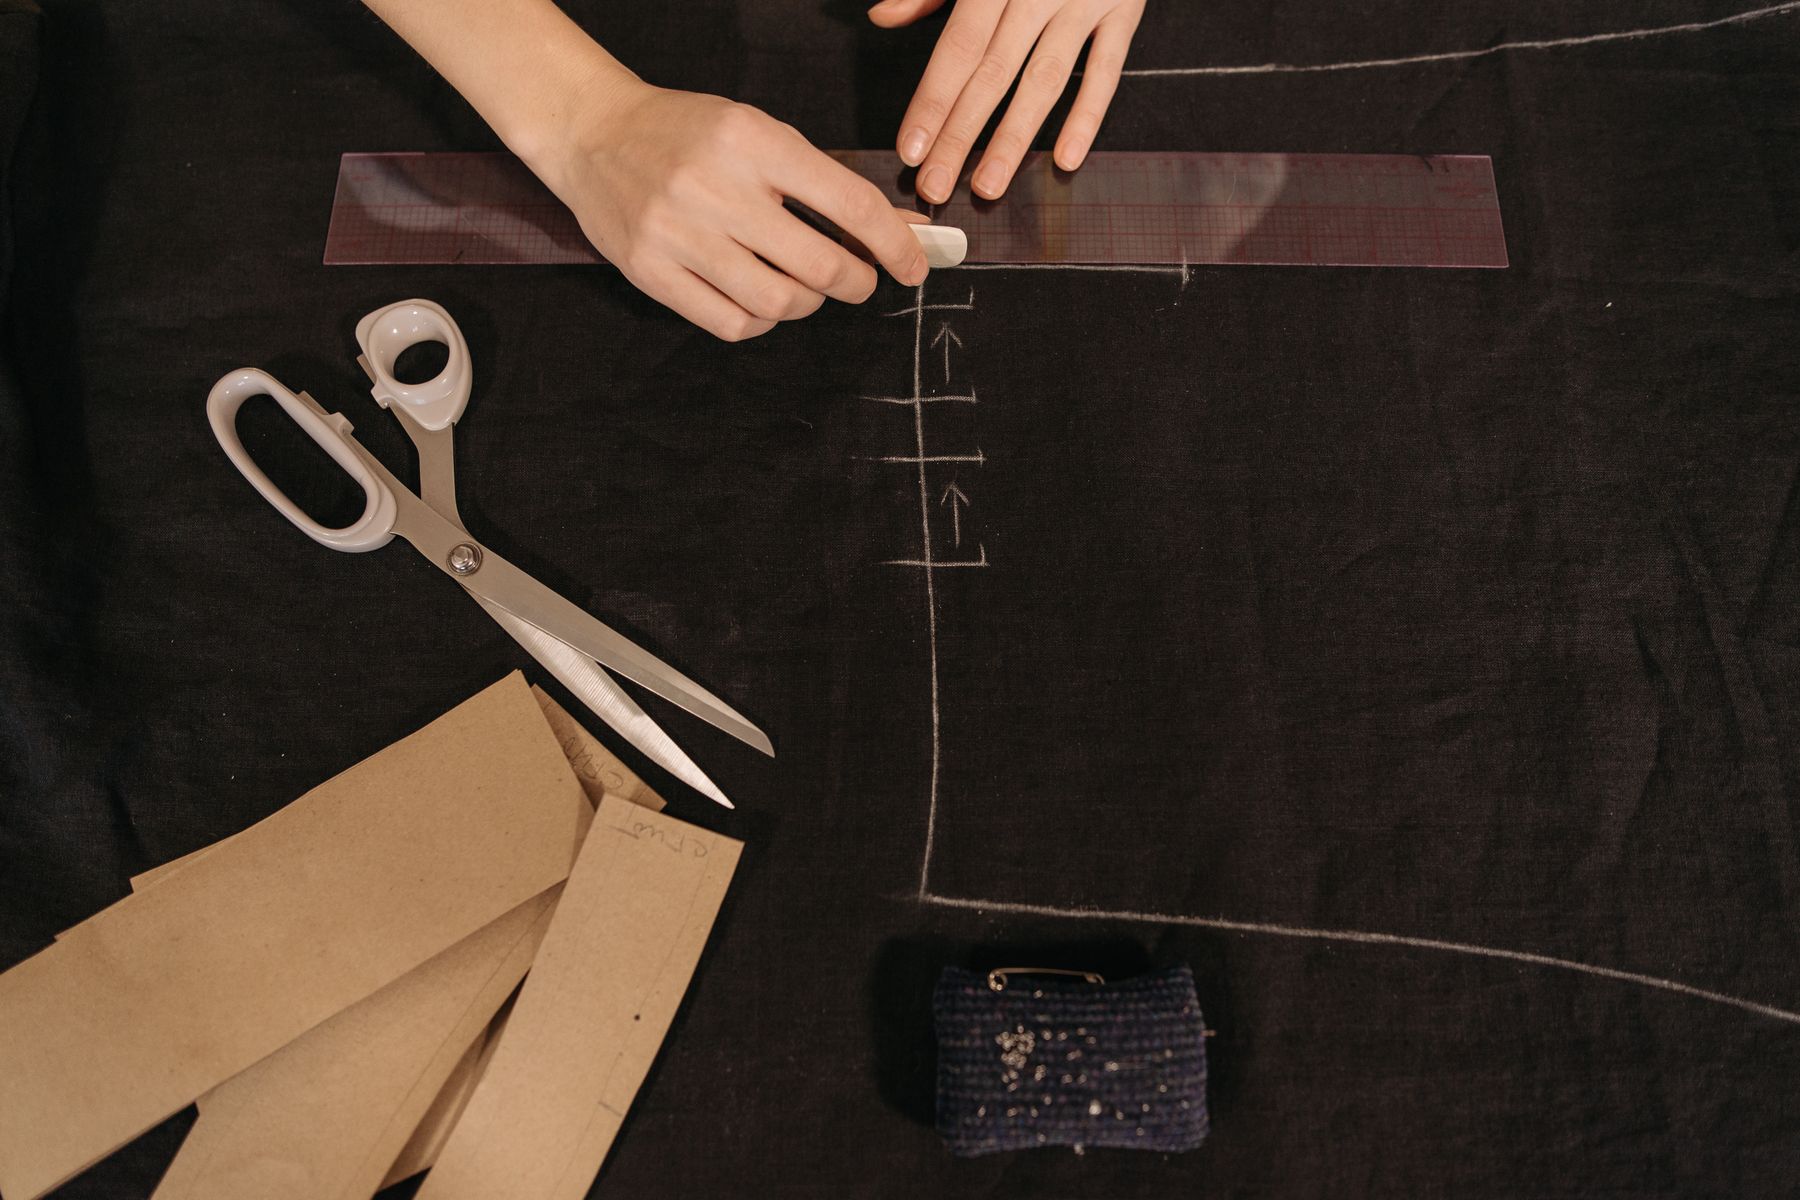
Mark on the wrong side with chalk, removable pen, low-tack tape, or tiny notches only where the seam allowance hides them. Test every marking method first because some finishes stain or resist removal.
Keep mirrored pieces organized immediately. Bag straps, zipper tabs, pocket panels, and side gussets often look similar until one is flipped the wrong way. Label with small tape flags inside the seam allowance.
Pattern accuracy matters even more when the material is unforgiving. For a broader marking refresher, use our how to read a sewing pattern guide before cutting expensive leather.
What Needle, Thread, and Presser Foot Work Best?
Use a leather needle for real leather and a larger universal, microtex, denim, or topstitch needle for many faux leathers. Seamwork recommends polyester or nylon thread because bags need durable stitching over repeated use.
A non-stick, roller, or walking foot helps leather move under the machine. Seamwork notes that leather can stick to a universal foot, while WeAllSew recommends feet that let sticky material slide rather than drag.
Use a longer stitch than normal, often around 3.0 to 3.5 mm for visible seams. Tiny stitches perforate leather too closely and can weaken the seam. Always test stitch length on scraps from the real project.
Check needle position before topstitching. If your foot rides on a bulky strap tab or zipper tape, the line can wobble. Edge guides, masking tape, and slow handwheel starts help keep the first stitches controlled.
How Should You Plan Lining, Stabilizer, and Interfacing?
Plan lining and stabilizer before cutting because they change seam thickness and bag shape. Sew4Home bag tutorials frequently pair exterior panels with interfacing, foam, lining panels, and pocket support so the finished bag keeps its intended structure.
Use fusible foam, sew-in foam, canvas, Decovil-style stabilizer, or woven interfacing when the bag needs body. Test heat first. Some faux leathers melt, wrinkle, bubble, or refuse fusible products.
A lining makes the bag easier to use and hides internal seams. Choose cotton, canvas, ripstop, twill, or slippery lining based on how the bag will be used. Pocket fabric should not stretch out under keys and phone weight.
Reduce bulk where you can. Grade seams, trim corners, and avoid stacking strap tabs, zipper ends, foam, and lining all in one spot unless the pattern is designed for it.
What Hardware Should You Buy Before Sewing?
Buy zippers, strap sliders, D-rings, swivel clips, rivets, magnetic snaps, and buckles before final cutting. Hardware measurements affect strap width, tab length, pocket openings, and reinforcement patches.
Match metal finish across the whole bag if possible. Mixed hardware can look accidental unless the pattern is clearly casual. Also check weight. Heavy buckles can pull a soft leather bag out of shape.
Install magnetic snaps and rivets on scraps first. Reinforce the back with leather, canvas, or stabilizer so the hardware does not tear through the bag after a few weeks of use.
If the bag includes a zipper pocket, the construction checks in our zipper foot guide help with neat stitching around zipper tape and bulky edges.
Common Leather Bag Pattern Mistakes to Avoid
The biggest mistake is sewing the real bag before testing the thickest seam stack. Leather keeps needle holes, so unpicking is not a harmless reset. Make a stitched sample that includes leather, lining, stabilizer, zipper tape, and topstitching thread.
Another mistake is treating faux leather like woven cotton. It can stretch, stick, melt, or show pressure marks. Use clips, a press cloth, low heat, and slower stitching until the material proves it can handle more.
Do not skip reinforcement at stress points. Strap tabs, magnetic snaps, D-rings, and handles take the most force. A beautiful seam line will not help if the hardware tears through the bag.
- Do not pin through visible areas. Use clips or tape inside the seam allowance.
- Do not use tiny stitches. They can perforate leather like a tear line.
- Do not choose hardware late. Ring and zipper sizes can change the pattern.
What Should You Check Before Final Topstitching?
Before final topstitching, check seam allowances, strap alignment, zipper opening, lining position, pocket height, hardware placement, and thread color. Visible stitching is one of the main signals that a handmade leather bag is careful rather than rushed.
Topstitch from the most visible side whenever possible. Use a fresh needle, steady speed, and enough thread on the bobbin to finish the line. Stopping mid-line can leave a visible join on leather.
Press with caution. Use a press cloth, low heat, finger pressing, clappers, or seam rollers depending on the material. If heat changes the surface, do not force the fabric to behave like cotton.
Save a note with leather type, needle size, stitch length, thread, foot, and stabilizer. That record turns one successful bag into a repeatable pattern for totes, pouches, and crossbody projects.
Frequently Asked Questions
Can I sew a leather bag on a regular sewing machine?
Yes, if the leather is light enough and the seam stacks are not too thick. Use a leather needle for real leather, a longer stitch, durable thread, and a non-stick or walking foot after testing scraps.
What is the easiest leather bag sewing pattern?
A flat pouch, simple clutch, tote, or basic crossbody is easiest. Choose straight seams, minimal hardware, and a lining method you understand before trying gussets, piping, or many zipper pockets.
Should I use pins when sewing leather bags?
Avoid pins in visible leather because the holes can remain. Use clips, low-tack tape, pattern weights, or adhesive inside the seam allowance so the outside of the bag stays clean.
What stitch length should I use for leather bags?
Many leather and faux leather bag projects look better with a longer stitch, often around 3.0 to 3.5 mm. Test first because thickness, thread, needle, and machine feed all affect the result.
Sources
- Semrush keyword export, Pattern Lab Co workspace, retrieved 2026-07-24.
- Seamwork, How to Sew a Leather Clutch, retrieved 2026-07-24.
- WeAllSew, Sewing Leather with a Domestic Machine, retrieved 2026-07-24.
- Treasurie, Sewing Leather and Vinyl with Perfect Stitching, retrieved 2026-07-24.
- Sew4Home, Modern Two Tone Tote with Leather Handles, retrieved 2026-07-24.
