Sewing Patterns
How to Read a Sewing Pattern: Size, Symbols, and Fabric
Jul
Learning how to read a sewing pattern is the difference between guessing and sewing with a plan. In the local Semrush export, “how to read a sewing pattern” shows 720 monthly searches with keyword difficulty 8, which makes it a useful beginner tutorial keyword for Pattern Lab Co.
This guide explains the pattern envelope, size chart, finished measurements, symbols, fabric suggestions, cutting layout, seam allowances, and instructions so you can avoid the mistakes that usually happen before sewing even starts.
Key Takeaways
- Read the pattern envelope first: size chart, fabric suggestions, notions, yardage, and finished measurements.
- Use body measurements and finished garment measurements together so ease is clear before cutting.
- Transfer notches, darts, grainlines, fold lines, button marks, and pocket placement marks accurately.
- Check the cutting layout for fabric width, nap, print direction, and whether pieces must be mirrored.
What Information Is on a Sewing Pattern Envelope?
A pattern envelope usually tells you the garment views, body measurements, size range, fabric suggestions, notions, yardage, and finished garment measurements. Tilly and the Buttons explains that pattern sizing is not ready-to-wear sizing, so these tables matter more than the number on the front.
Start with the back of the envelope before choosing fabric. Check whether the pattern is drafted for woven, knit, stretch woven, or stable knit fabric. A pattern made for jersey will not fit the same in linen, and a woven dress will not magically become comfortable in the wrong fabric.
Look at the views carefully. View A may use sleeves, lining, or a zipper, while View B may be sleeveless or elastic waist. Yardage, notions, difficulty, and sewing time can change between views even when the garment name is the same.
How Do You Choose the Right Sewing Pattern Size?
Choose size from current body measurements and finished garment measurements. Love Notions defines ease as the difference between body size and garment size, which explains why two patterns with the same size label can fit very differently.
Measure bust, high bust, waist, hip, and any area the garment closely fits. For tops and dresses, high bust can help choose a better shoulder and upper chest size. For pants and skirts, hip and rise usually matter more than the waist label.
If you need a deeper sizing workflow, use our how to choose sewing pattern size guide as a companion. Size choice is a measurement decision, not a brand loyalty decision.
What Do Sewing Pattern Symbols Mean?
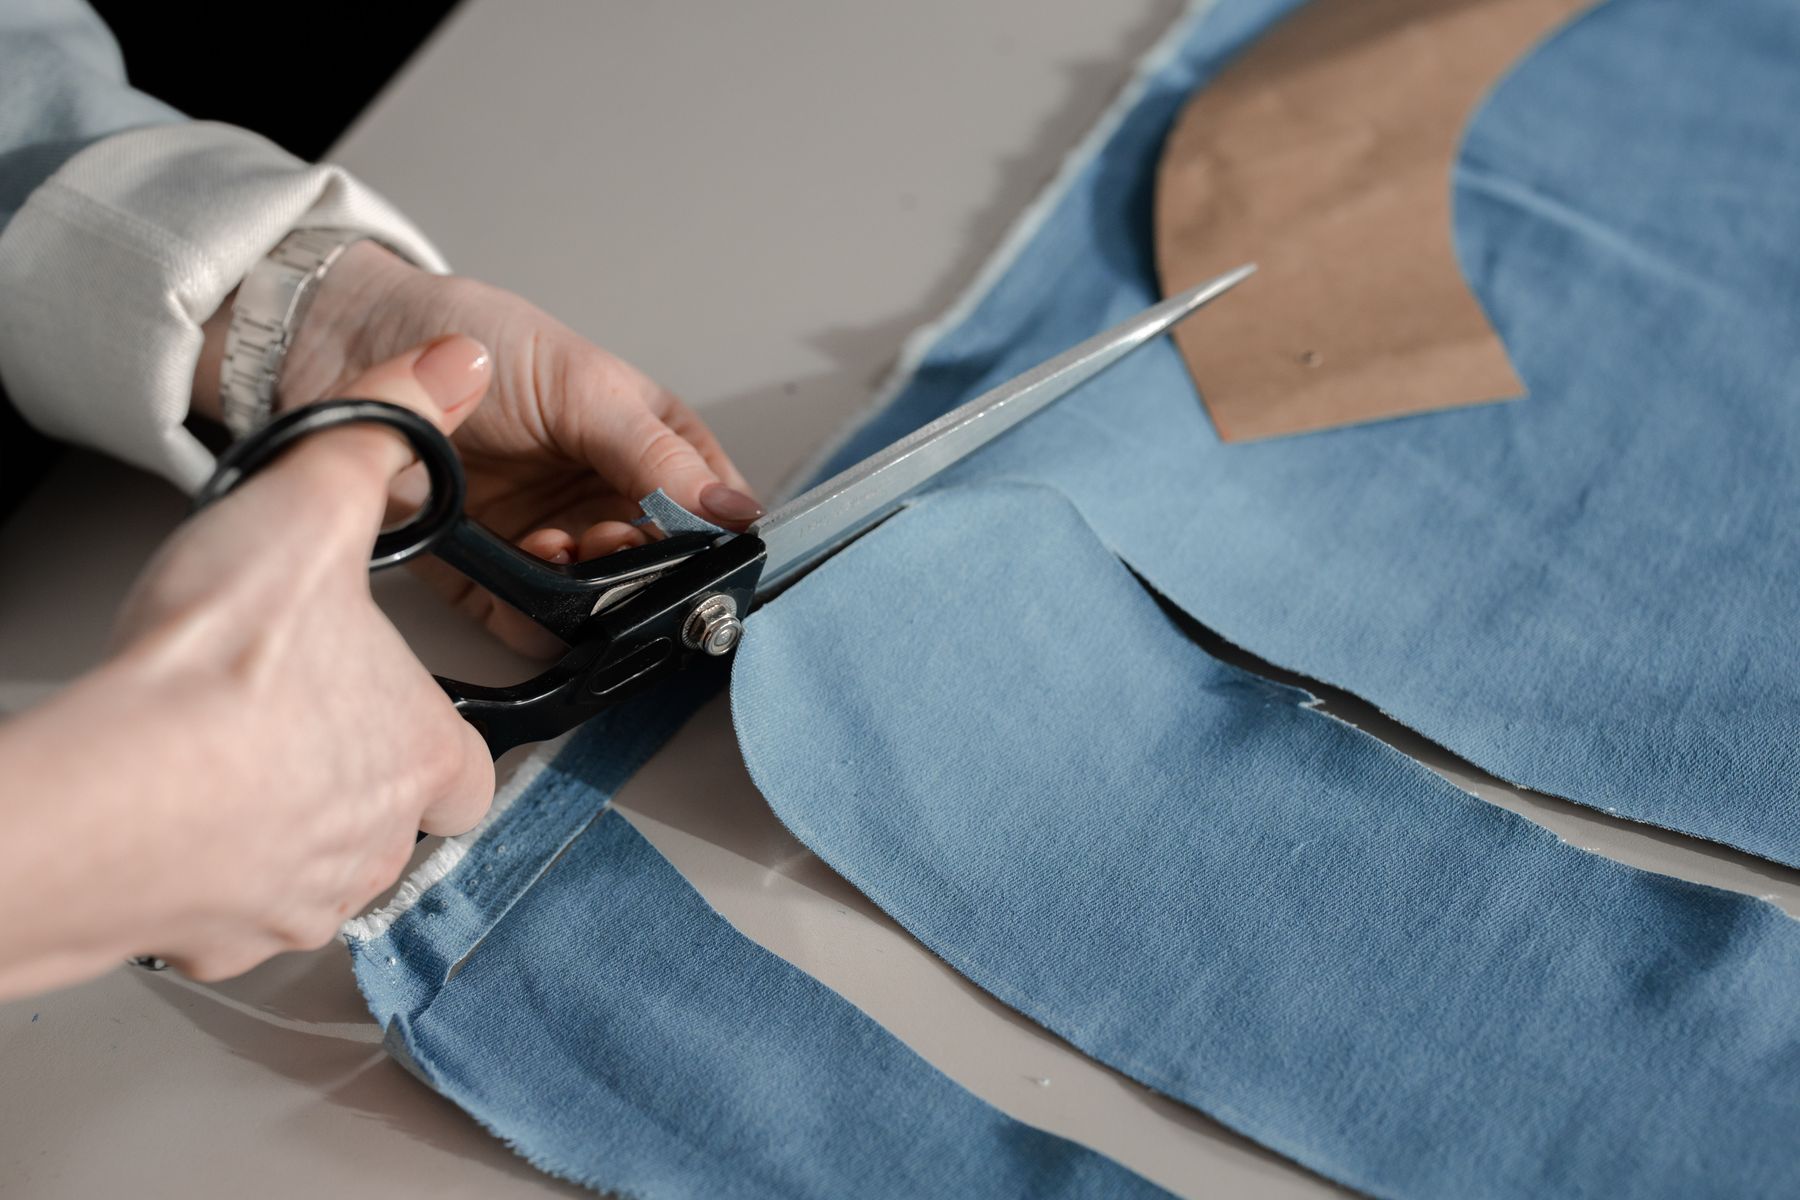
Common sewing pattern symbols include grainline arrows, fold lines, notches, darts, pleats, buttonholes, pocket placements, lengthen-or-shorten lines, and circles or squares for matching points. These marks tell you how the flat pieces become a three-dimensional garment.
Grainline arrows control how the garment hangs. Place them parallel to the selvage unless the instructions say a piece is cut on the bias or fold. If the grainline is wrong, pants can twist, skirts can hang unevenly, and sleeves can feel uncomfortable.
Notches are small matching points, not decorative marks. Transfer them with clips, snips, chalk, or thread tacks depending on fabric. Darts should be marked accurately because they shape the body from waist, bust, shoulder, or back.
How Do You Read Fabric and Yardage Requirements?
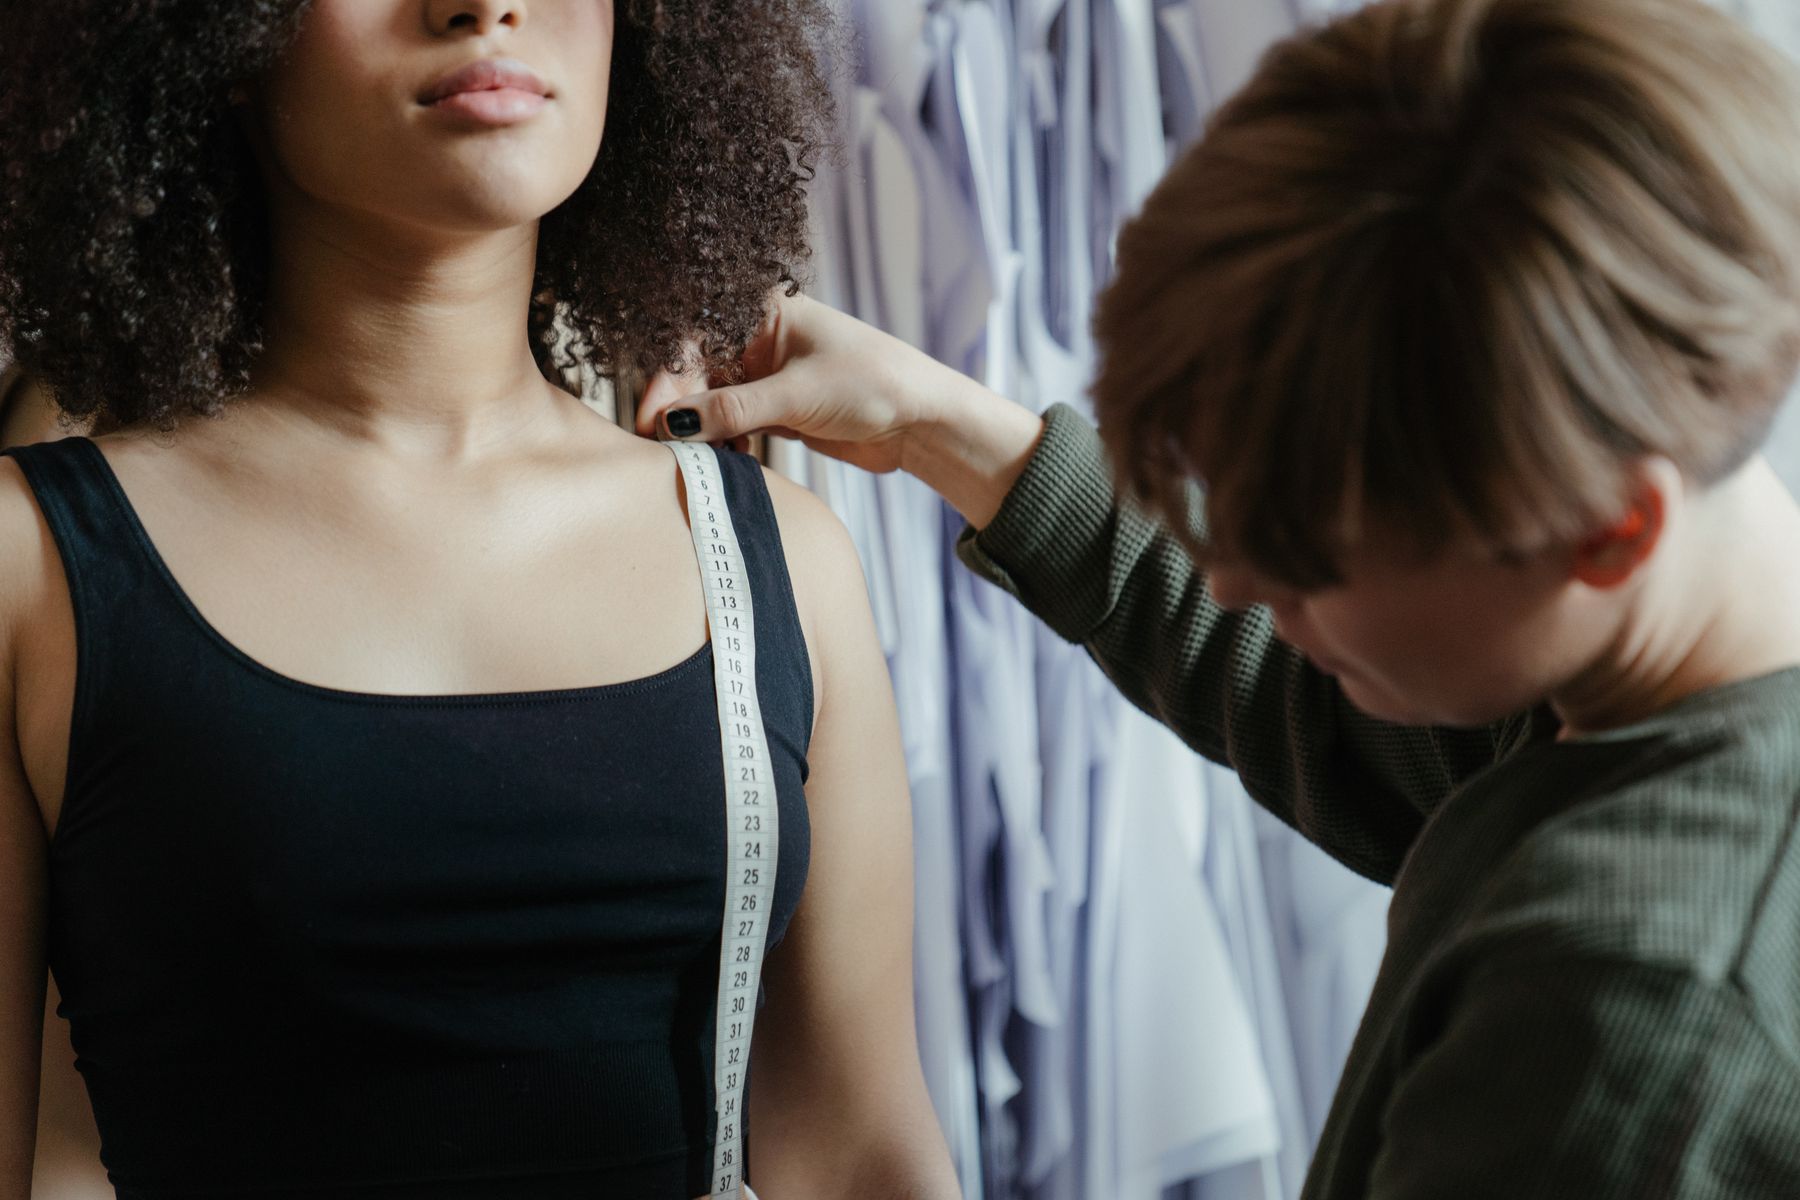
Fabric requirements depend on size, view, fabric width, print direction, nap, and design details. The envelope yardage table usually separates 45 inch and 60 inch fabric because wider fabric can fit more pieces across the width.
Read the fabric suggestions as part of the pattern design. A crisp poplin shirt, drapey rayon dress, stable denim jacket, and cotton jersey tee all need different fabric behavior. If you substitute fabric, compare weight, stretch, drape, opacity, and recovery.
Buy extra fabric when matching stripes, plaids, large florals, or directional prints. Matching takes space, especially across center front, side seams, pockets, and sleeves. For slippery or shrinking fabric, prewash or steam first and leave margin for mistakes.
How Should You Use the Cutting Layout?
The cutting layout shows how pieces fit on folded or single-layer fabric. It also tells you which pieces are cut on the fold, which are cut twice, and which may need interfacing or lining. Read it before pinning anything.
Match the layout to your fabric width and size. Some layouts group sizes together, and using the wrong layout can waste fabric. If the pattern has nap, choose the with-nap layout so velvet, corduroy, satin, or directional prints face the same way.
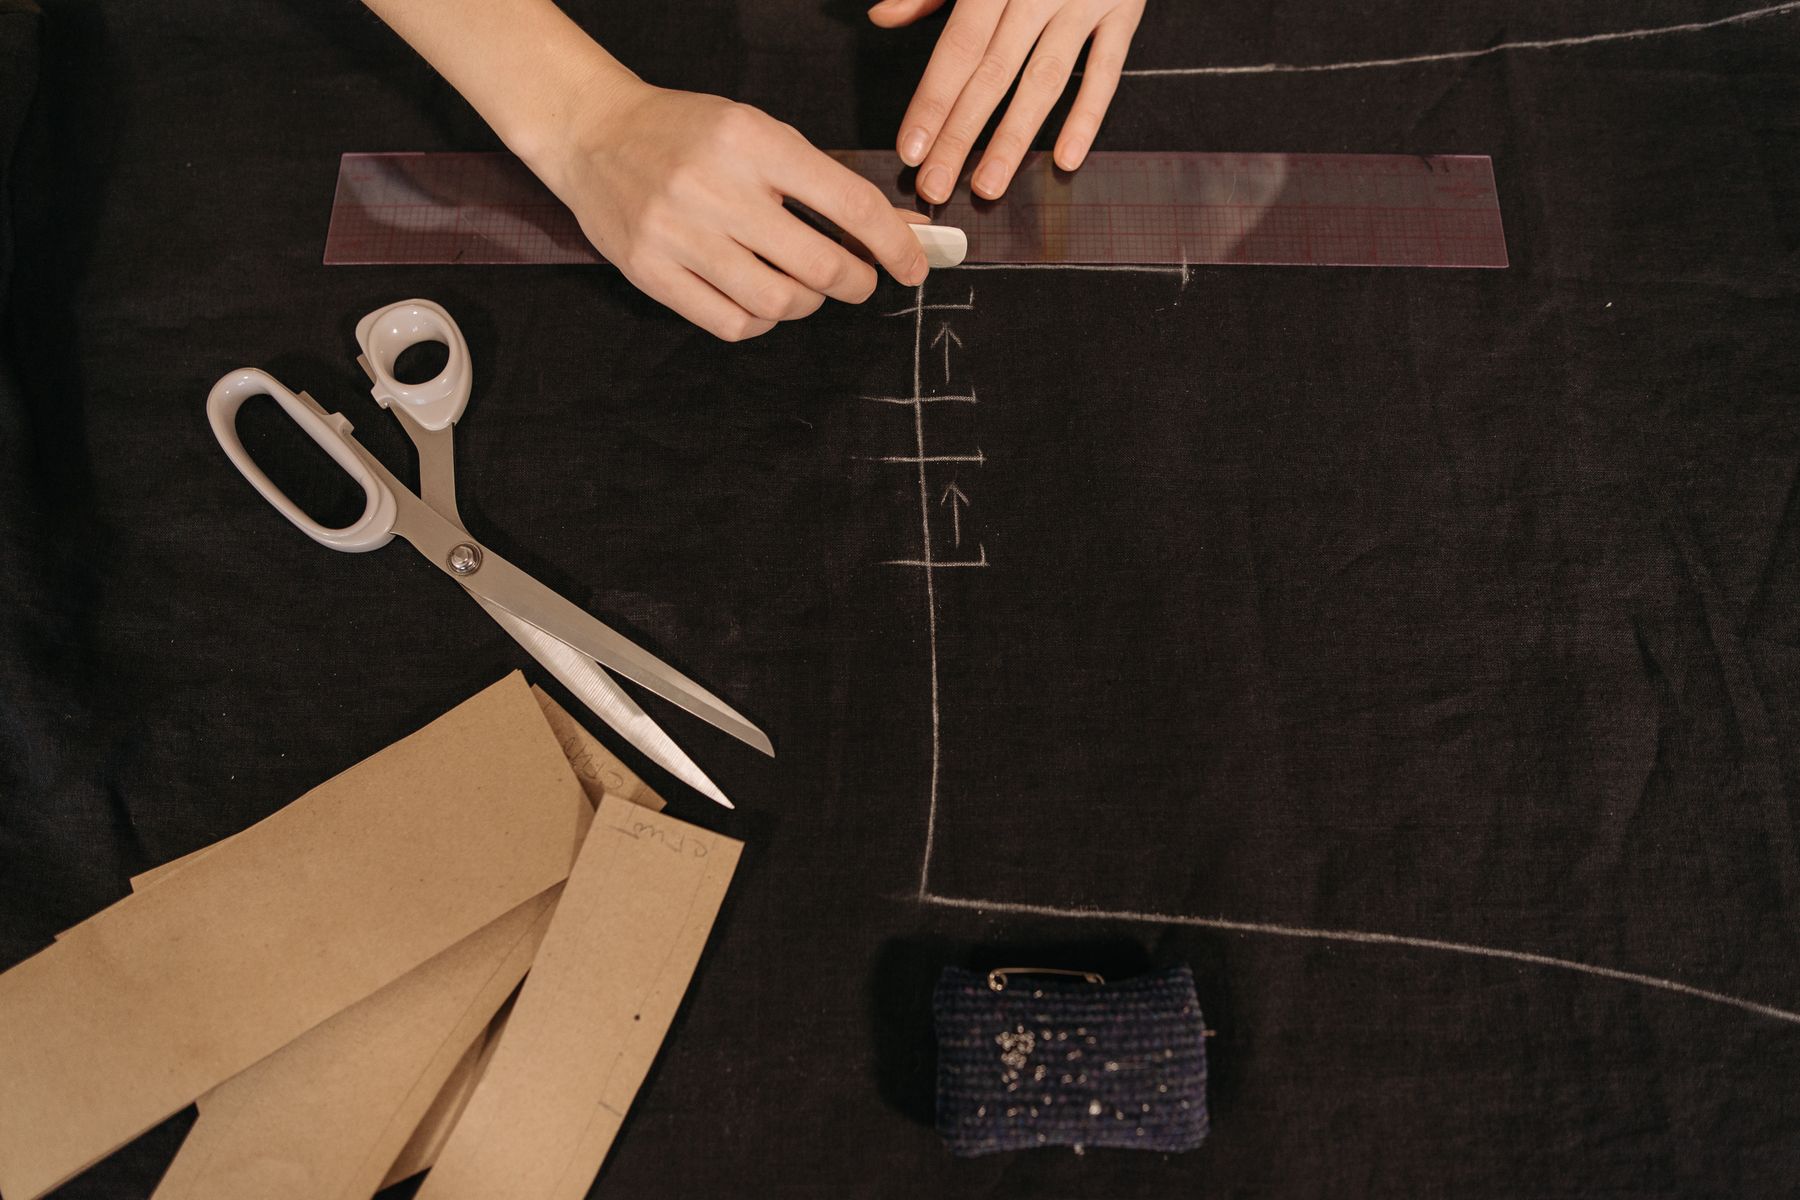
For better accuracy, rough cut paper pieces apart before arranging them. Press tissue flat with low heat if needed, then place each grainline carefully. A small grainline error can become a visible twist in the finished garment.
What Do the Sewing Instructions Tell You?
Instructions give the construction order, seam allowance, pressing steps, finishing details, and view-specific choices. Read the full instruction sheet once before sewing. The confusing step often makes more sense after you see what comes before and after it.
Check seam allowance early. Many commercial patterns use 5/8 inch, but indie and PDF patterns may use 3/8 inch, 1/4 inch, or mixed seam allowances. Sewing the wrong allowance changes fit, neckline shape, sleeve size, and closure placement.
Circle your view, size, and seam allowance before starting. Cross out steps for other views if they distract you. Keep the instruction sheet open while sewing, but use the pattern tissue and garment itself to confirm matching points.
Common Pattern Reading Mistakes to Avoid
The biggest mistake is cutting before reading. Many problems start when the wrong size, fabric, layout, or view is chosen. The second mistake is ignoring finished garment measurements, which are the fastest way to understand intended ease.
Another mistake is skipping symbol transfer. If darts, notches, buttonholes, pleats, or pocket marks are missing, construction becomes guesswork. Mark only what you need for the fabric and step, but mark it clearly.
Do not assume all patterns use the same language. One company may call a pattern piece a facing, while another uses binding or lining. Read the glossary, diagram, and first few steps before deciding the pattern is wrong.
- Do not trust ready-to-wear size. Pattern measurements are their own system.
- Do not ignore stretch percentage. Knit patterns need the right recovery.
- Do not skip layout notes. Nap and directional prints change cutting.
How Can Pattern Notes Improve the Next Project?
Pattern notes turn one project into a reusable fitting record. Write down size, graded areas, fabric, needle, stitch, seam finish, length changes, dart changes, and anything you would change next time.
Store notes with the traced pattern or a digital photo of the envelope. Add a fabric swatch if possible. When you return to the pattern months later, those details save time and prevent repeating the same fit problem.
Once you understand pattern symbols, try a garment with clear fit checkpoints such as our t shirt sewing pattern guide or pants sewing pattern fit checks.
What Should You Do Before Cutting Fabric?
Before cutting, read the instructions again and gather the correct fabric, interfacing, lining, notions, thread, needle, and marking tools. Confirm the pattern view, size, seam allowance, and layout. This ten-minute check prevents most beginner pattern-reading mistakes.
Prepare the fabric according to the care method you will use later. Wash, dry, steam, or press before cutting so shrinkage and wrinkles do not change the finished fit. Fold the fabric accurately and smooth it without pulling it off grain.
Finally, walk through each pattern piece. Ask whether it is cut on the fold, cut twice, mirrored, interfaced, lined, or shortened. When every piece has a clear job, the sewing instructions become much easier to follow.
Frequently Asked Questions
What should I read first on a sewing pattern?
Read the envelope back first: size chart, fabric recommendations, notions, yardage, and finished measurements. Then read the instruction sheet once so you understand the view, seam allowance, and construction order.
How do I know what size sewing pattern to use?
Use body measurements and finished garment measurements together. Choose by the body area that matters most for the garment, then grade between sizes if bust, waist, and hip fall into different columns.
What is a grainline on a sewing pattern?
A grainline is the arrow that tells you how to align the pattern piece with the fabric. It usually runs parallel to the selvage. Correct grainline helps the garment hang and move properly.
Do I need to transfer every sewing pattern mark?
Transfer the marks needed for construction: darts, notches, pocket placements, buttonholes, pleats, and matching points. You do not need every printed line, but missing key marks makes accurate sewing harder.
Sources
- Semrush keyword export, Pattern Lab Co workspace, retrieved 2026-07-20.
- Tilly and the Buttons, How to Select Your Sewing Pattern Size, retrieved 2026-07-20.
- Love Notions, What sewists need to know about Ease, retrieved 2026-07-20.
- Mood Fabrics, Free Sewing Patterns, retrieved 2026-07-20.
