Sewing Patterns
Pants Sewing Pattern: 7 Fit Checks Before You Cut
Jul
A pants sewing pattern asks more of you than most garment patterns because it has to fit while standing, sitting, walking, and bending. In the Semrush export, “pants sewing pattern” shows 1,300 monthly searches with keyword difficulty 5, which makes it a strong tutorial-intent topic for home sewists.
The goal is not a perfect wrinkle-free photo. The goal is wearable pants that move with your body. These seven checks help you choose a pattern, pick fabric, test the rise, and catch fit problems before you cut your final pair.
Key Takeaways
- Choose pants by hip and rise first, then adjust the waist.
- Finished garment measurements matter more than the size label on the envelope.
- A quick muslin or basted fitting catches crotch curve and sitting ease problems early.
- For your first pair, choose stable woven fabric or a forgiving stretch pattern, not slippery fabric.
Why Are Pants Sewing Patterns Harder to Fit?
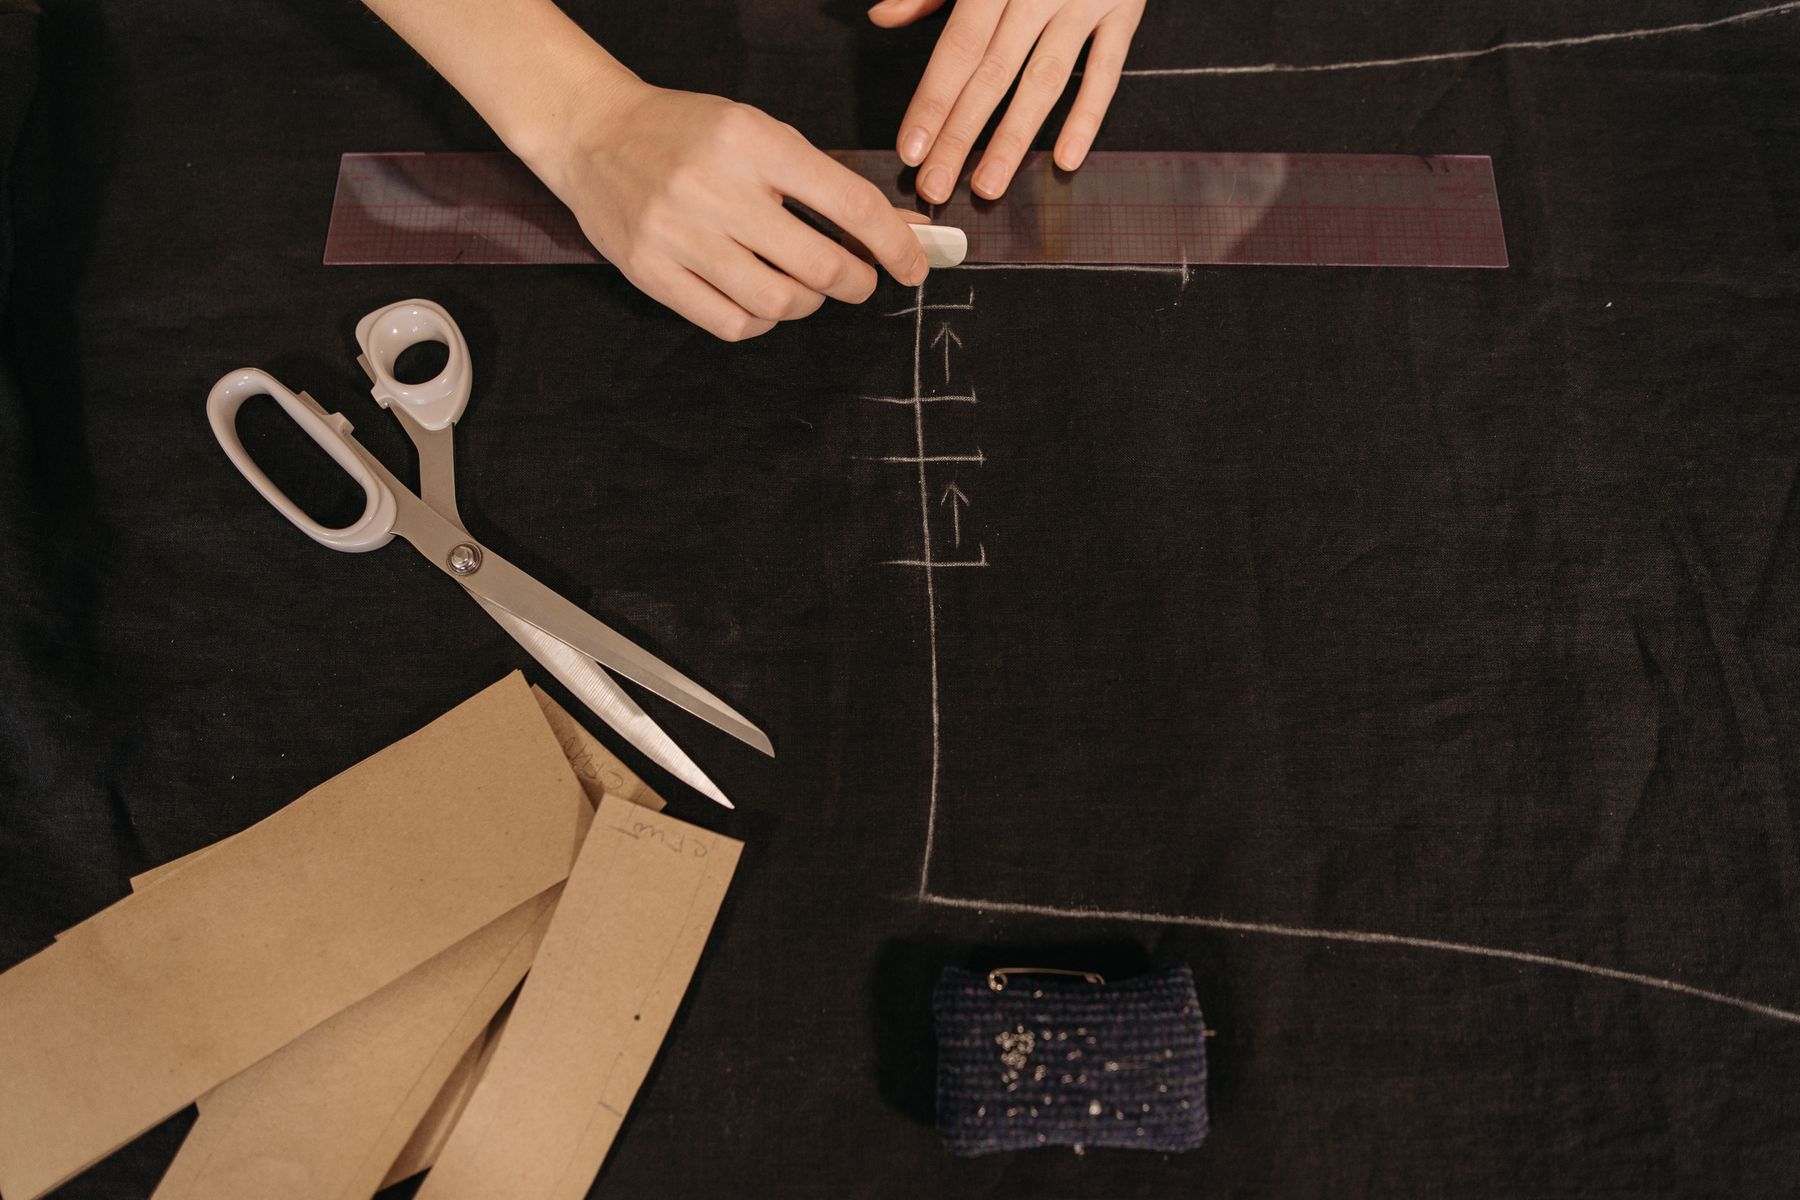
Pants are harder because the crotch curve creates negative space for the body. In-House Patterns describes pants fitting as designing the space your body occupies, including crotch length, crotch depth, and the transition curves between them.
That means a pants pattern can match your waist and hip measurements and still feel wrong when you sit. The rise may be too short, the back crotch may need more length, or the thigh may need extra room.
Start with a pattern that matches your skill level. Elastic-waist trousers are forgiving. Fly-front fitted pants require more accuracy. Jeans add another layer because denim, pocket stay, waistband, and topstitching all affect fit.
Check 1: Choose by Hip, Not Ready-to-Wear Size
Choose a pants sewing pattern by your full hip measurement first. Tilly and the Buttons explains that sewing patterns should be selected from actual body measurements and finished garment dimensions, not ready-to-wear labels.
If your waist and hip fall into different sizes, pick the hip size and adjust the waist. It is usually easier to take in a waistband, deepen darts, or add elastic than to create missing hip room after cutting.
Compare the finished hip measurement to a pair of woven pants you like. If the new pattern has much less finished hip room, it may pull across the seat. If it has much more, the design may be intentionally wide or relaxed.
Check 2: Measure Rise and Crotch Length
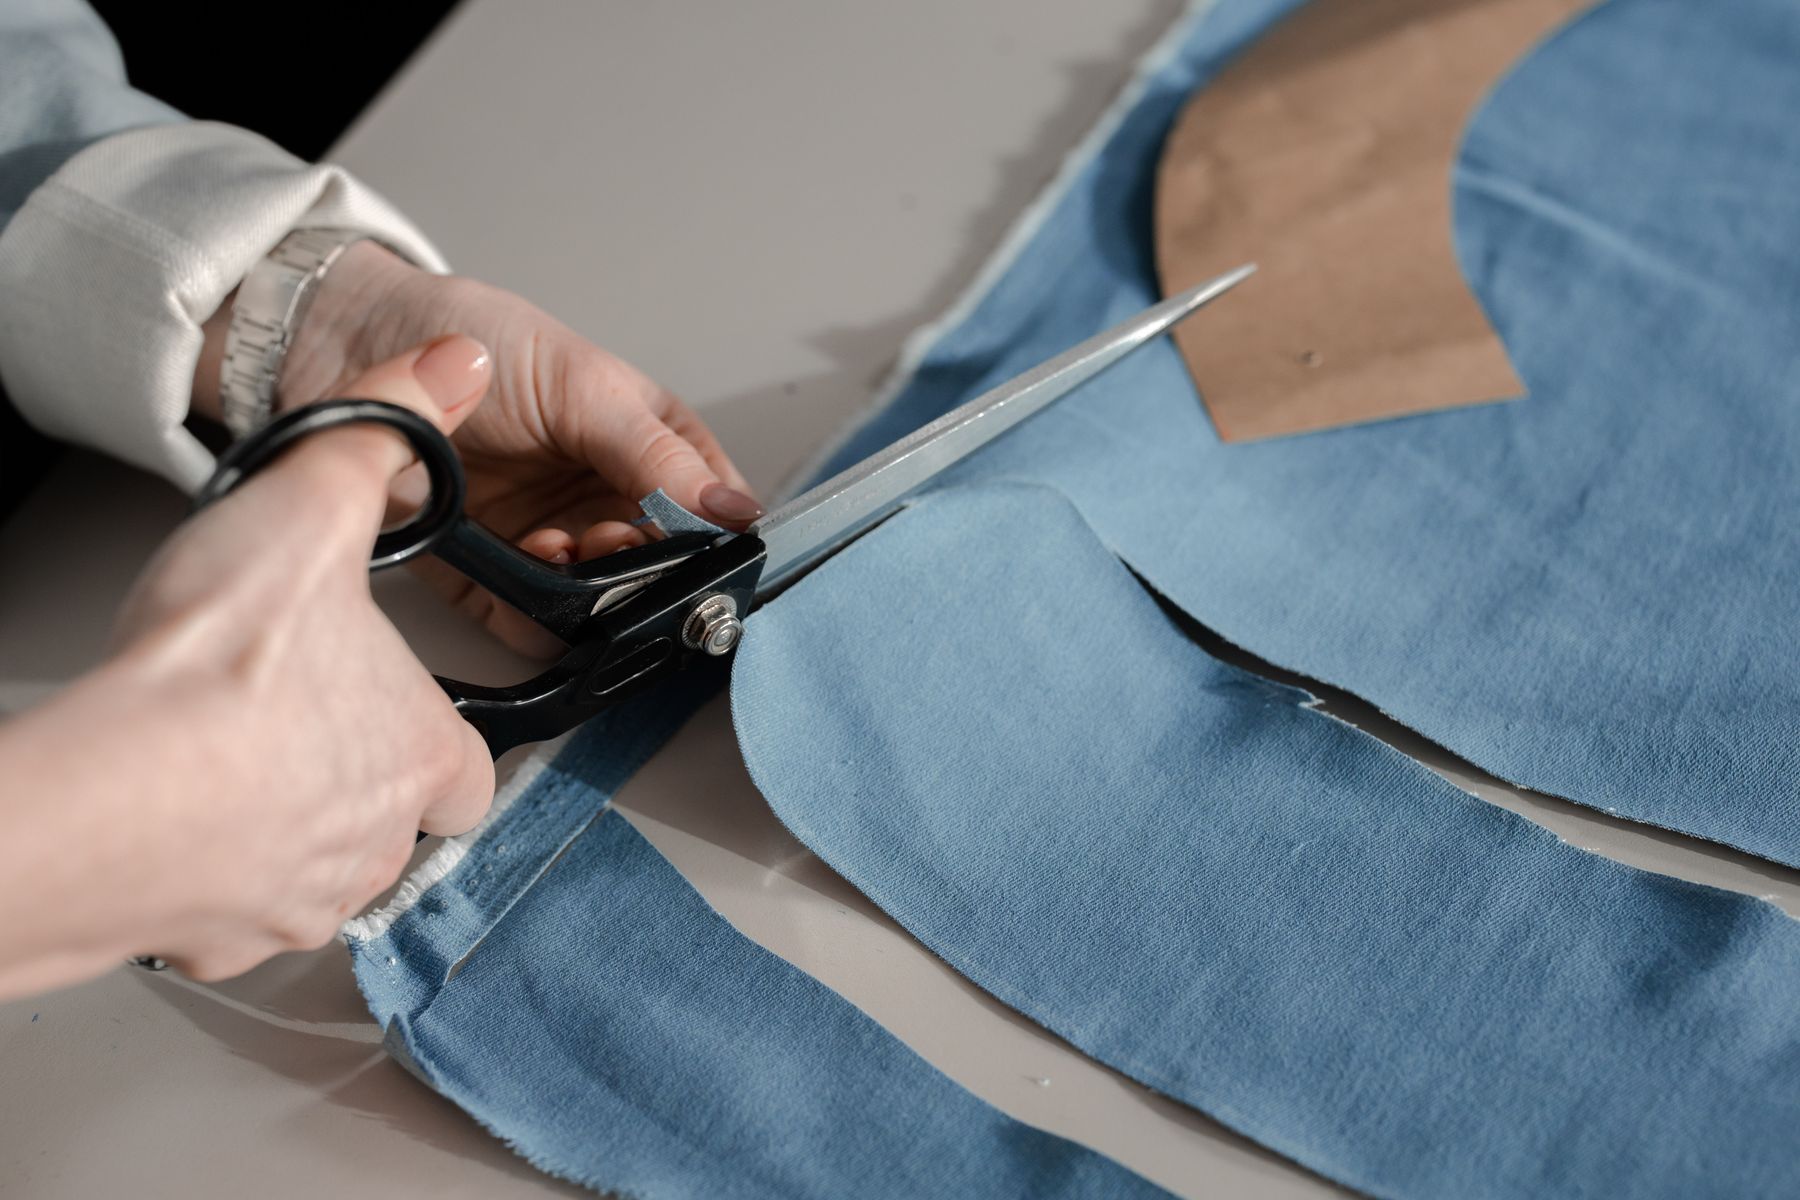
Rise is the fit check beginners skip most often. Closet Core recommends bending and squatting in a basted pair to see whether the rise is high enough, then studying front, side, and back photos for drag lines.
Measure a pair of pants you already like from front waist, through the crotch seam, to back waist. Compare that number to the paper pattern seam line, not the cutting edge. Seam allowances can make the paper look bigger than it is.
If the front crotch pulls upward like a smile, the curve may be too short. If the fabric forms downward lines, it may be too long. Work in small changes because Closet Core notes that 1/8 inch or 1/4 inch can matter at the crotch curve.
Check 3: Match Fabric to the Pattern
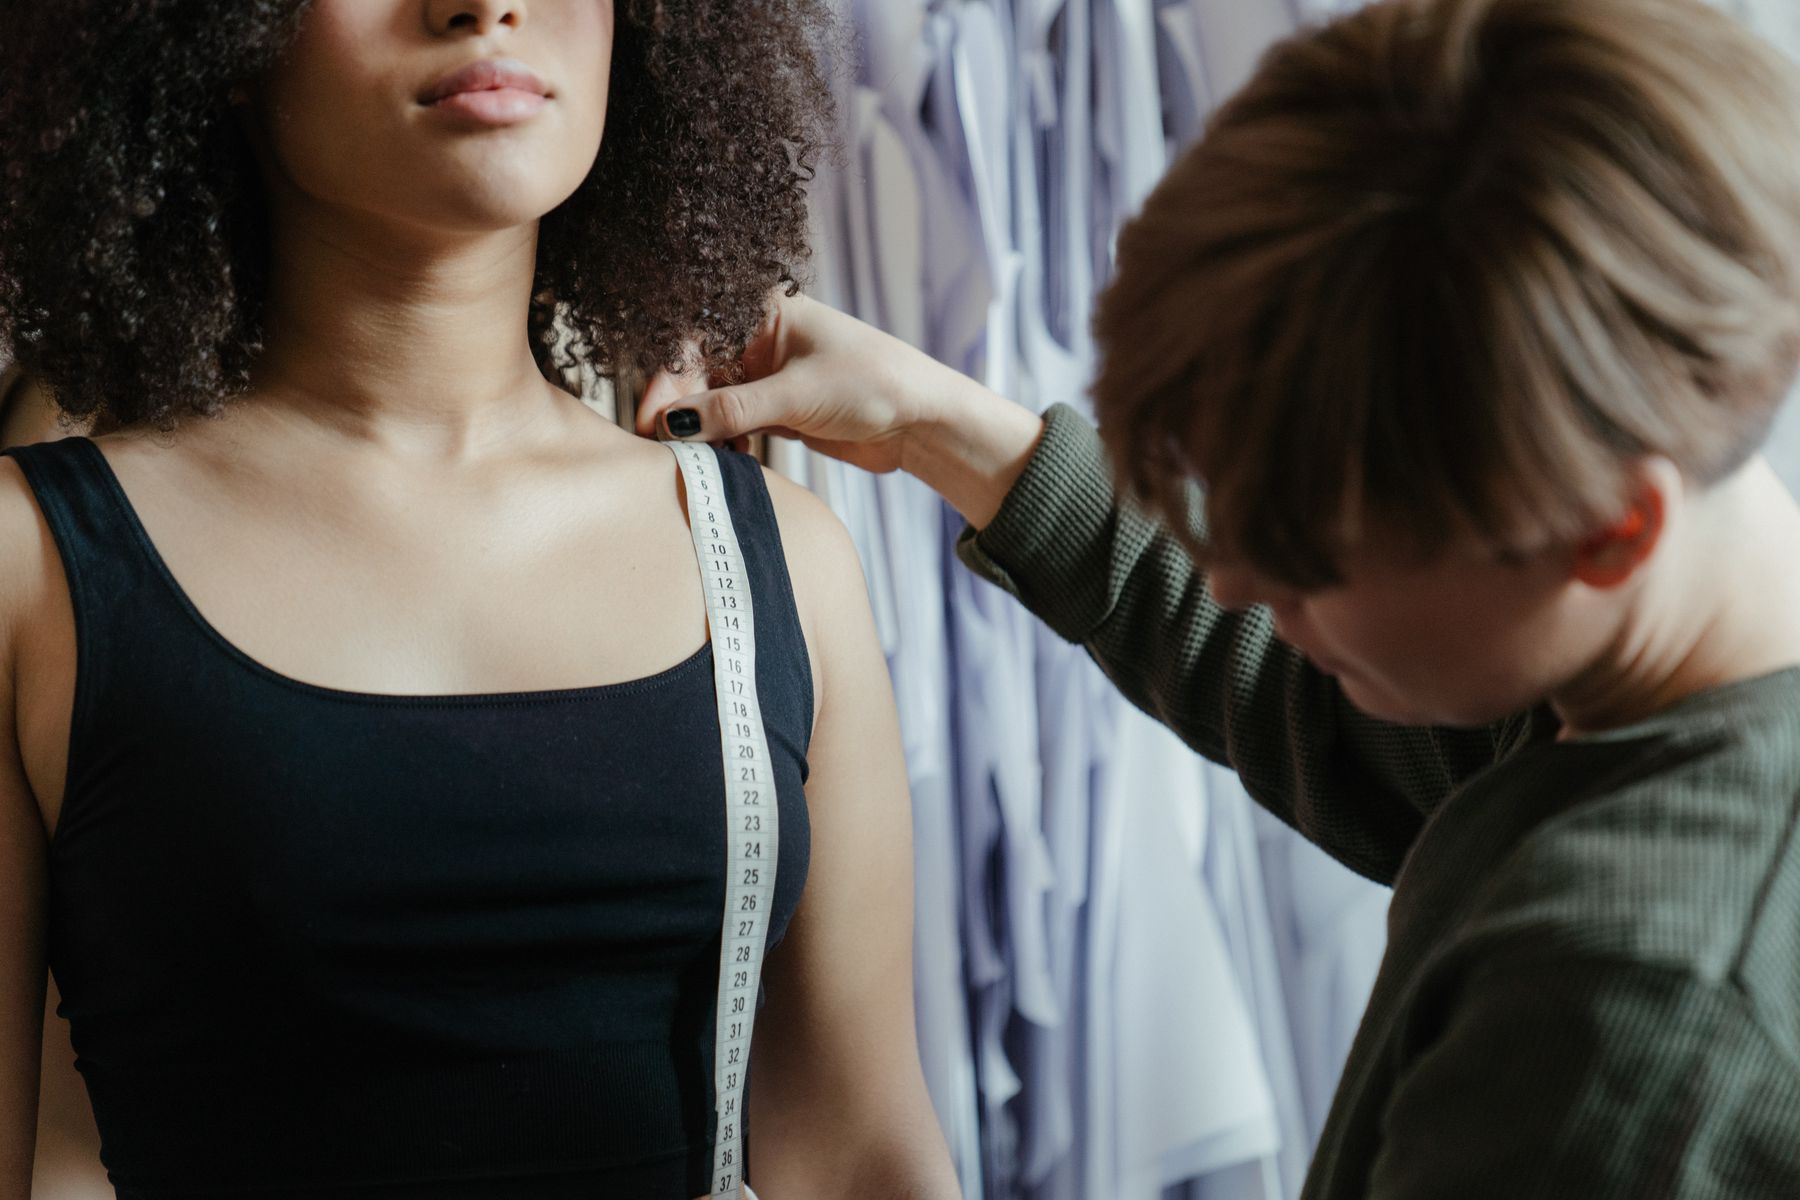
Fabric changes pants fit. A pattern drafted for stretch twill will not behave the same in non-stretch linen. Closet Core notes that stretch fabrics can be more forgiving and easier to fine-tune than rigid fabrics.
For first pants, choose medium-weight cotton twill, linen blend, denim with the recommended stretch, or stable suiting. Avoid very drapey rayon or loose weave fabric until you understand how the pattern fits.
Check the stretch percentage if the pattern requires stretch. If your fabric stretches less than the pattern expects, the pants may feel tight even when the measurements look correct. If it stretches more, knees and seat may bag out.
Check 4: Make a Fast Muslin
A pants muslin does not need pockets, belt loops, or perfect hems. It needs the main leg pieces, crotch seam, side seams, inseam, and waistband or a temporary waist stay. That is enough to test comfort.
Closet Core recommends taking photos from front, side, and back, then marking drag lines on a worksheet or pattern copy. Photos help because mirrors distort your posture and make it hard to see the back body.
Wear the muslin for ten minutes. Sit, squat, climb stairs, and reach. If the waistband digs, the crotch pulls, or the back waist drops, mark the problem on the fabric before you take it off.
Check 5: Read Drag Lines Before Adjusting
Drag lines point toward the missing room or excess fabric. Diagonal lines toward the back crotch can suggest the seat needs more room. Horizontal lines below the seat can point to low seat or extra length issues.
Do not fix everything at once. Make one change, rebaste, and retest. Pants fitting becomes confusing when you alter hip width, crotch curve, thigh width, and waistband shape at the same time.
Use tiny increments near the crotch curve. A 1/4 inch scoop or extension can be enough. Larger changes may distort the hip width or create new wrinkles elsewhere.
Check 6: Plan the Waistband and Closure
The waistband decides whether pants stay comfortable after the lower body fits. A straight waistband works for some bodies, while a curved waistband often fits better over a smaller waist and fuller hip.
If the waistband gaps at the back, pinch out the excess and transfer it to the waistband pattern. If it digs at the front when sitting, add wearing ease or adjust the front rise before changing button placement.
For beginners, elastic-back or side-zip pants reduce fitting pressure. They still teach hip, rise, and leg fit, but they give the waist a little forgiveness.
Check 7: Keep the First Pair Simple
The first pair should teach fit, not every detail at once. Skip welt pockets, complex fly fronts, and heavy topstitching unless the pattern has excellent instructions and you already sew accurately.
Once the fit is right, the same pattern can become a wardrobe base. Make a linen pair, then a twill pair, then a cropped pair. Pattern repeatability is where handmade pants start saving time.
Mark every successful change on the pattern before you put it away. Write the fabric, size, seam allowance changes, rise changes, and waistband notes directly on the pattern copy. Six months later, those notes are more useful than memory.
If you are choosing between shorts and full-length pants, begin with the garment you will wear more often. Our shorts sewing pattern guide uses the same hip, rise, and fabric logic on a smaller project.
- Good first choice: relaxed elastic-waist pants with slash or patch pockets.
- Good second choice: flat-front, elastic-back trousers with stable woven fabric.
- Save for later: jeans, fly fronts, welt pockets, and very fitted trousers.
What Should You Record After the First Pair?
Record the exact size blend, fabric type, needle, stitch, seam finish, and adjustments. Include photos of the front, side, and back. Pants fitting is cumulative, and a small notebook can stop you from solving the same problem every time.
Keep the muslin or at least the altered paper pattern. If the crotch curve worked in linen but not in stretch twill, the difference may be fabric recovery rather than the pattern. Notes help you separate fabric behavior from drafting problems.
When the pattern is close, make only one design change per version. Change leg width, pocket style, or waistband height, but not all three. That keeps the fit data readable and gives you a reliable base for future handmade wardrobe pieces.
Frequently Asked Questions
What is the easiest pants sewing pattern for beginners?
The easiest pants pattern has an elastic waist, relaxed leg, few fitting points, and clear finished measurements. Choose stable fabric and skip fly fronts for the first pair. You can learn rise and hip fit without also learning zipper construction.
Should I make a muslin for pants?
Yes. Pants need to work while sitting and moving, so a fast muslin is worth the time. It does not need pockets or finished hems. It only needs enough structure to test hip ease, crotch length, rise, and waistband comfort.
How do I know if the crotch curve is wrong?
Look for pulling, smiles, frowns, or tightness around the crotch seam. Closet Core recommends using drag lines and comfort checks to diagnose the issue. Make small changes because the crotch curve reacts strongly to tiny adjustments.
Can I use quilting cotton for pants?
Usually no for adult fitted pants. Quilting cotton lacks the weight, recovery, and drape most pants need. It can work for pajama pants or test muslins, but twill, denim, linen blend, and stable suiting are better final fabrics.
Sources
- Semrush keyword export, Pattern Lab Co workspace, retrieved 2026-07-18.
- Closet Core Patterns, Pants Fitting Adjustments: Best Tips for Perfectly Fitting Pants, retrieved 2026-07-18.
- In-House Patterns Studio, Fitting the Crotch Curve, retrieved 2026-07-18.
- Tilly and the Buttons, How to Select Your Sewing Pattern Size, retrieved 2026-07-18.
- Love Notions, What sewists need to know about Ease, retrieved 2026-07-18.
