
Sewing Patterns
Using a Serger to Sew: Beginner Setup and Seam Guide
Aug
Learning using a serger to sew is less about speed and more about control. In the local Semrush export, “using a serger to sew” shows 1,300 monthly searches with keyword difficulty 9, making it a strong low-competition tutorial topic for sewists who want cleaner knit garments and seam finishes.
This guide explains when to use a serger, how to thread it, which test seams to run first, how to manage seam allowance, how to finish thread tails, and when a regular sewing machine is still the better choice.
Key Takeaways
- Use a serger for stretchy seams, fast seam finishing, rolled hems, and clean raw edges.
- Threading order, tension, cutting width, differential feed, and fabric scraps should be tested before the real garment.
- A serger does not replace every sewing machine step because buttonholes, topstitching, zippers, and precise basting still need a standard machine.
- Clean lint often because a serger cuts fabric while it stitches and collects more fiber than a regular machine.
What Does a Serger Do That a Sewing Machine Does Not?
A serger trims the edge, forms an overlock stitch, and finishes the seam allowance in one pass. WeAllSew explains that sergers commonly use three or four threads to seam fabric while covering raw edges, which is why they are useful for knits and neat garment interiors.
That speed can be misleading for beginners. The knife is permanent, the stitch is harder to unpick, and tension issues are more visible on lightweight or stretchy fabric. Start slowly until your hands understand how the fabric feeds.
If you are still learning garment seams, compare this with our t shirt sewing pattern guide. Knit tops are one of the clearest places to see where a serger helps.
When Should You Use a Serger to Sew?
Use a serger when the seam needs stretch, a clean raw edge, or fast finishing. It is ideal for knit side seams, shoulder seams, pajama seams, activewear edges, simple woven seam finishing, napkins, and rolled hems.
Do not use the serger for every construction step. Zippers, buttonholes, darts, precise topstitching, staystitching, and fitting changes usually need a regular sewing machine first. Baste important seams before committing to the knife.
For beginner garments, sew the shoulder and side seams on scraps first. Pull the sample across the stretch direction. If the thread pops, loops hang off the edge, or the seam waves, adjust before touching the real project.
A serger is especially useful when fabric frays badly. Rayon challis, linen blends, loose wovens, and lightweight cotton can look tidier after edge finishing, but the cutting width should remove fuzz without shaving off too much seam allowance.
How Do You Thread a Serger Without Guessing?
Thread the serger in the order your manual gives, usually upper looper, lower looper, then needles. Tilly and the Buttons notes that overlocker or serger threading becomes faster when you follow the machine path carefully instead of improvising.
Use four different thread colors during practice. Match each color to a tension dial so the stitch sample tells you which thread is loose or tight. Once the stitch is balanced, switch to matching thread for the real garment.
Raise the presser foot when threading if your machine releases tension discs that way. Pull each thread gently through the guides and under the presser foot. Then chain off several inches before feeding fabric.
If a thread breaks, do not only rethread that one path. Many sergers need the loopers rethreaded in order after a break. It feels slow, but it prevents repeated skipped stitches and tangled thread under the plate.
What Settings Should Beginners Test First?
Test stitch length, cutting width, differential feed, needle tension, looper tension, and presser foot pressure before sewing the garment. WeAllSew’s serger guidance separates threading, stitch formation, seam control, and maintenance because each setting changes the result.
Start with medium stitch length and a standard four-thread overlock. If the loops hang off the fabric edge, adjust cutting width or looper tension. If the edge tunnels inward, loosen the looper balance or widen the cut slightly.
Use differential feed for knit fabric that waves. Increase it when fabric stretches under the foot. Decrease it when lightweight woven fabric puckers or gathers. Change one dial at a time so the test sample stays readable.
Save the sample with a note. Write fabric type, needle size, thread, stitch length, differential feed, cutting width, and tensions on masking tape. Those scraps become a personal settings library for future projects.
How Do You Control Seam Allowance with a Serger?
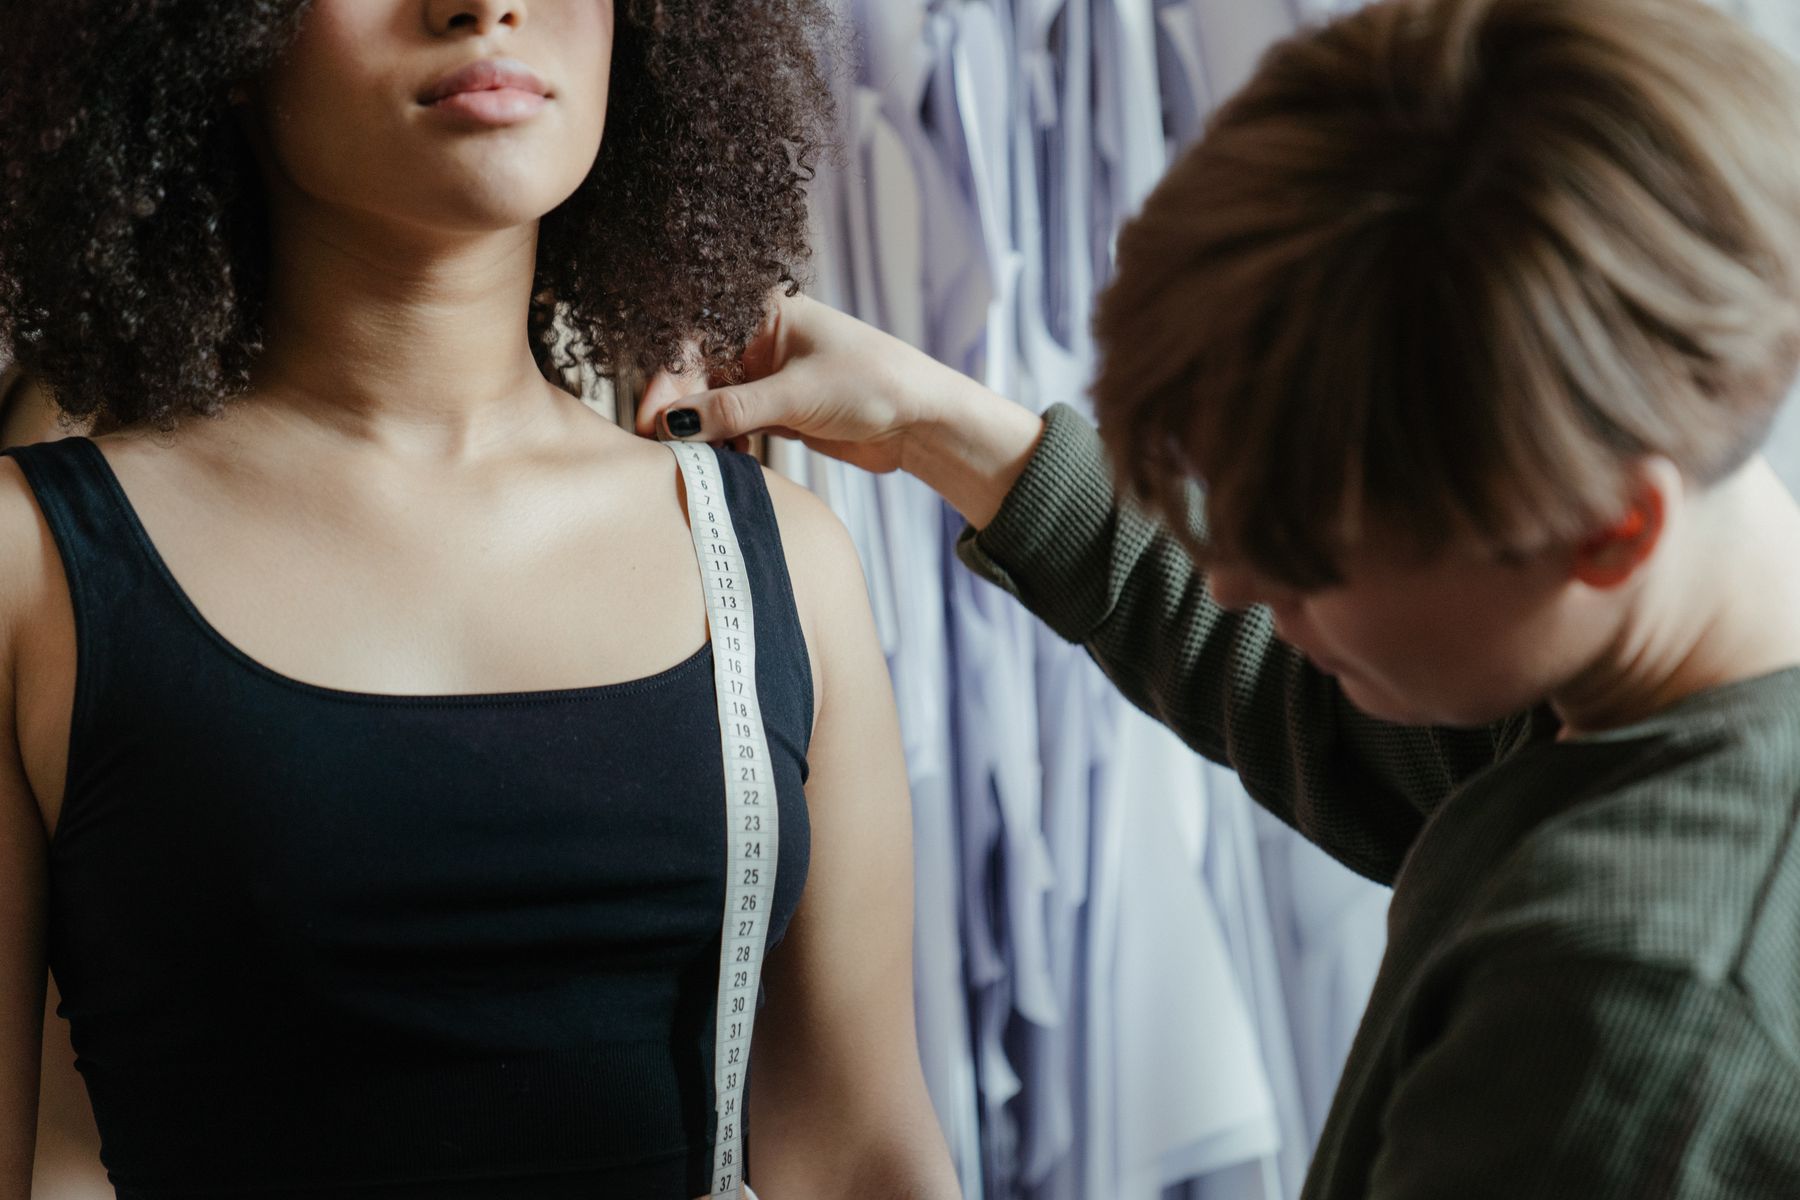
Control seam allowance by marking the sewing line and deciding exactly how much the knife should trim. A serger can quickly turn a generous seam allowance into a too-small garment if the fabric drifts left.
If the pattern uses a 5/8 inch seam allowance, you can either trim down to a smaller finished allowance or sew first on a regular machine and serge the raw edges afterward. The second method is safer when fit is uncertain.
Watch the guide, not the needle. Keep fabric flat and let the feed dogs move it. Pulling behind the presser foot can stretch knits, distort bias seams, and create wavy side seams that pressing will not fully remove.
For fit-sensitive projects, use the measuring habits in our sewing pattern symbols guide before trimming permanent allowances.
How Should You Finish Serger Thread Tails?
Finish serger thread tails so the seam does not unravel at stress points. WeAllSew lists several ways to secure a serger seam, including tying tails, feeding tails back into the seam, stitching over the tail, or using seam sealant.
For garments, feeding the tail back into the stitches with a large-eye needle or latch tool gives a clean finish. Tie-offs can work inside casual clothing, but bulky knots can rub at underarms, waistbands, and necklines.
At crossed seams, leave tails long until the next seam catches them. Then trim after pressing. This works well on T-shirts, leggings, pajama pants, and simple knit dresses where seams intersect naturally.
Common Serger Mistakes to Avoid
The most common mistake is practicing on fabric that is easier than the real project. A perfect cotton scrap does not prove your serger is ready for rib knit, rayon jersey, sweater knit, or slippery athletic fabric.
Another mistake is sewing too fast. Speed makes it harder to guide curves, watch the cutting line, and stop before pins. Never serge over pins because the knife and needles can be damaged.
Do not ignore lint. WeAllSew’s maintenance advice points out that sergers collect extra lint because they cut while sewing. Brush the knife area, loopers, feed dogs, and thread path after linty projects.
For more closure and seam control practice, our zipper foot sewing guide shows when specialty feet matter.
- Do not skip scrap tests. Test the real fabric with the real thread.
- Do not trim fit seams too early. Baste first when sizing is uncertain.
- Do not chase every dial at once. Change one setting and compare samples.
What Projects Help You Learn a Serger Fast?
Start with projects that reward clean edges without demanding perfect fitting. Knit scarves, pajama shorts, simple T-shirts, leggings, cloth napkins, reusable wipes, and woven seam samples all teach useful control.
Then move to real garment seams where stretch matters. A knit T-shirt teaches shoulder seams, side seams, and hems. Pajama pants teach long straight seams and casing preparation. A simple dress teaches curves and weight changes.
Keep a small bin of fabric strips beside the machine. Each time you change fabric, thread, or needle, run a sample first. The fastest serger users are not guessing. They test quickly, then sew confidently.
If sleepwear is your next project, compare soft seam choices in our nightgown sewing pattern guide.
Frequently Asked Questions
Is using a serger to sew beginner friendly?
Yes, if you start with scrap tests, stable fabric, and a basic four-thread overlock. Beginners should practice threading, cutting width, differential feed, and thread-tail finishing before sewing fitted garments.
Can a serger replace a sewing machine?
No. A serger is excellent for seams and edge finishing, but a regular sewing machine is still better for zippers, buttonholes, darts, basting, topstitching, and precise repairs.
What fabric should I serge first?
Start with stable cotton knit, medium-weight jersey, or woven cotton scraps. Very slinky jersey, sweater knit, chiffon, and thick fleece are harder because they stretch, curl, shift, or create bulky seams.
Why does my serged seam look wavy?
Wavy seams usually come from fabric stretching under the presser foot, too little differential feed, pulling the fabric, or using a stitch setup that does not match the knit. Test and adjust one setting at a time.
Sources
- Semrush keyword export, Pattern Lab Co workspace, retrieved 2026-08-19.
- WeAllSew, Everything You Wanted to Know About Sergers, retrieved 2026-08-19.
- WeAllSew, Serging 101: Understanding Your Serger, retrieved 2026-08-19.
- WeAllSew, 5 Ways to Secure a Serger Seam, retrieved 2026-08-19.
- Tilly and the Buttons, The Fast Way to Thread Your Overlocker or Serger, retrieved 2026-08-19.
