
Sewing Patterns
How to Sew an Invisible Zipper: Clean Dress and Skirt Guide
Aug
How to sew an invisible zipper is a high-value skill because one neat closure can make a handmade skirt, dress, or trouser look polished. In the local Semrush export, “how to sew an invisible zipper” shows 590 monthly searches with keyword difficulty 9, which makes it a focused low-competition tutorial keyword.
This guide walks through zipper choice, pressing, marking, stabilizing fabric, using an invisible zipper foot, matching seams, finishing the lower seam, and handling lining without puckers.
Key Takeaways
- Press zipper teeth open gently before sewing so the invisible zipper foot can stitch close to the coil.
- Stabilize lightweight or bias seams before installation because an invisible zipper exposes ripples quickly.
- Baste first when waistbands, darts, plaids, or horizontal seams must match across the closure.
- Finish the seam below the zipper after both tapes are sewn and tested closed.
What Makes an Invisible Zipper Look Invisible?
An invisible zipper looks invisible when the teeth roll inward and the garment seam closes neatly over the tape. Tilly and the Buttons teaches aligning zipper teeth with the pressed seam fold, which keeps the closure hidden after stitching.
The zipper is not truly hidden by magic. It disappears because the stitch line sits close to the teeth without catching them. Pressing, pinning, and foot choice decide whether that line stays straight.
If pattern symbols or notches are confusing, start with our sewing pattern symbols guide. Accurate notches make zipper placement easier.
Which Invisible Zipper Should You Choose?
Choose a zipper longer than the opening if possible, because extra length keeps the zipper pull below the stitching area. Closet Core Patterns shows invisible zipper installation for lined and unlined garments, and both methods are easier when the pull stays out of the way.
Match zipper weight to fabric. Lightweight nylon invisible zippers suit dresses, skirts, and trousers. Heavy fabric may need a sturdier closure or a lapped zipper instead, especially if the seam will be stressed.
Choose color by the zipper pull and any tiny visible tape, not by the hidden teeth alone. A close color match matters most at the top edge, waistband, neckline, and hook-and-eye area.
Buy the zipper before final cutting if the pattern has a fixed opening length. A too-short zipper can make a fitted garment hard to put on, while a too-heavy zipper can drag soft fabric downward.
How Should You Prepare the Seam Before Sewing?
Prepare the seam by finishing or stabilizing the raw edges, pressing the seam allowance, marking the zipper stop, and checking that both garment sides are balanced. Tilly’s invisible zip tutorial uses pressed seam allowances as a guide before positioning the tape.
Do not sew the whole seam shut first unless your method requires temporary basting. Most invisible zippers are installed before the seam below the zipper is closed, which gives you flatter access and better foot control.
Staystitch or stabilize curves, bias edges, loose linen, rayon challis, silk, or lightweight crepe. A narrow strip of fusible stay tape can prevent ripples near the waist, side seam, or center back.
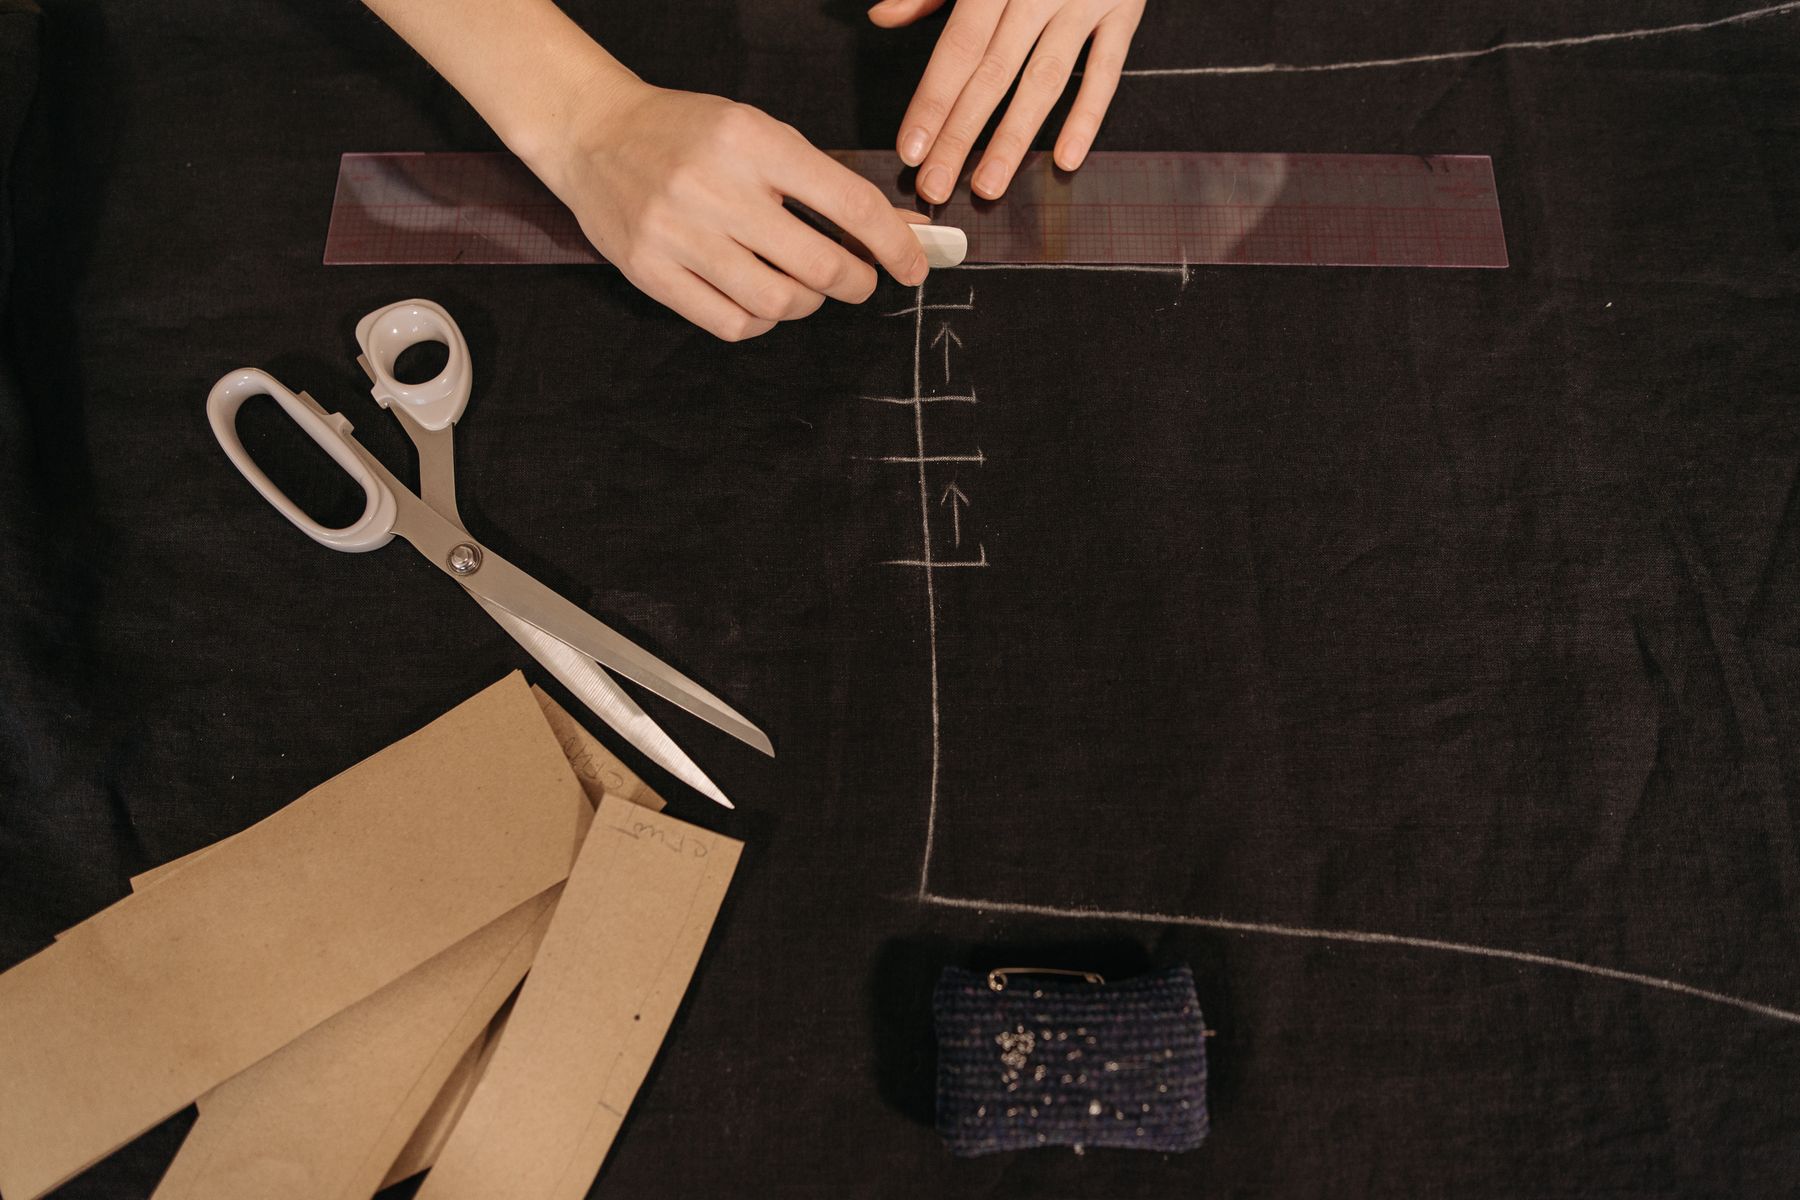
Mark horizontal seams across both sides. Use chalk, thread tacks, or removable marker on the wrong side. Matching a waist seam after the zipper is sewn is much harder than marking before you start.
How Do You Use an Invisible Zipper Foot?
Use an invisible zipper foot by placing the zipper teeth in the foot groove so the foot rolls them open while stitching. Tilly and the Buttons describes using the grooves on the underside of the foot to guide the teeth.
Start with the zipper open and one tape pinned right sides together to the garment. Stitch from the top edge down as far as the pull allows. Backstitch carefully, then repeat on the second tape.
Keep the garment flat and avoid stretching the seam allowance. If the fabric creeps, hand-baste the tape or use wash-away tape. Pins can distort fine fabric, while too much tape can stiffen delicate silk.
After both tapes are sewn, close the zipper and inspect the outside. The seam should meet evenly at the top and across any waist seam. If one side sits higher, unpick only the mismatched area and reset it.
How Do You Close the Seam Below the Zipper?
Close the seam below the zipper after both tapes are installed and tested. Start just below the last zipper stitches, use a regular zipper foot if needed, and sew the remaining seam allowance without leaving a visible gap.
The lower join is where many invisible zippers pucker. Do not pull the zipper tape away from the fabric. Let the seam line continue naturally from the existing stitch path, then press the seam from the wrong side.
If the zipper end feels bulky, shorten the zipper safely or leave extra zipper length inside the garment according to the pattern instructions. A hook and eye at the top can reduce strain on the zipper pull.
For another zipper-control project, compare the tool setup in our zipper foot sewing guide.
How Do You Sew an Invisible Zipper with Lining?
A lined invisible zipper needs the lining attached cleanly to the zipper tape while keeping the outer garment smooth. Closet Core Patterns covers both single-layer and lined garment methods, which is useful because lining changes the order of construction.
Press the lining seam allowance before attaching it to the zipper tape. Keep lining stitches close enough to cover the tape edge but not so close that they block the slider or twist the outer fabric.
Grade bulky seam allowances near the top edge, neckline, or waistband. Turn the lining to the inside and press lightly. The zipper should close without catching lining fabric in the teeth.
Common Invisible Zipper Mistakes to Avoid
The most common mistake is sewing too far from the teeth. The second is sewing so close that the zipper will not close. Both problems usually come from skipping pressing or using the wrong presser foot.
Another mistake is ignoring seam matching. Waistbands, yokes, darts, plaids, and stripes should be marked before the zipper is attached. Basting takes a few extra minutes and can save a visible mismatch.
Do not press the finished zipper aggressively from the right side. Heat can flatten the teeth, shine fabric, or create an imprint. Use a pressing cloth and work from the wrong side whenever possible.
If the zipper belongs in a skirt, our midi skirt sewing pattern guide gives useful waist and hem checks.
- Do not skip pressing the coil. The foot needs access to the teeth.
- Do not install before fitting. A zipper seam is tedious to adjust later.
- Do not force the slider. Find the caught thread or lining first.
What Should a Finished Invisible Zipper Look Like?
A finished invisible zipper should close smoothly, sit flat, and hide under the seam fold. The top edges should match, horizontal seams should align, and the lower seam should continue without a bump.
Put the garment on before declaring it finished. Sitting, bending, and breathing can reveal pulling that a flat table misses. If the zipper ripples only on the body, the seam may need more ease or stabilization.
Save a sample if the project fabric was difficult. Note zipper brand, foot type, needle, stabilizer, stitch length, and pressing temperature. Those notes make the next dress or skirt faster.
For a project where invisible zippers often appear, see our A-line dress sewing pattern guide.
Frequently Asked Questions
Do I need a special foot to sew an invisible zipper?
An invisible zipper foot gives the cleanest result because its grooves roll the teeth open. A regular zipper foot can work in a pinch, but it is harder to stitch close enough without catching the coil.
Should I sew the seam before the invisible zipper?
Usually, install the invisible zipper before sewing the seam below it. Some sewists baste the seam first for marking, but final stitching is easier after both zipper tapes are attached.
Why does my invisible zipper pucker?
Puckers can come from stretched fabric, skipped stabilization, uneven tape placement, pressing too hard, or stitching too far from the natural seam line. Test on scraps and stabilize soft fabric before installation.
Can I sew an invisible zipper in lined fabric?
Yes. Sew the zipper to the outer garment first, then attach the lining to the zipper tape neatly. Keep lining stitches clear of the teeth so the slider moves smoothly.
Sources
- Semrush keyword export, Pattern Lab Co workspace, retrieved 2026-08-19.
- Tilly and the Buttons, How to sew an invisible zip, retrieved 2026-08-19.
- Closet Core Patterns, How to Sew an Invisible Zipper, retrieved 2026-08-19.
- Closet Core Patterns, How to Sew an Invisible Zipper // Amy Jumpsuit, retrieved 2026-08-19.
- Tilly and the Buttons, How to Sew a Skirt Lining, retrieved 2026-08-19.
