Sewing Patterns
Jacket Sewing Pattern Guide for a Polished First Jacket
Jul
A jacket sewing pattern is one of the most satisfying garment projects because it turns fabric into structure. In the local Semrush export, “jacket sewing pattern” shows 720 monthly searches with keyword difficulty 5, so it fits a low-competition buyer and tutorial target for Pattern Lab Co.
This guide helps you choose a first jacket pattern, match fabric weight, test interfacing, check shoulder and sleeve fit, and avoid the construction details that make jackets feel harder than they need to be.
Key Takeaways
- Choose a first jacket with simple collar, sleeve, and lining details before tailoring-heavy designs.
- Match fabric weight to the pattern photo and recommendations; structure changes the whole silhouette.
- Test fusible interfacing on scraps so the fabric keeps drape without bubbling or becoming board-stiff.
- Fit the shoulders and upper body first, then adjust bust, waist, sleeve length, and hem shape.
What Makes a Jacket Sewing Pattern Beginner Friendly?
A beginner-friendly jacket pattern has a simple shape, clear sleeve instructions, limited tailoring, and few precise closure details. The Shapes of Fabric lists common jacket details such as notched collars, bound buttonholes, bagged lining, and shoulder pads, which are better treated as separate skill steps.
For a first jacket, look for a boxy chore jacket, unlined utility jacket, kimono-style jacket, or simple cropped jacket. These designs teach seams, pockets, sleeves, and pressing without forcing you to solve tailoring, roll lines, and complex lining all at once.
If you want a layering project before a full jacket, our vest sewing pattern guide covers similar fabric and fitting decisions with fewer sleeve variables.
How Should a Handmade Jacket Fit?
A jacket should fit first at the shoulders, upper chest, and sleeve. Tilly and the Buttons recommends choosing sewing pattern size from body measurements and using finished garment measurements to understand the final size after sewing.
Measure your high bust, full bust, waist, hip, shoulder width, bicep, and preferred sleeve length. Then compare the finished measurements to a jacket you already wear. A jacket needs room over the garments underneath, not just your body.
Do a quick tissue, toile, or muslin check for shoulder width and sleeve movement. Reach forward, cross your arms, and sit down. If the armhole bites or the back pulls, fix that before spending time on pockets and topstitching.
Which Fabric Works Best for a First Jacket?
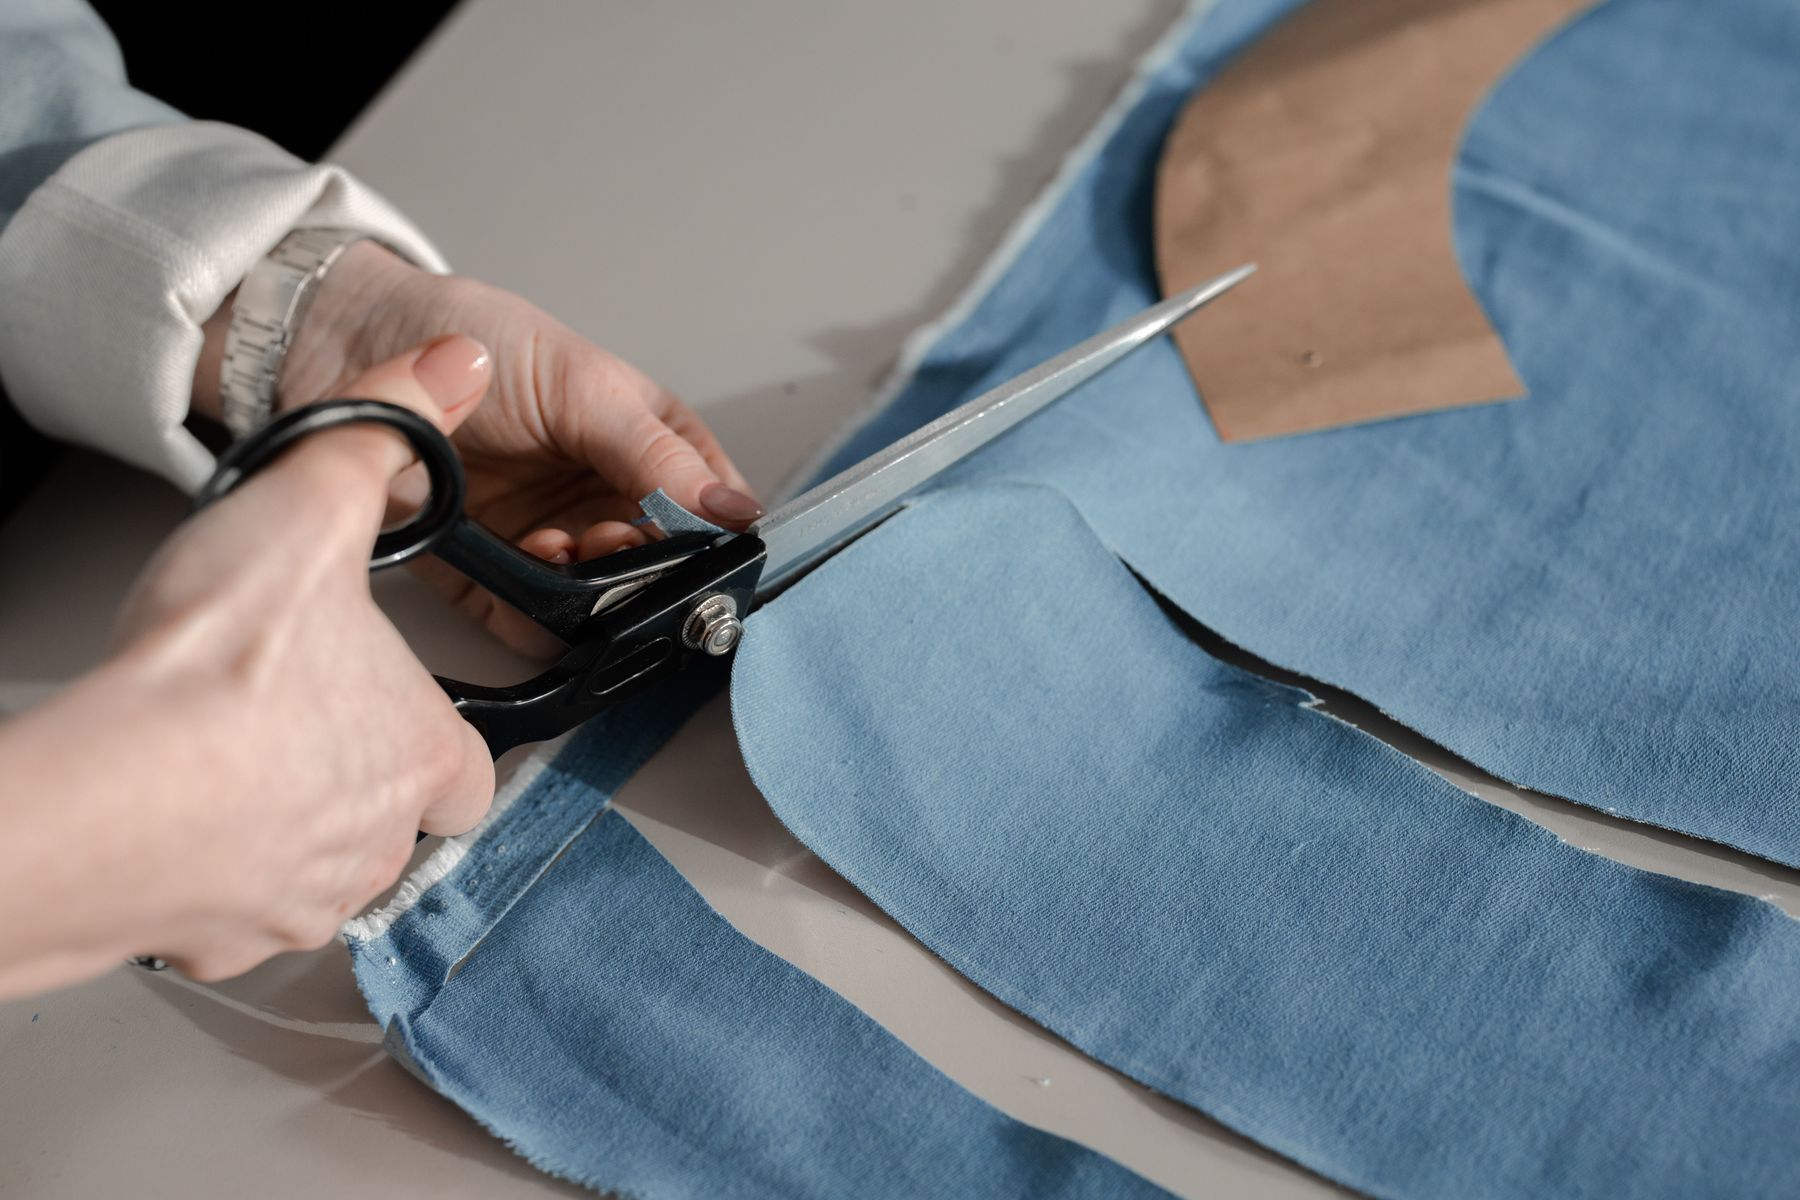
Stable medium-weight woven fabric is the easiest first jacket choice. Denim, cotton twill, canvas, linen canvas, corduroy, wool blend, and stable suiting press well and make seams easier to control.
Avoid slippery lining-weight fabric, loose boucle, heavy coating, velvet, faux fur, or very thick wool for your first jacket. Those fabrics can be beautiful, but they increase cutting, pressing, needle, and bulk decisions before the fit is proven.
Match the fabric to the pattern’s intended shape. A chore jacket wants body. A relaxed blazer may need drape plus support. A quilted jacket needs loft management. When fabric and pattern disagree, the finished jacket usually looks off.
When Do You Need Interfacing?
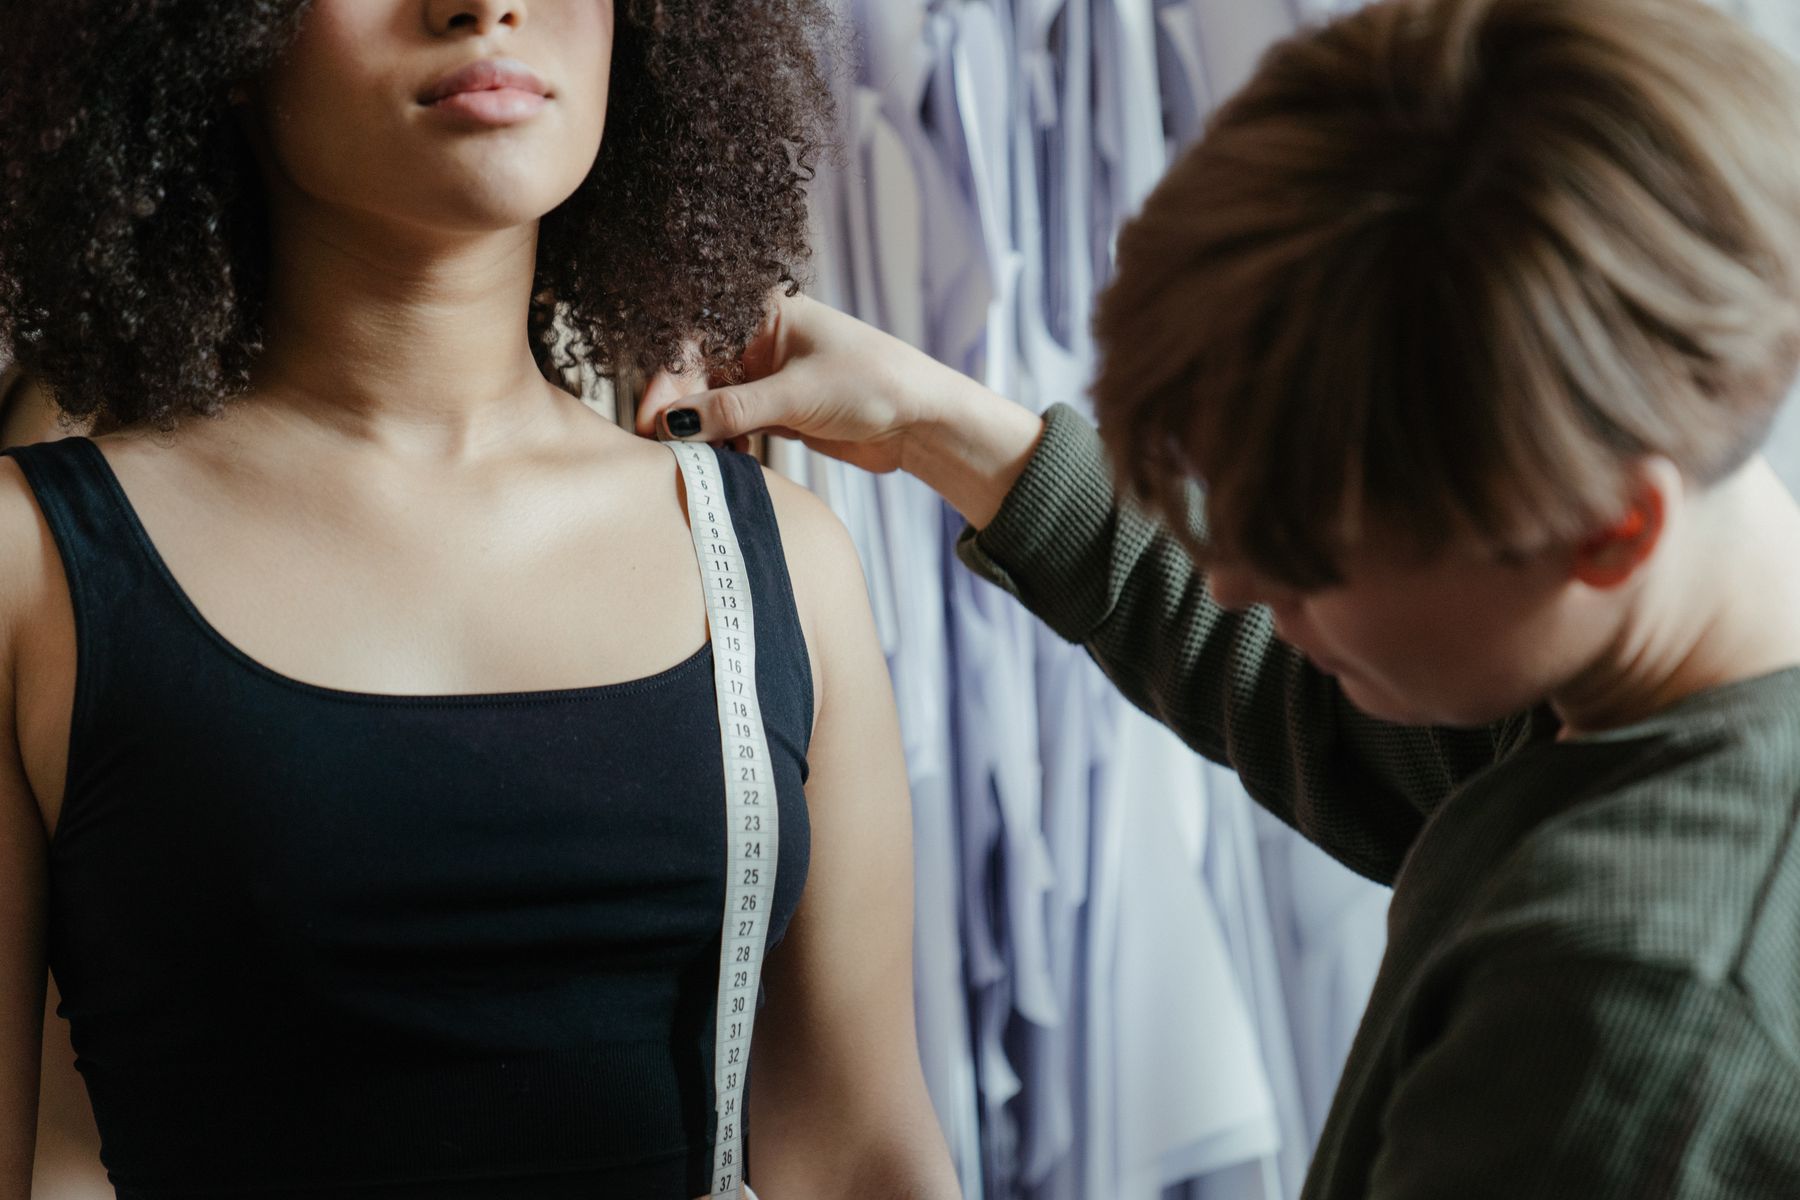
Interfacing supports the parts of a jacket that must hold shape: front edges, collars, facings, hems, pocket openings, cuffs, and button areas. Love Notions recommends cutting fabric and interfacing test pieces, fusing them together, and checking the result before committing.
Closet Core notes that weft fusible interfacing can add fluid drape and structure to coating fabrics, while sew-in interfacing can suit fabrics that cannot be pressed safely. The right choice depends on fabric, heat tolerance, and jacket style.
Test interfacing on a scrap large enough to bend, fold, and press. If it bubbles, shrinks, or turns the fabric stiff, choose a lighter option. If the front edge collapses, choose more support or interface a larger area.
Should You Sew a Lined or Unlined Jacket?
An unlined jacket is easier to fit and alter because you can see the seam allowances. It works well for chore jackets, denim jackets, simple linen jackets, and casual layers where neat seam finishes can become part of the design.
A lined jacket feels smoother over clothing and hides interior construction. It also adds steps: lining pieces, turning order, bagging or hand-finishing, sleeve lining, and hem control. Choose lining when the pattern explains the sequence clearly.
For a first lined jacket, avoid combining lining with a notched collar, welt pockets, shoulder pads, and slippery fabric. Pick one new technique at a time. The finished garment will look cleaner because your attention is not split across every hard detail.
Common Jacket Pattern Mistakes to Avoid
The most common mistake is choosing by ready-to-wear size instead of finished measurements. The second is skipping interfacing tests. Jacket structure is visible, so fabric that is too limp or too stiff can change the whole pattern.
Another mistake is fitting the waist before the shoulder. Shoulders control how the jacket hangs. If the shoulder is too wide, the sleeve cap drops. If it is too narrow, the upper sleeve pulls. Fix upper-body fit before shaping the side seams.
Do not cut the final fabric until you understand sleeve length, pocket height, and hem position. For knit layering pieces, compare fabric stretch and recovery in our t shirt sewing pattern guide.
- Do not skip pressing. Jackets need pressing after nearly every major seam.
- Do not ignore needle size. Heavy fabric needs a needle that can pierce cleanly.
- Do not rush closures. Mark buttons, snaps, or zippers after checking fit.
What Tools Help a First Jacket Look Cleaner?
A first jacket benefits from a few simple tools: sharp shears or a rotary cutter, fresh machine needles, a sleeve board, a pressing cloth, tailor’s clapper, seam gauge, and enough pins or clips to control bulky layers. None replace accuracy, but they make accuracy easier.
Pressing tools matter because jackets are shaped as much with heat and steam as with stitching. Press seams flat first, then open, then shape them over a sleeve board or tailor’s ham where needed. Let each pressed seam cool before moving the fabric.
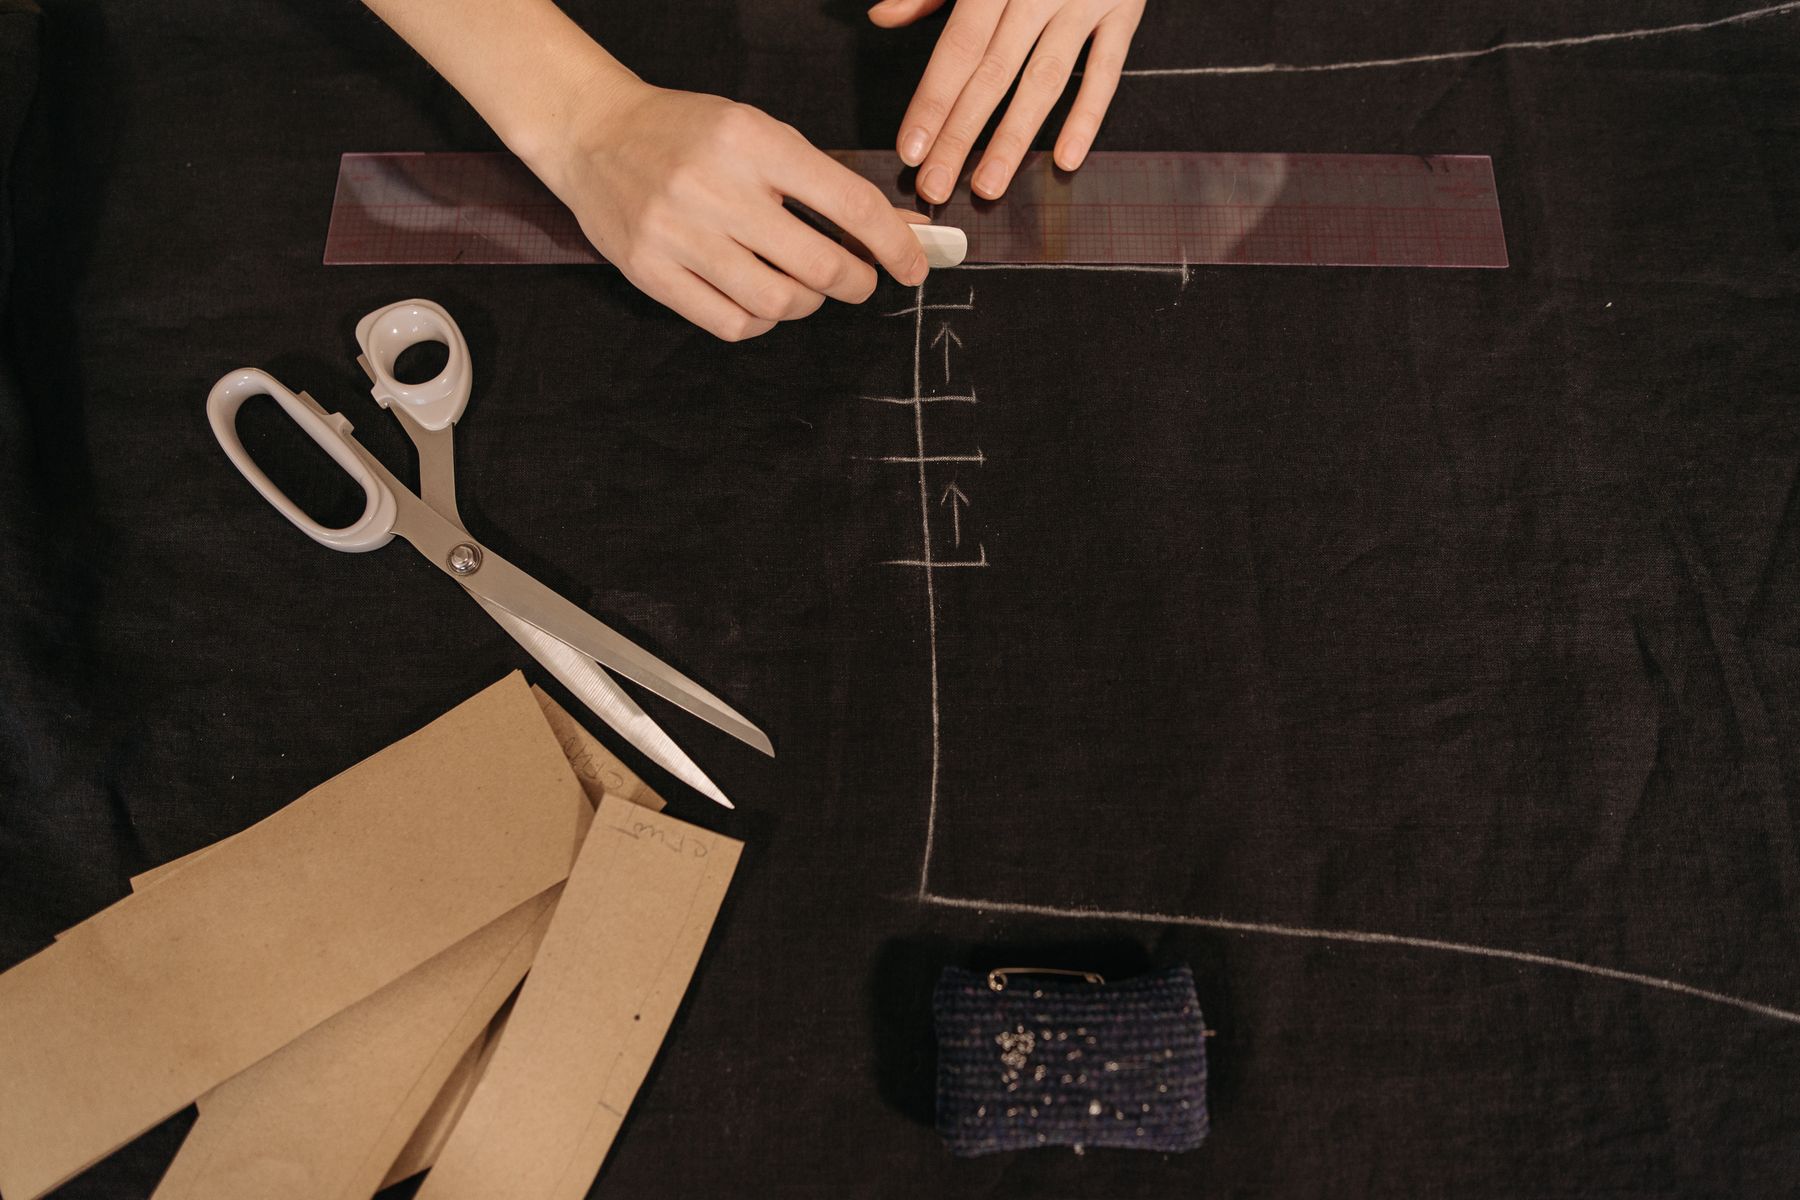
Marking tools matter too. Use tailor’s tacks, chalk, or washable marker for pocket placement, button position, notches, and sleeve markings. A jacket has more alignment points than a skirt or tee, and unclear marks can create small mismatches that become visible at the front edge.
Make a small construction sample if the jacket has topstitching, buttonholes, snaps, or a collar point. Test thread color, stitch length, interfacing, and pressing on the same fabric stack. That sample can prevent permanent mistakes on the finished fronts.
How Can One Jacket Pattern Become a Wardrobe Staple?
A successful jacket pattern becomes a repeatable layer when you record fit and fabric choices. Make the first version simple, then repeat it with different pockets, sleeve length, lining, or topstitching after the base fit works.
Use fabric to change mood. Denim makes a casual work jacket. Linen canvas feels warm-weather friendly. Wool blend turns the same shape into an autumn layer. The pattern can stay familiar while the fabric changes the role.
Think about the clothes underneath before choosing ease. A jacket for tees can sit closer than a jacket meant for sweaters, button-up shirts, or dresses with sleeve volume. Layering tests prevent a jacket that only fits empty.
Keep the altered pattern pieces, swatches, interfacing sample, and notes together. Write down size blend, shoulder changes, sleeve length, seam finish, needle, and pressing settings. That record is what turns one good jacket into a reliable handmade wardrobe piece.
Frequently Asked Questions
Is a jacket sewing pattern too hard for beginners?
Not always. A simple unlined jacket, chore jacket, or kimono-style layer can be beginner friendly. Avoid notched collars, welt pockets, slippery lining, and heavy tailoring until you can sew accurate seams and press well.
What fabric should I use for my first jacket?
Cotton twill, denim, canvas, linen canvas, corduroy, and stable suiting are good first choices. They are easier to cut and press than velvet, boucle, heavy coating, or slippery fabric.
Do I need interfacing for a jacket?
Usually yes. Interfacing supports collars, facings, front edges, hems, cuffs, and closures. Test it on a scrap first because the wrong interfacing can make fabric bubble, shrink, or feel too stiff.
Should I line my first jacket?
An unlined jacket is usually easier for a first attempt. A lining looks clean and slides over clothing, but it adds pattern pieces and construction order. Try lining after you understand the jacket’s fit.
Sources
- Semrush keyword export, Pattern Lab Co workspace, retrieved 2026-07-19.
- The Shapes of Fabric, Jacket Sewing Tips, retrieved 2026-07-19.
- Love Notions, Sewing School: How to use interfacing when you sew, retrieved 2026-07-19.
- Closet Core Patterns, Coat Making Supplies & Tailoring Interfacing, retrieved 2026-07-19.
- Tilly and the Buttons, How to Select Your Sewing Pattern Size, retrieved 2026-07-19.
