
Sewing Patterns
Bucket Hat Sewing Pattern: Brim, Fit, and Fabric Guide
Aug
A bucket hat sewing pattern is a practical beginner project, but the finished hat only looks clean when the crown, side band, brim, lining, and topstitching are handled accurately. In the local Semrush export, “bucket hat sewing pattern” shows 1,000 monthly searches with keyword difficulty 9.
This guide explains how to choose a bucket hat pattern, measure head size, pick fabric and interfacing, sew the curved crown, shape the brim, make the hat reversible, and avoid the puckers that make handmade hats look rushed.
Key Takeaways
- Choose a bucket hat pattern by head circumference, crown depth, brim width, and whether it is reversible.
- Cotton, canvas, denim, twill, linen, and lightweight outdoor fabric all change brim structure.
- Interfacing can help a soft brim, but too much stiffness makes the hat harder to turn and wear.
- Clip curves, press seams, and topstitch slowly so the crown and brim keep a smooth shape.
What Makes a Bucket Hat Sewing Pattern Work?
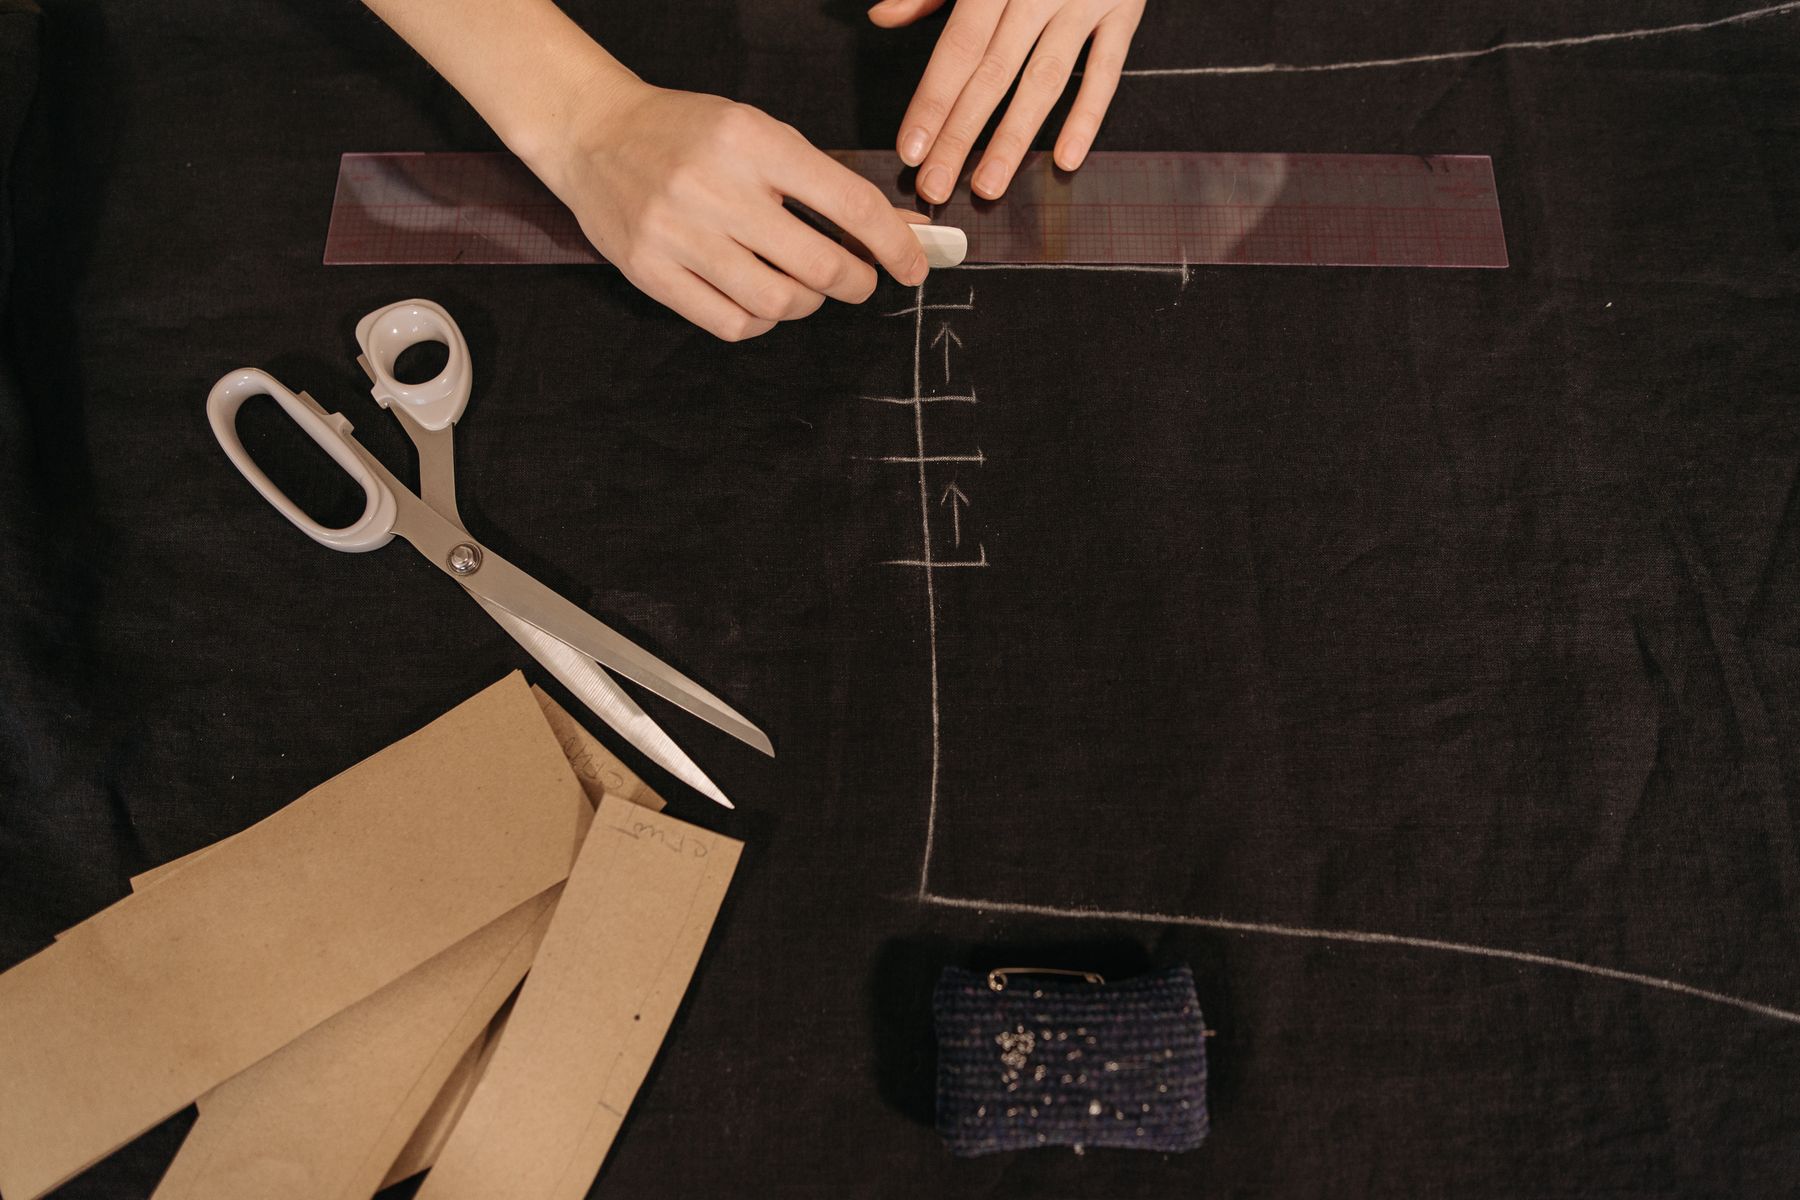
A good bucket hat pattern balances head circumference, crown depth, side band height, brim width, and fabric structure. WeAllSew’s bucket hat tutorial begins with interfacing, side seams, crown joining, and brim assembly, which are the main construction zones to inspect before cutting.
Look for a pattern with multiple sizes, clear seam allowance, lining instructions, and a brim shape that matches how you want to wear it. A short brim feels casual and packable. A wider brim gives more shade but needs more structure.
If you are using a downloaded PDF, print a test square first with our sewing pattern printing guide. A hat pattern that prints small may feel tight immediately.
How Do You Choose the Right Hat Size?
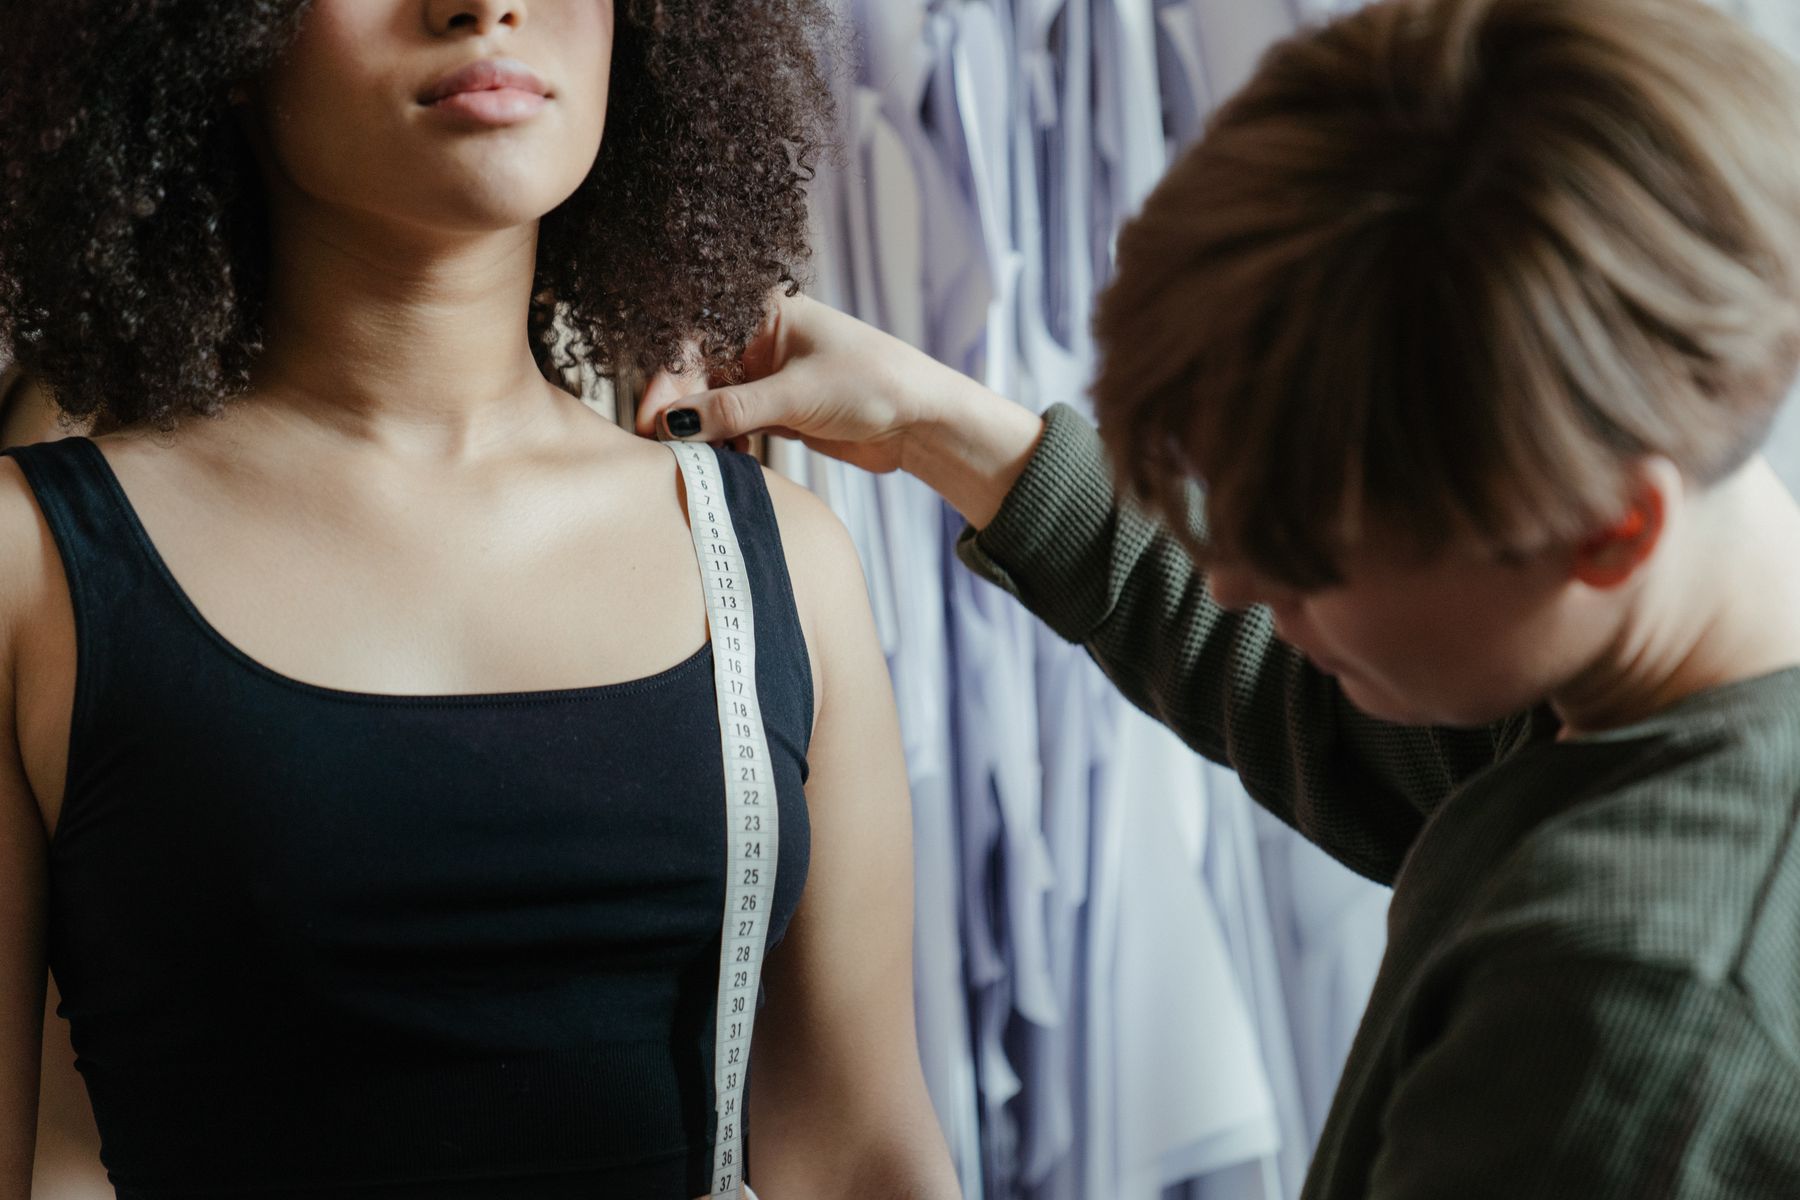
Measure around the head where the hat should sit, usually above the eyebrows and around the fullest part at the back. Compare that measurement with the finished hat size if the pattern provides it, not only the age or letter size.
Bucket hats need enough ease to sit comfortably without slipping over the eyes. Hair volume matters too. If the wearer has thick hair, braids, or curls, test the size with the hairstyle they expect to wear under the hat.
When between sizes, consider fabric and use. A soft packable cotton hat can be slightly closer. A structured canvas hat with interfacing may need more ease because the side band will not stretch much during wear.
Which Fabric Works Best for a Bucket Hat?
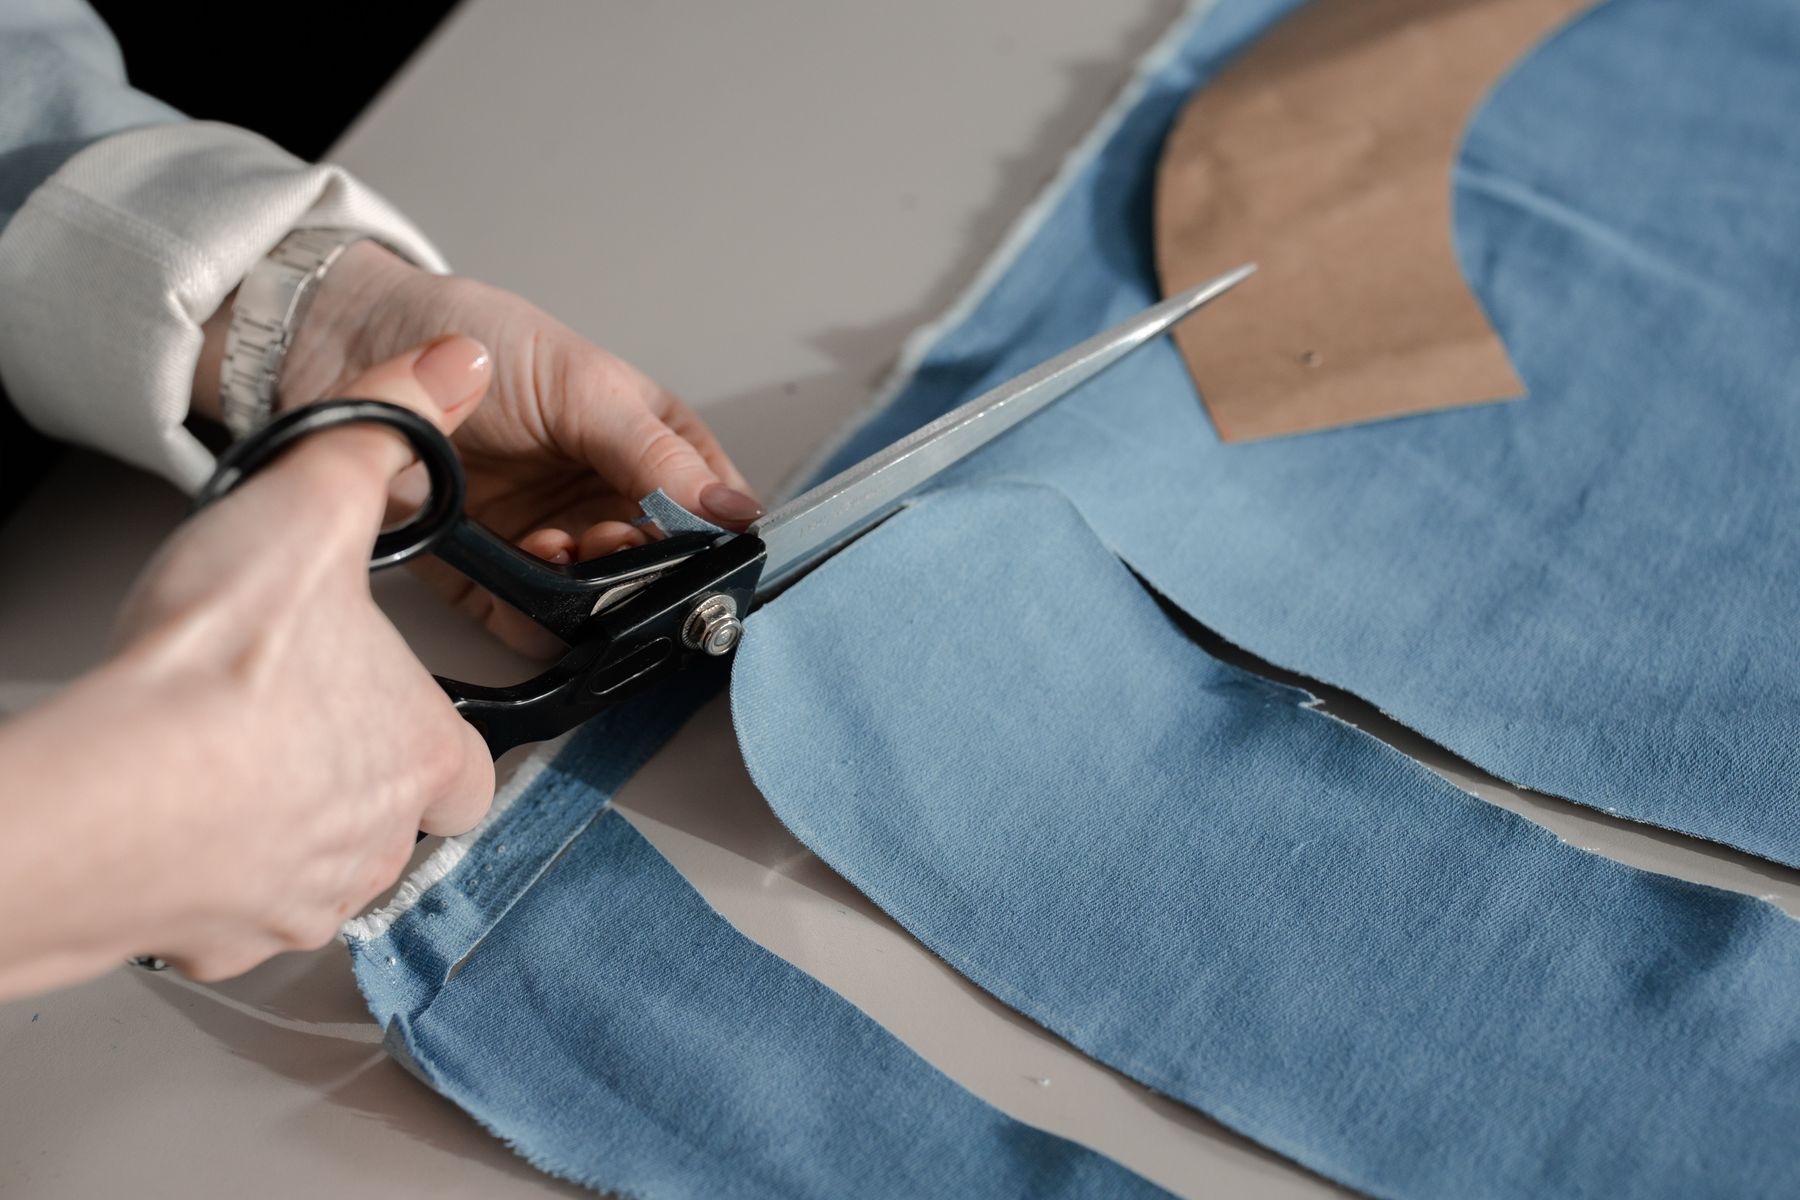
Choose fabric by the brim shape you want. AppleGreen Cottage recommends densely woven cotton, canvas, twill, quilting cotton, and denim for bucket hats, noting that a double layer can provide enough stability for many versions.
Cotton poplin and quilting cotton make lightweight hats. Denim, canvas, twill, and linen create more body. Ripstop, waxed cotton, or water-resistant fabric can work for outdoor hats, but test pressing and needle holes before committing.
If the pattern is reversible, choose two fabrics with similar weight and wash behavior. A heavy outer and flimsy lining can twist after topstitching. A slippery lining can also crawl while you attach the brim.
For more fabric matching practice, compare drape and structure in our midi skirt sewing pattern guide. Hats and skirts both change shape dramatically with fabric body.
Do You Need Interfacing in a Bucket Hat?
Use interfacing when the fabric is light, the brim should hold a clear shape, or the hat needs a more polished edge. Elbe Textiles recommends fusible interfacing on brim pieces, with weight chosen by fabric and desired stiffness.
Do not automatically interface every layer. Too much interfacing can make the brim hard to turn, the crown bulky, and the hat uncomfortable. Fuse one layer first, then test the hand of the brim before adding more.
Pre-test fusible interfacing on scraps. Check heat, steam, bubbling, shrinkage, and whether the adhesive shows through. Some linen, textured cotton, and synthetic fabrics need a pressing cloth or a sew-in alternative.
For a packable summer hat, a soft brim may be better than a stiff one. For a sun hat that needs a wider brim, medium interfacing or extra topstitching can help the brim sit outward.
How Do You Sew the Crown and Side Band Cleanly?
Sew the side band into a smooth ring, then divide both the ring and crown into quarters before pinning. Matching quarter marks spreads ease evenly around the curve and prevents one side from puckering.
Clip or notch the seam allowance where the pattern instructs, but avoid cutting past the stitching line. Curved hat seams need room to spread, and small clips help the flat fabric wrap around the circular crown.
Topstitch after pressing the seam allowance in the direction recommended by the pattern. Topstitching holds the seam flat and adds a clean line around the hat, but uneven tension is visible on small curved pieces.
Repeat the same process for the lining if the hat is reversible. Keep the lining accurate because it controls how the hat turns, rolls, and sits against the head.
How Should the Brim Be Shaped and Topstitched?
The brim should match the crown smoothly and hang at the intended angle. Peek-a-Boo Pattern Shop’s bucket hat guide cuts brim pieces from both fabrics and interfacing, then builds the brim as a separate ring before attaching it.
Pin the brim at quarter points before filling in the gaps. If one section seems too long, redistribute ease rather than trimming immediately. Tiny differences around a circle can create a visible ripple after topstitching.
Use parallel topstitching rows to control a floppy brim. Mark the first row or use the presser foot as a guide, then keep each row consistent. Longer stitch length often looks cleaner on thicker cotton or denim.
Press the brim carefully after turning. A seam roll, clapper, or finger press can help the edge sit flat before final topstitching. Avoid scorching fusible interfacing with repeated heat.
Common Bucket Hat Pattern Mistakes to Avoid
The biggest mistake is choosing size by age or ready-to-wear label instead of head circumference. Hat sizing is direct. If the side band is too small, no amount of pressing will make it comfortable.
Another mistake is ignoring fabric thickness. A reversible hat has multiple layers at the crown, side band, brim, and turning gap. Heavy denim on both sides can become bulky unless the seams are graded.
Do not rush curved seams. Sew slowly, keep raw edges aligned, and lift the presser foot with the needle down when the curve tightens. Pulling the fabric can stretch the edge and create a lumpy crown.
Do not leave the turning gap in a high-stress or highly visible area. Many patterns use the brim edge or lining seam. Close it neatly with hand stitching or a carefully placed topstitch row.
- Do not skip quarter marks. They keep circular seams evenly distributed.
- Do not over-interface. Test stiffness before fusing every layer.
- Do not topstitch without pressing. Pressing creates the path for clean rows.
How Can One Bucket Hat Pattern Become Several Hats?
Once the fit works, repeat the same bucket hat pattern with one design change at a time. Try a wider brim, contrast lining, patchwork panels, chin cord, eyelets, quilting, embroidery, or water-resistant fabric.
Use scraps from garment projects to coordinate a handmade wardrobe. A hat lining can match a dress facing, skirt pocket, or bag lining without needing much yardage.
For a coordinated accessory set, pair a bucket hat with our sling bag sewing pattern guide. The same canvas, denim, or twill can make both projects feel intentional.
Save notes on head size, finished crown depth, brim width, interfacing, stitch length, needle, and fabric pairing. Those notes make the second hat faster and prevent repeating a size mistake.
Frequently Asked Questions
Is a bucket hat sewing pattern beginner friendly?
Yes. A bucket hat is beginner friendly if the pattern has clear seam allowance, simple crown pieces, and stable cotton fabric. The hardest parts are curved seams, brim topstitching, and closing the reversible opening neatly.
What fabric should I use for a bucket hat?
Cotton, quilting cotton, twill, canvas, denim, linen, and lightweight outdoor fabric are common choices. Pick softer fabric for a packable hat and firmer fabric plus interfacing for a brim with more shape.
Should I interface a bucket hat brim?
Interface the brim if the fabric is light or the hat needs structure. Use one interfaced layer first and test stiffness on scraps. Too much interfacing can make the brim bulky and hard to turn.
How do I make a bucket hat fit better?
Measure head circumference where the hat will sit, then compare it with the pattern’s finished measurements. If hair volume or thicker fabric adds bulk, choose the larger size or make a quick test hat first.
Sources
- Semrush keyword export, Pattern Lab Co workspace, retrieved 2026-08-14.
- WeAllSew, How to Make a Bucket Hat, retrieved 2026-08-14.
- AppleGreen Cottage, Free Bucket Hat Pattern in 5 Sizes, retrieved 2026-08-14.
- Elbe Textiles, Sewing Hats Tips and Tricks, retrieved 2026-08-14.
- Peek-a-Boo Pattern Shop, How to Sew a Bucket Hat, retrieved 2026-08-14.
- Mood Sewciety, The Bucket Hat Free Sewing Pattern, retrieved 2026-08-14.
