
Sewing Patterns
How to Sew a Gusset: Fit, Shape, and Seam Guide
Jul
Knowing how to sew a gusset helps you add room, reduce strain, and repair tight spots without remaking an entire garment. In the local Semrush export, “how to sew a gusset” shows 590 monthly searches with keyword difficulty 6, which makes it a strong low-competition tutorial keyword.
This guide explains when a gusset makes sense, how to measure the opening, which shape to choose, how to sew underarm and crotch gussets, how to clip into corners, and how to press the finished insert so it looks intentional.
Key Takeaways
- Use a gusset when a garment needs targeted room at an underarm, side seam, crotch, bag corner, or tight stress point.
- Choose triangular, diamond, rectangular, or long strip shapes based on the opening and direction of movement.
- Mark seam allowances clearly and sew to the point slowly so the gusset does not pucker.
- Reinforce, press, and finish the seams because gussets usually sit in high-stress areas.
What Is a Gusset in Sewing?
A gusset is an inserted fabric piece that adds width, shape, movement, or strength where a seam feels tight. Sewing.com describes a gusset as a triangular or diamond-shaped insert that can add room and reduce stress in garment seams.
You will see gussets in underarms, crotch seams, side seams, bags, gloves, historical shirts, leggings, and workwear. The shape changes, but the purpose stays practical: give the fabric somewhere to move instead of forcing one seam to carry all the strain.
If you are still learning pattern markings, review our how to read a sewing pattern guide. Gussets depend on matching notches, seam lines, grain, and clipped corners accurately.
When Should You Add a Gusset?
Add a gusset when the garment is comfortable in most areas but tight at one stress point. Underarms need reach. Crotch seams need stride room. Side seams may need extra width. Bag corners may need depth.
A gusset is not the right fix for every fit problem. If the whole garment is too small, grade the pattern, add seam allowance, or choose a larger size. A gusset works best when the shortage is local and the surrounding garment hangs well.
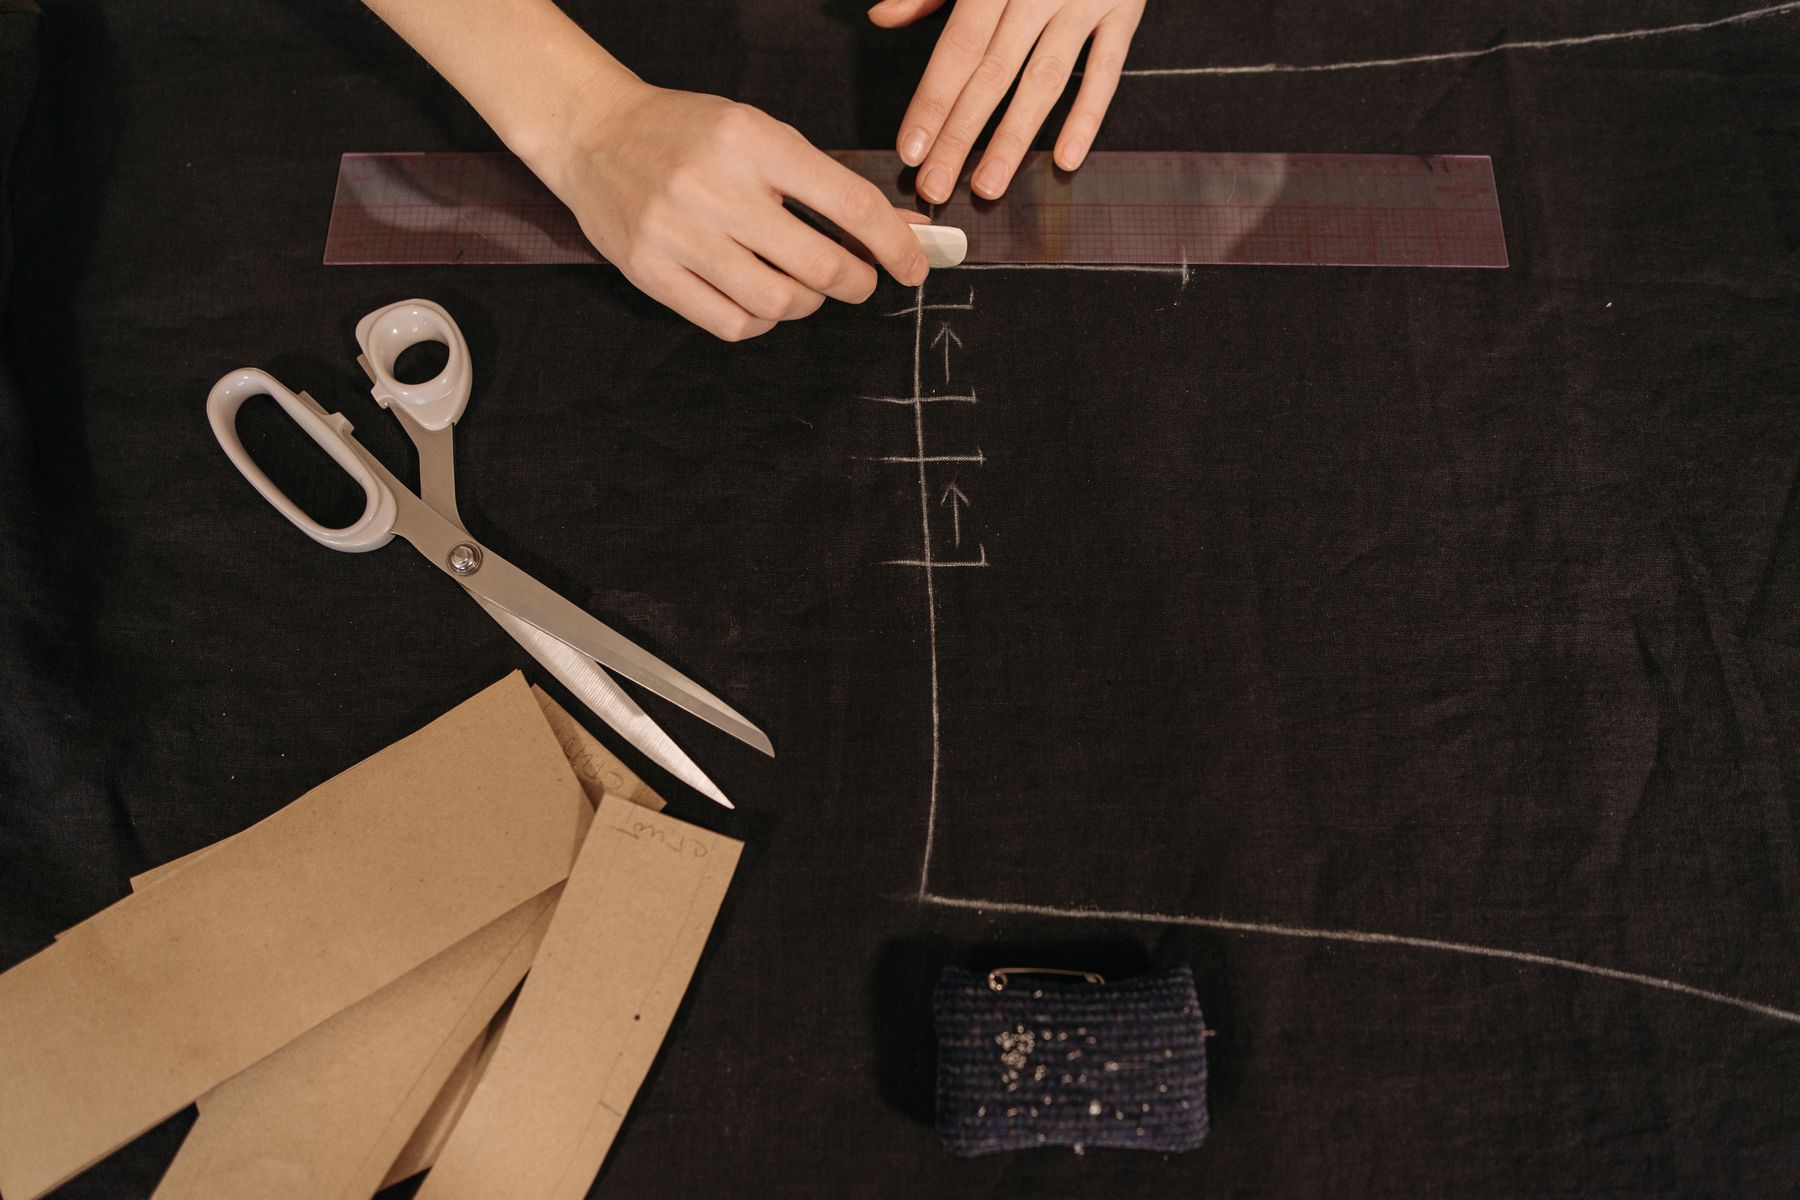
Test movement before cutting. Raise your arm, sit, walk, reach forward, or load the bag. Mark the exact strain area with chalk or pins. The best gusset shape follows the direction where fabric is missing.
Which Gusset Shape Should You Cut?
Choose the gusset shape from the opening. A triangle adds room along one seam. A diamond adds room in two directions. A rectangle or long strip can add width to a side seam or bag panel.
The Sewing Garden demonstrates inserting a gusset into a dress or top by opening the side seam to a measured point and matching the gusset seam allowance to the garment stitching line. That process shows why accurate marking matters more than the shape name.
For underarms, a diamond or one-piece underarm gusset usually gives the smoothest reach. For a tight side seam, a long tapered insert can look cleaner. For a crotch seam, use a shape that supports front-to-back and side-to-side movement.
Cut the gusset on the same grain as the surrounding garment when possible. If you need stretch or movement, match the stretch direction deliberately. A twisted grain line can make the insert pull even when the measurements are correct.
How Do You Measure a Gusset Opening?
Measure the needed room while the garment is on the body or the bag is loaded. Pin the tight seam open until the garment feels comfortable, then measure the gap, length, and direction of strain.
Add seam allowance around the gusset after drawing the finished shape. Many puckers come from cutting a gusset the size of the finished gap, then losing width inside the seams. Mark both cutting lines and stitching lines.
For a side seam insert, taper the gusset gradually so the new fabric blends into the original seam. For an underarm diamond, make sure all four points meet the seam lines exactly. The point is sewn to the seam line, not to the raw edge.
If the fabric frays, staystitch the opening before clipping. Clip only as far as needed to let the seam allowance spread. Cutting past the stitching point weakens the exact area the gusset is supposed to strengthen.
How Do You Sew an Underarm Gusset?
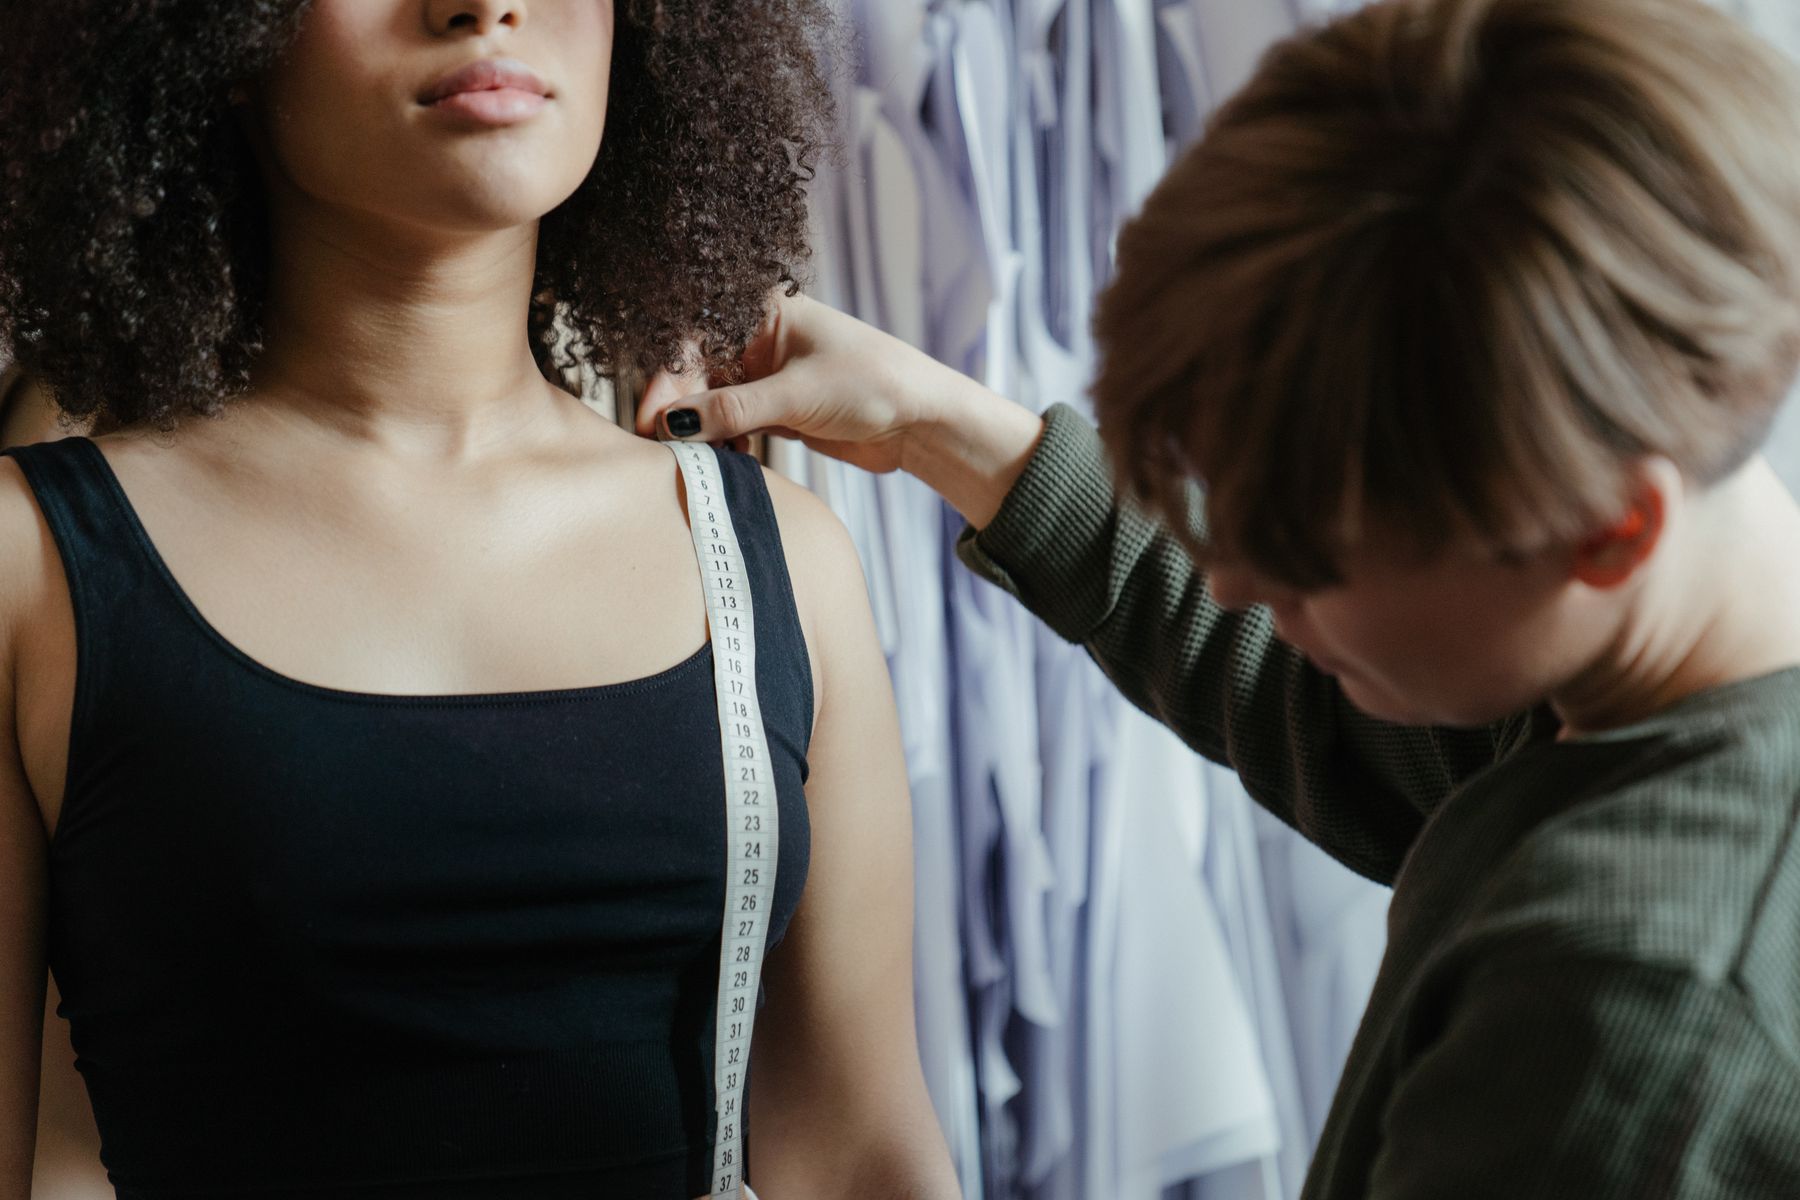
Sew an underarm gusset by marking the seam lines, opening the side and sleeve seam to the planned points, pinning one edge at a time, and stitching slowly into each corner without stretching the fabric.
Timeless Templates explains a one-piece underarm gusset method that uses a facing strip, careful clipping, and stitching close to the marked point. That kind of point control prevents the hole, pucker, or tiny fold that makes gussets look intimidating.
Start with one side of the gusset. Match right sides together, align stitching lines, and sew from the wide edge toward the point. Stop with the needle down exactly at the marked point, pivot, and sew the next side only after the fabric lies flat.
Press the seam allowances away from the gusset if the fabric allows. If the fabric is bulky, grade the seam allowances so the point lies smoothly. Finish raw edges with zigzag, serging, binding, or a hand overcast stitch based on fabric type.
How Do You Sew a Crotch or Side-Seam Gusset?
A crotch or side-seam gusset needs stronger stitching because the area takes body movement and friction. Sew a muslin first, then transfer the exact opening and shape to the final garment once sitting and walking feel comfortable.
For a crotch gusset, keep the widest part where movement is missing. Match the front, back, and inseam points carefully. Sew each side separately rather than forcing the whole insert under the presser foot at once.
For a side-seam gusset, unpick only the measured length. Pin the insert right sides together, sew one long edge, press, then sew the second edge. Taper the top and bottom gradually so the addition looks planned.
If the gusset is part of trousers or shorts, compare the fit checks in our pants sewing pattern guide and shorts sewing pattern guide. Rise and crotch depth affect whether a gusset is the right fix.
Common Gusset Sewing Mistakes to Avoid
The biggest mistake is clipping too far into the garment before the gusset is secured. Clip only to the marked point, and stop before the stitches. If the cut runs past the point, the fabric can tear under stress.
Another mistake is ignoring seam allowance. The finished gusset needs room plus seam allowance. If you cut only the visible gap, the insert will be too small after sewing and the same tightness will remain.
Do not stretch the fabric into the point. Let the seam allowances open naturally, then sew slowly. Pulling creates puckers and weakens the corner. A shorter stitch near the point can add control.
Do not use fragile fabric for a stress area. A gusset should usually be equal to or stronger than the surrounding garment. If you use contrast fabric, make sure it still matches weight, stretch, and wash behavior.
- Do not guess the grain. Mark grain before cutting the gusset.
- Do not skip a muslin. Test movement before final fabric.
- Do not leave raw edges unfinished. Gussets often rub and fray.
How Do You Press and Finish a Gusset?
Press the gusset after checking both sides for puckers, skipped stitches, and trapped folds. Use a tailor’s ham, sleeve roll, seam roll, or rolled towel so curved underarm and crotch seams keep their shape.
Finish the raw edges in a way that matches the fabric. Zigzag and serging are quick for many washable garments. Bias binding looks clean on unlined jackets. A flat-felled or topstitched finish can add strength to workwear and bags.
Topstitch only when it improves strength or appearance. Sempstress shows topstitching around a gusset as a way to secure folded edges. On delicate garments, hidden hand stitching or a careful press may look better.
When the gusset sits near a zipper, review our zipper foot guide before final stitching. Narrow foot control helps around tight seams, corners, and layered allowances.
After pressing, test the movement again. Raise the arm, sit, walk, or load the bag. If the gusset pulls at one point, release a small area and resew before the stress becomes a tear.
Frequently Asked Questions
Is sewing a gusset hard?
It is manageable if you mark seam lines, sew one edge at a time, and stop exactly at the point. The hard part is not the shape; it is controlling clipping, seam allowance, and fabric movement.
What shape should a gusset be?
Use a triangle for one-direction room, a diamond for underarm or crotch movement, and a rectangle or tapered strip for side seams and bags. The best shape follows the missing room and stress direction.
Can I add a gusset to clothes that are too small?
Yes, if the tightness is local, such as an underarm, side seam, or crotch seam. If the whole garment is too small, resizing the pattern or adding broader panels will usually look better.
How do I stop gusset points from puckering?
Mark stitching lines, clip carefully to the point, sew slowly, and avoid stretching the fabric. Stop with the needle down at the point, pivot only when the fabric lies flat, then press over a curved tool.
Sources
- Semrush keyword export, Pattern Lab Co workspace, retrieved 2026-07-28.
- Sewing.com, Gusset Sewing Tutorial For Adding Extra Room To Tight Clothes, retrieved 2026-07-28.
- The Sewing Garden, How To Put Gussets In a Dress or Top, retrieved 2026-07-28.
- Timeless Templates, One Piece Underarm Gusset Sewing Tutorial, retrieved 2026-07-28.
- Sempstress, Setting a Gusset, retrieved 2026-07-28.
- Sew Chic Pattern Company, The Best Tutorial: Sewing Gussets, retrieved 2026-07-28.
