
Blog
Presser Foot Sewing Machine Guide: Which Foot to Use and When
May
Presser Foot Sewing Machine Guide is a practical search topic for sewists who want better handmade results without getting lost in technical language. This guide focuses on understanding presser feet and choosing the right one for common garment tasks so you can move from planning to sewing with more confidence.
- Use the keyword idea around presser foot sewing machine as a focused project, not a vague sewing session.
- Match fabric, tools, and finish to the garment or accessory you actually want to wear or use.
- For Patternslabco readers, connect the technique to a real PDF pattern and practice on scraps before final sewing.
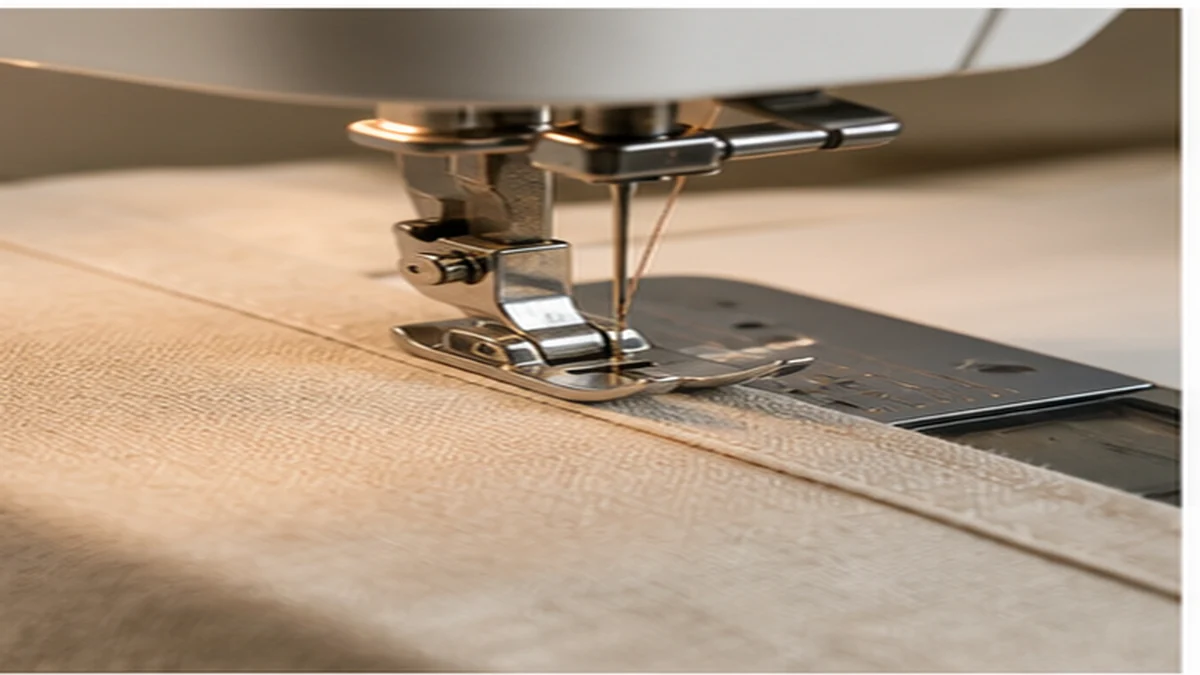
What does presser foot sewing machine mean for a home sewist?
For a home sewist, presser foot sewing machine is about making a clearer decision before the first cut. Instead of starting with a pile of fabric and hoping the result works, you look at the garment shape, the construction method, and the finish you want. That makes the project calmer and easier to repeat.
The useful question is not only ?Can I sew this?? but ?What needs to be prepared so this project looks intentional?? For this topic, the answer usually includes accurate measuring, stable fabric handling, correct machine setup, and enough pressing time between steps.
Why this topic is worth learning
This is a focused sewing question, which makes it useful for readers who want a practical answer instead of a broad overview. A specific topic is easier to act on: you can choose the right fabric, prepare the correct tools, and connect the technique to a real project.
The best approach is to teach first and sell softly. A reader who lands here is usually comparing techniques, tools, or pattern choices. Help them solve the sewing problem, then point them toward a relevant Patternslabco pattern when they are ready.
How to prepare before you sew
Start by reading the full pattern instructions and looking at every pattern piece. Check seam allowance, grainline, notches, and any special marking. If you are using a digital PDF pattern, print the test square first, then assemble pages on a flat surface before cutting.
Fabric choice matters. Crisp cotton behaves differently from drapey rayon, denim, linen, ponte, or jersey. If your project needs structure, choose fabric with enough body. If it needs movement, choose fabric that drapes without stretching out of shape. This is especially important for standard foot, zipper foot, buttonhole foot, walking foot, edge stitch foot, and seam control.
- Pre-wash fabric if the final garment will be washed.
- Press fabric before cutting so the pattern pieces sit flat.
- Mark notches and key points with chalk, clips, or tailor tacks.
- Test stitch length and tension on scraps before the garment.
Step-by-step workflow for better results
First, prepare the pattern and fabric. Second, sew the most important construction sample on scrap fabric. Third, build the project in small sections instead of rushing through the whole garment. This lets you catch fit and finish problems early.
- Plan the finish. Decide whether the seam should be serged, zigzagged, enclosed, topstitched, or pressed open.
- Sew slowly where accuracy matters. Curves, closures, hems, pockets, and waistbands benefit from slower stitching.
- Press after each major seam. Pressing is what turns sewing into a polished garment.
- Try on or test fit before final finishing. Check length, ease, and comfort before hems and closures are final.
Best Patternslabco patterns to pair with this topic
If you want to turn the lesson into a real project, start with V-Neck Dress Sewing Pattern. You can also browse related sewing patterns to choose a design that fits your fabric and skill level. The best pattern is the one you can finish cleanly and imagine wearing more than once.
For beginners, avoid combining too many new skills in one project. If the pattern is new, use familiar fabric. If the fabric is new, choose a simple shape. This one-choice-at-a-time approach makes sewing feel much less chaotic.
Common mistakes and quick fixes
The most common mistake is treating preparation as optional. Skipping test stitches, not pressing seams, or ignoring grainline can make a simple project look messy. The fix is not perfectionism. It is building a repeatable routine.
| Mistake | Quick fix |
|---|---|
| Fabric shifts while sewing | Use more pins or clips and reduce speed. |
| Seams look wavy | Check tension, presser foot pressure, and fabric stretch. |
| Fit feels off | Measure the pattern, not only your body, and check finished garment ease. |
| Finish looks homemade | Press more often and choose a seam finish suited to the fabric. |
Final advice
Good sewing is built from small decisions. Choose the right pattern, prepare your fabric, test your machine settings, and give yourself time to press and adjust. Whether you are working on presser foot sewing machine for the first time or improving a familiar technique, the goal is a garment or accessory that feels useful, wearable, and proudly handmade.
FAQ
What should I know before starting presser foot sewing machine?
Before starting presser foot sewing machine, choose a project that matches your fabric, skill level, and available tools. Prepare your pattern pieces, test your stitching, and press each step for a cleaner handmade result.
Is this topic beginner friendly?
Yes. Start with a simple project, test on scrap fabric, and slow down around seams, curves, and closures. The best beginner results usually come from careful preparation rather than complicated techniques.
Should I make a test sample first?
A small test sample is a smart step. It lets you check stitch length, thread tension, seam finish, fabric behavior, and fit details before working on your final garment.