
Sewing Patterns
Necktie Sewing Pattern: Fabric, Bias, and Interfacing Guide
Aug
A necktie sewing pattern looks simple, but the finished tie depends on grainline, fabric weight, interfacing, lining, pressing, and hand finishing. In the local Semrush export, “necktie sewing pattern” shows 1,000 monthly searches with keyword difficulty 10, giving Pattern Lab Co a strong low-competition accessory keyword with tutorial intent.
This guide explains how to choose a tie pattern, cut on the bias, select fabric and interlining, shape the points, press without shine, and finish the back seam so the tie hangs cleanly.
Key Takeaways
- Choose a necktie pattern by finished width, length, point shape, lining method, and interlining style.
- Bias cutting helps a handmade tie hang smoothly, but it also makes fabric easier to stretch while sewing.
- Silk, cotton lawn, lightweight wool, linen blends, and stable novelty fabrics need different interfacings.
- Press lightly and test first because shine, distortion, and bulky points are hard to fix after sewing.
What Makes a Necktie Sewing Pattern Work?
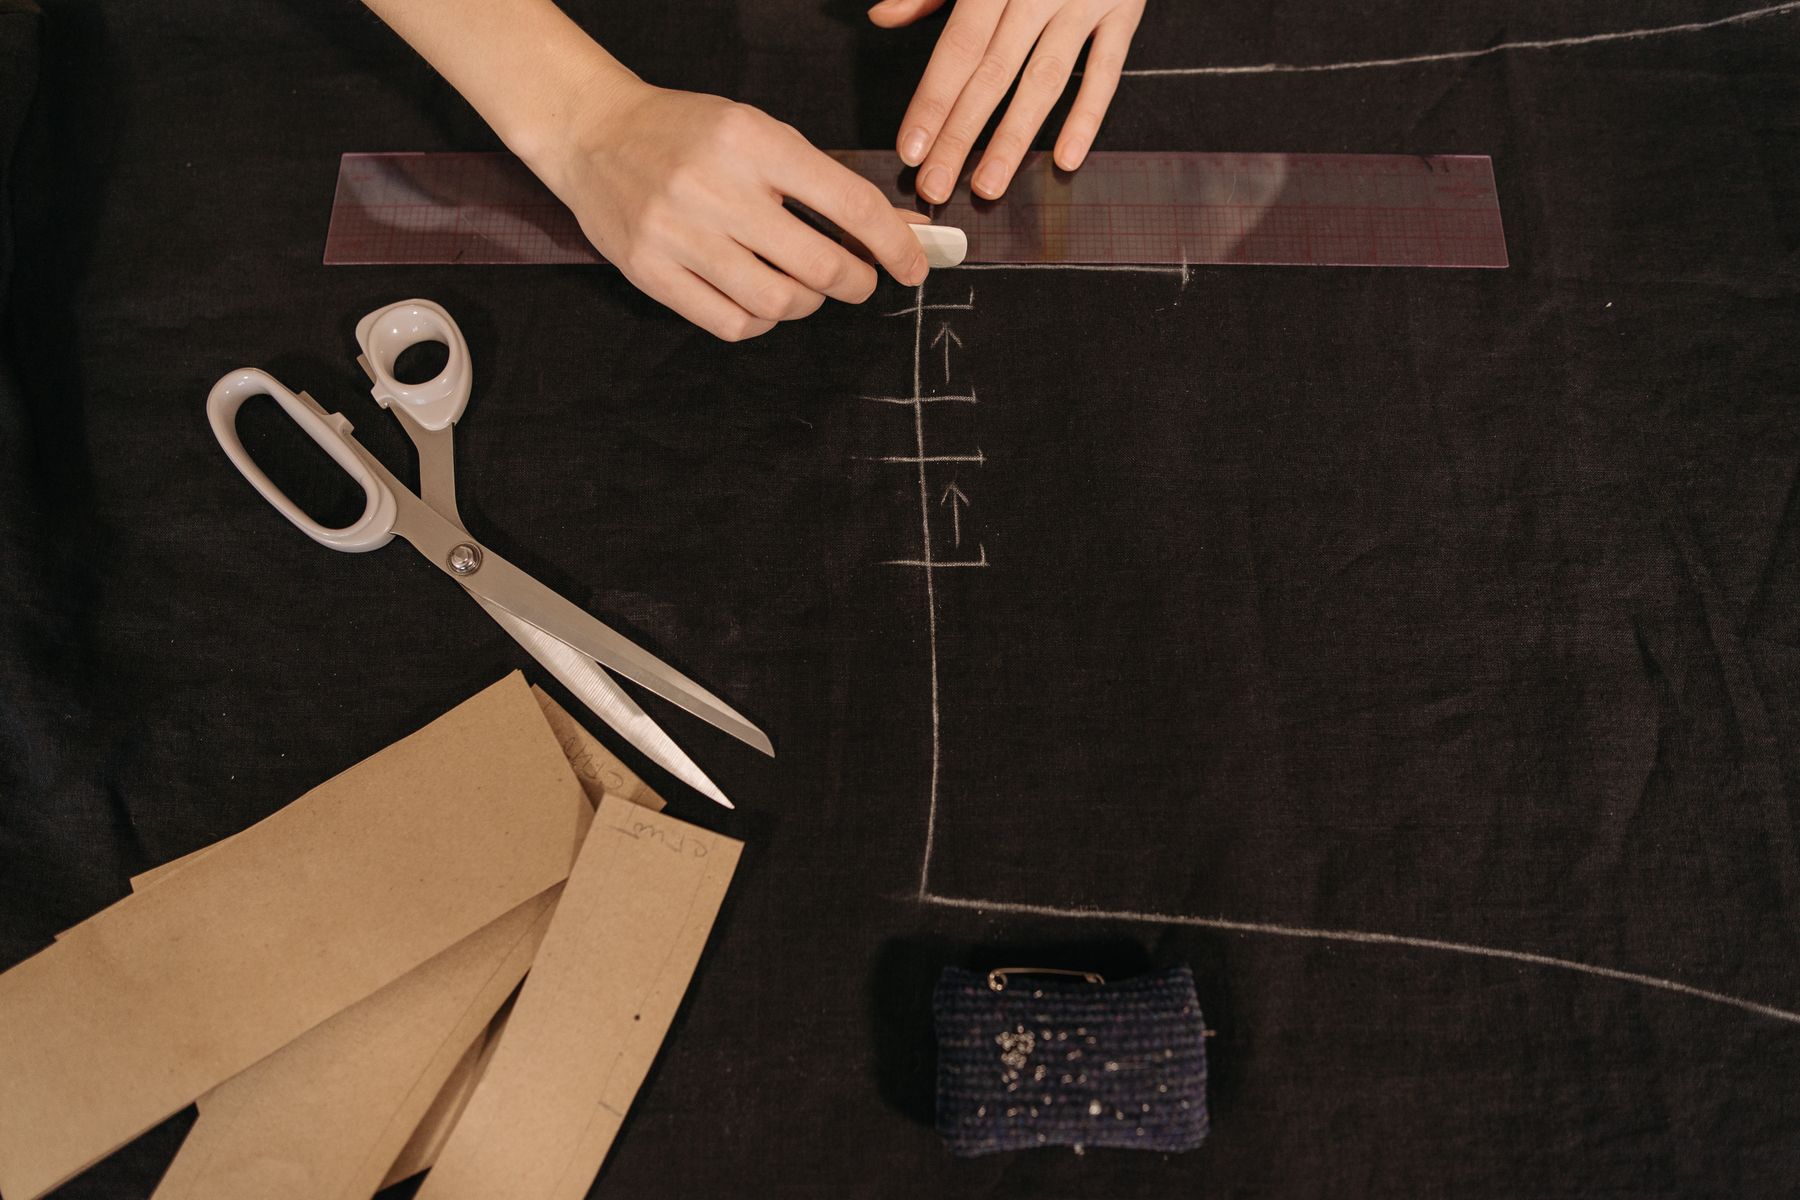
A good tie pattern controls four things: length, width, bias grain, and internal structure. The pattern should include the blade, tail, lining pieces, seam allowance, fold lines, and clear markings for the back keeper loop.
Check the finished width before cutting. A narrow tie, classic tie, and extra-wide vintage tie can use similar construction but create very different proportions. Match the width to the wearer, collar, jacket lapel, and occasion.
If the pattern markings are unfamiliar, review our sewing pattern symbols guide. Accurate fold lines and notches matter more on ties than the small piece count suggests.
Why Is Bias Cutting Important for a Tie?
Bias cutting lets the tie hang with a soft vertical fall and recover after knotting. WeAllSew’s dapper tie tutorial joins tie sections along bias edges and uses separate main fabric and interfacing pieces, which shows why grain direction is central to tie construction.
The bias is also easy to distort. Handle tie pieces gently after cutting, support them while moving from table to machine, and avoid pulling long edges under the presser foot.
If the fabric has a stripe, plaid, or directional motif, decide how it should angle before layout. A beautiful fabric can look awkward if the print fights the knot direction or points in the wrong direction at the blade.
Cut one tie layer at a time if the fabric shifts. Pattern weights and a rotary cutter can keep long bias edges cleaner than pins, especially on silk, rayon, or loosely woven fabric.
Which Fabric Should You Use for a Handmade Tie?
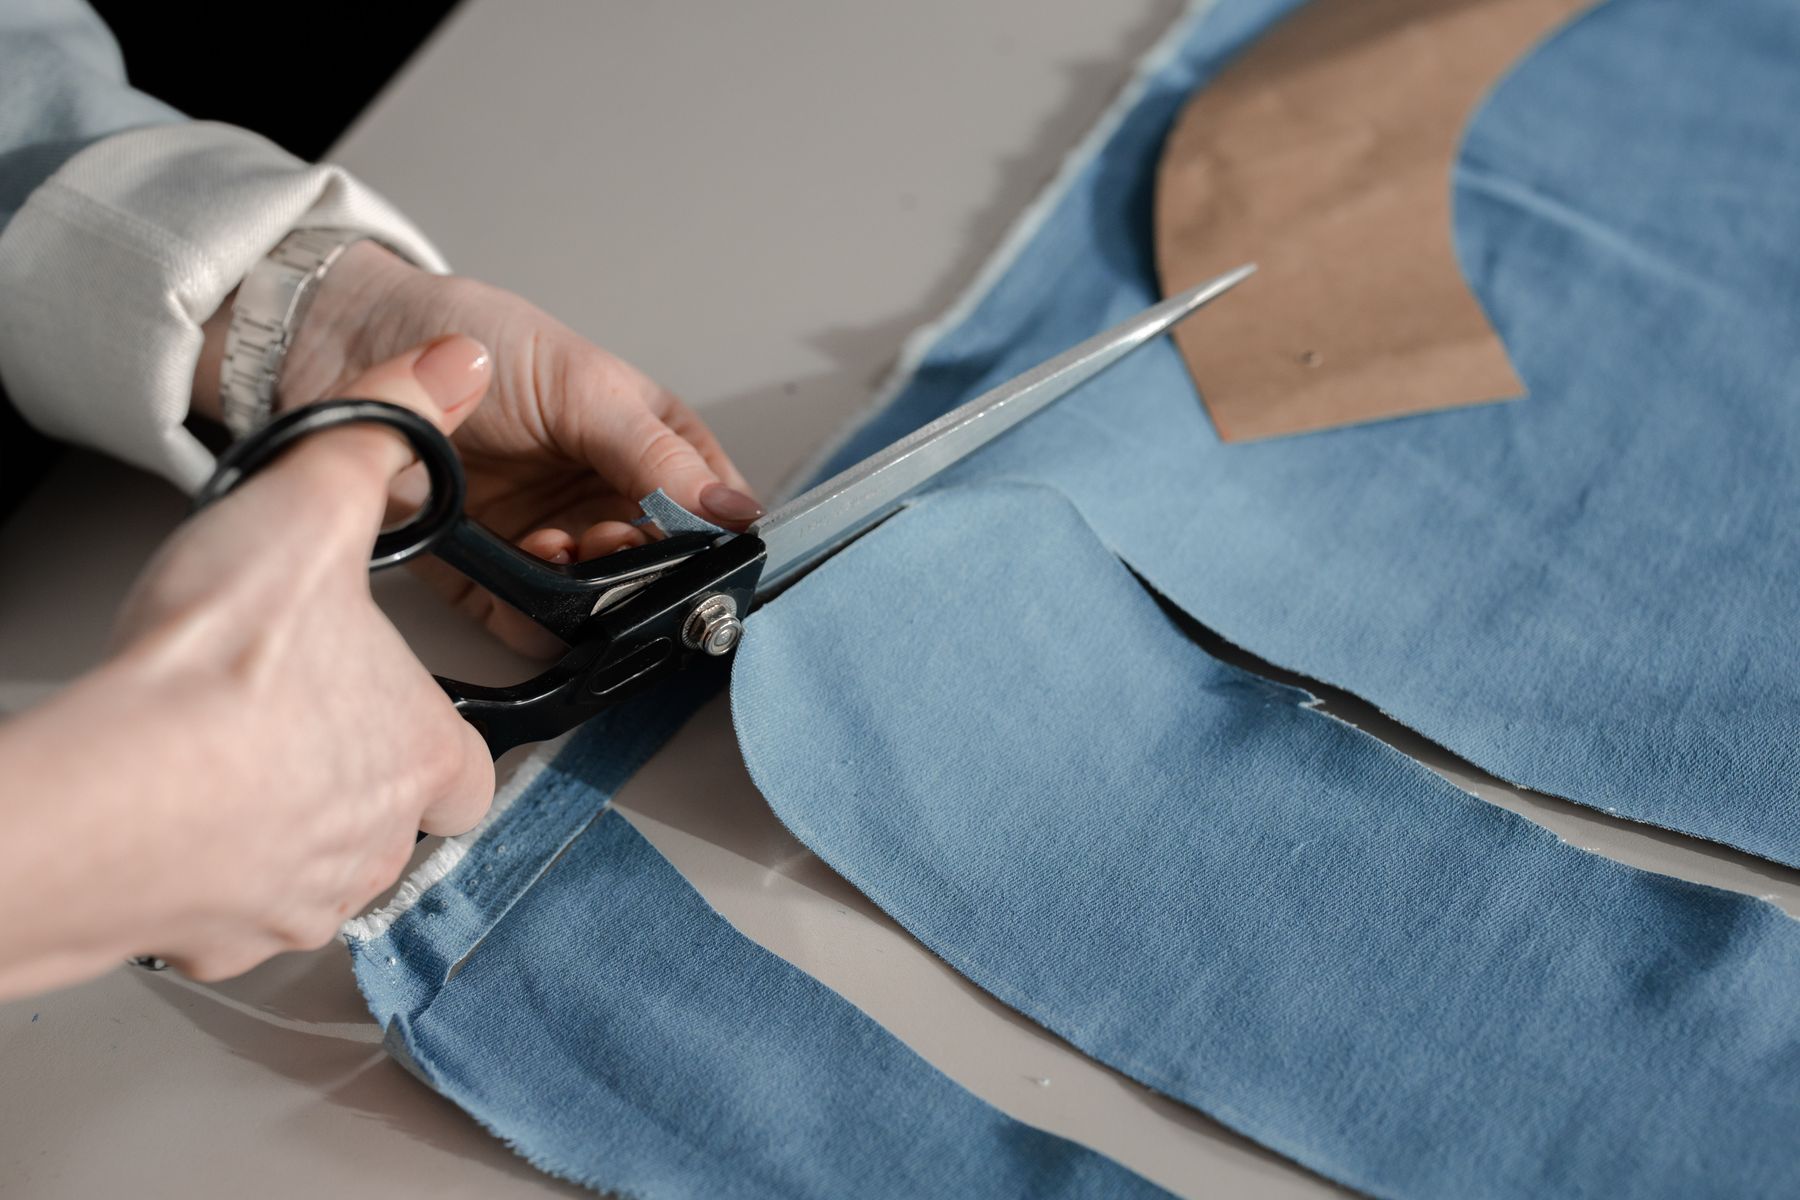
Choose tie fabric by drape, recovery, thickness, and how it presses. Silk twill, silk charmeuse, cotton lawn, lightweight wool, fine linen blends, Liberty-style cotton, and stable novelty fabric can all work if the interlining balances the hand.
Avoid fabric that is too thick, spongy, stretchy, or loosely woven for your first tie. Thick fabric makes bulky points and knots. Loose fabric can shift while cutting on the bias and lose its shape during pressing.
For gifts or wedding ties, test the knot before making the final version. Cut a fabric strip, add planned interfacing, fold it, and tie a rough knot. That test shows whether the tie will be crisp, limp, or too bulky.
Pay attention to the wrong side of the fabric too. A fabric that ravels aggressively or shows needle marks may need a lining method that hides raw edges and reduces handling before the final hand stitching. Test scraps first.
For more small-accessory fabric planning, compare the structure notes in our wallet sewing pattern guide.
Do You Need Interfacing or Interlining?
Most handmade ties need interlining so the finished tie has body and returns after being knotted. Susan Nakatani’s tie tutorial fuses interfacing to the inside fabric pieces before assembly, while other tie methods use wool, flannel, or sew-in interlining.
Fusible interfacing can stabilize slippery fabric, but it may change the drape or show bubbles if applied poorly. Sew-in interlining often gives a softer traditional hand, but it needs accurate trimming and careful folding.
Test interfacing on the real fabric. Fold the sample into the tie shape and press it. If the point becomes chunky or the knot feels stiff, choose a lighter interlining before cutting the final tie.
How Do You Sew Clean Tie Points?
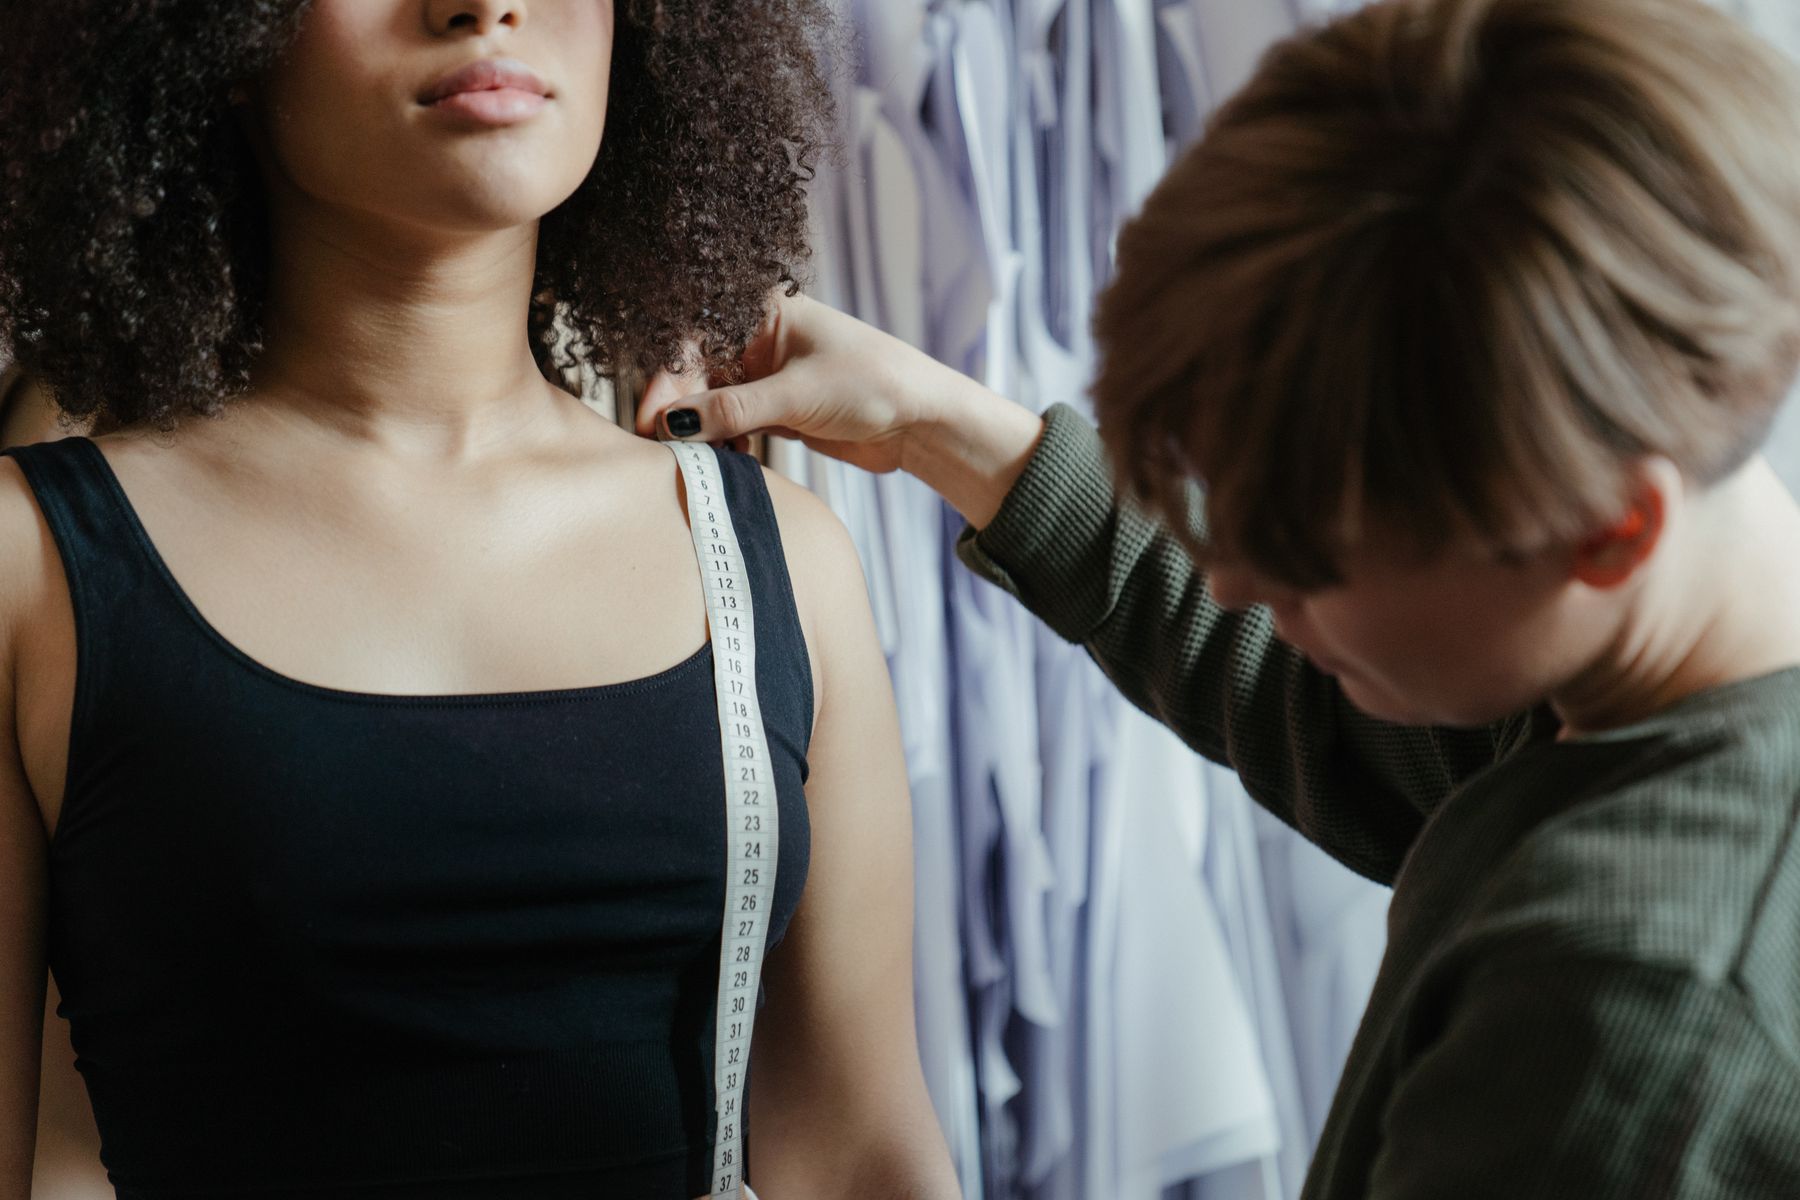
Tie points look clean when lining pieces, seam allowances, and pressing all agree. Sew the blade and tail lining accurately, trim bulk at the point, and turn with a blunt tool so the point is sharp without poking through the fabric.
Do not over-trim delicate fabric. Silk and fine cotton can fray quickly. Trim in stages, turn the point, inspect the shape, and remove more bulk only if needed.
Press from the wrong side with a cloth. Long bias edges can stretch under steam, and shiny press marks are very visible on silk or dark fabric. Let the tie cool flat before moving it.
Common Necktie Pattern Mistakes to Avoid
The most common mistake is cutting without checking the bias direction. The second is using fabric that is too thick for the point and knot. A tie can be beautifully sewn and still feel wrong if the knot is bulky.
Another mistake is pressing the tie flat like a shirt placket. A tie needs soft edges and a gentle roll. Hard pressing can create sharp side creases and make the tie look homemade in the wrong way.
Do not skip the keeper loop. It holds the narrow tail in place behind the blade. Cut it straight, press it neatly, and attach it at a useful height for the final tie length.
- Do not stretch the bias edge. Let the feed dogs move the fabric.
- Do not overstuff the point. Trim bulk before turning and pressing.
- Do not choose fabric by print alone. Knot feel matters as much as appearance.
What Sewing Setup Helps a Tie Look Crisp?
Use a fine needle, smooth thread, sharp shears or a rotary cutter, a long ruler, pattern weights, a pressing cloth, and a point turner. Bias-cut fabric rewards clean tools because small distortions travel down the full length of the tie.
A walking foot can help if the fabric layers crawl, but test first. Many ties sew best with a standard foot, light pressure, and a slightly shorter stitch on lining points.
Hand finishing the back seam gives a softer result than topstitching through the front. Use small invisible stitches that hold the folded edges without catching through to the face fabric.
Pressing order matters. Shape the points first, then set the long folds lightly, and avoid crushing the center fold. A tie should look neat without becoming flat or sharp at the edges.
How Can One Tie Pattern Become More Useful?
Once the tie pattern works, repeat it in fabrics for different uses. Cotton and linen make casual ties. Silk and wool feel formal. Novelty prints work for gifts when the fabric is still light enough to knot neatly.
Adjust length for the wearer before cutting several ties. A tall wearer, short wearer, large neck size, or preferred knot can change the best finished length. Test one tie, then alter the pattern rather than adjusting every finished tie.
Use the same pattern for coordinated wedding ties, father-child sets, uniforms, costumes, or handmade gifts. Keep notes on fabric, interlining, finished width, finished length, needle, and pressing temperature.
For another accessory with structure and small-piece accuracy, see our cross-body bag sewing pattern guide.
Frequently Asked Questions
Is a necktie sewing pattern beginner friendly?
Yes, if you use stable lightweight cotton and a clear pattern. Silk, slippery lining, and bias distortion make the project harder, so a first tie is easier in cotton or a stable woven fabric.
Why are neckties cut on the bias?
Bias cutting helps the tie hang smoothly, roll around the neck, and recover after knotting. It also makes the fabric easier to stretch accidentally, so handle cut pieces gently and avoid pulling while sewing.
What interfacing should I use for a handmade tie?
Use a lightweight fusible, flannel, wool interlining, or sew-in tie interlining based on the fabric. The right choice should support the tie without making the points bulky or the knot stiff.
How wide should a handmade tie be?
Tie width depends on the pattern, wearer, collar, and style. Check the finished blade width before cutting. A narrow tie, classic tie, and vintage wide tie can all sew similarly but look very different.
Sources
- Semrush keyword export, Pattern Lab Co workspace, retrieved 2026-08-18.
- WeAllSew, DIY Dapper Tie, retrieved 2026-08-18.
- Simply Sewing, How to make a tie: step by step instructions, retrieved 2026-08-18.
- Susan Nakatani, How to make a tie, retrieved 2026-08-18.
- The Sew Pro, Men’s Tie Sewing Tutorial – Free Pattern and Step-by-Step Guide, retrieved 2026-08-18.
